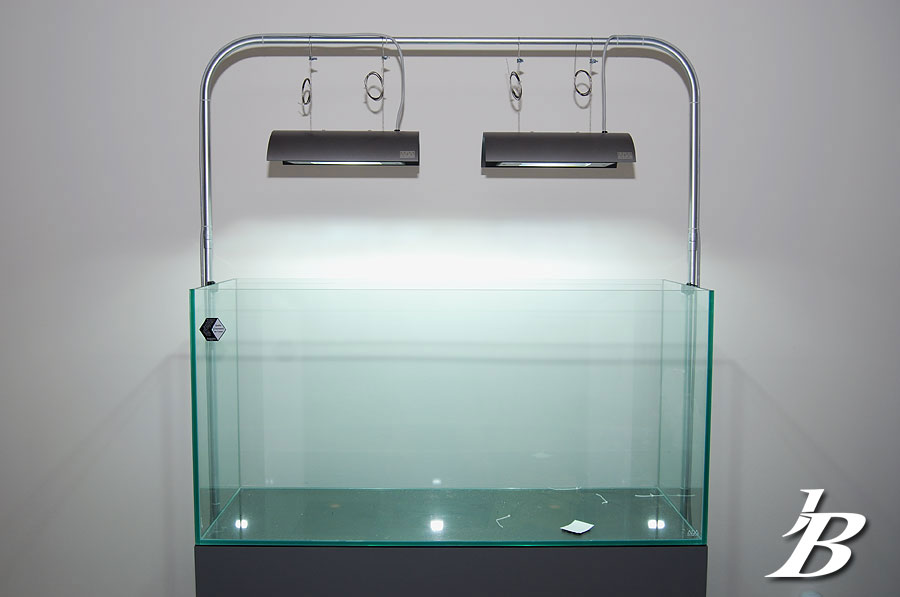
Well some months ago I picked up an ADA 120H. Sadly, it sat on the floor in my office for almost 5 months before I got around to putting it together. When it finally came time to put it together, I needed to find a stand that would both fit the metric size of ADA as well as not take away from the sleek look of the tank. Really, the only solution that would accomplish both of those would be to get an ADA stand. Well, they are really pricey!!! ...not to mention shipping. So the next option was to build one. This is a brief account of the 40 hours it took me to build my ADA style stand over the last two weeks. I hope you enjoy.
I decided to cover the stand in formica. Here are the sheets of formica after I picked them up. ....rocking hard with the marshall cab!!!
![Image]()
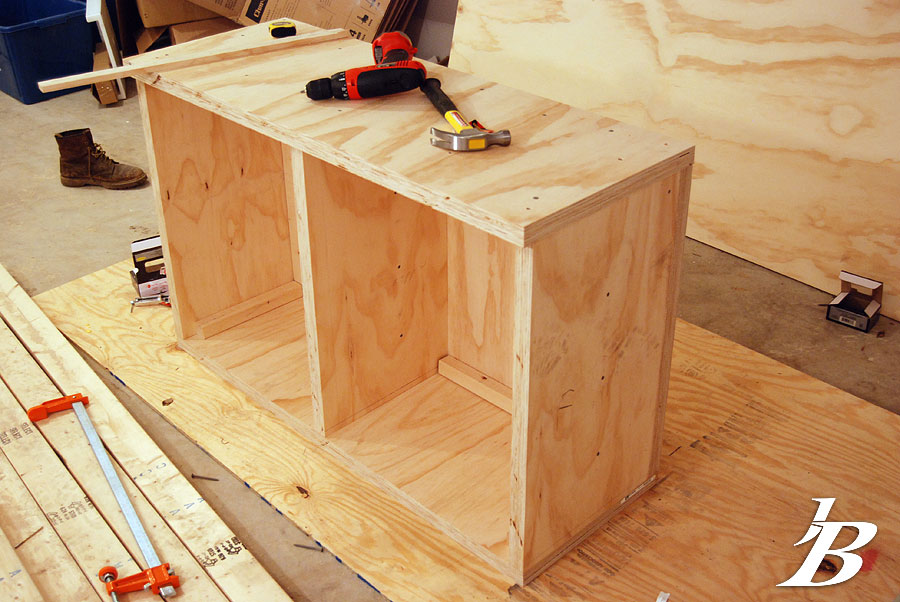
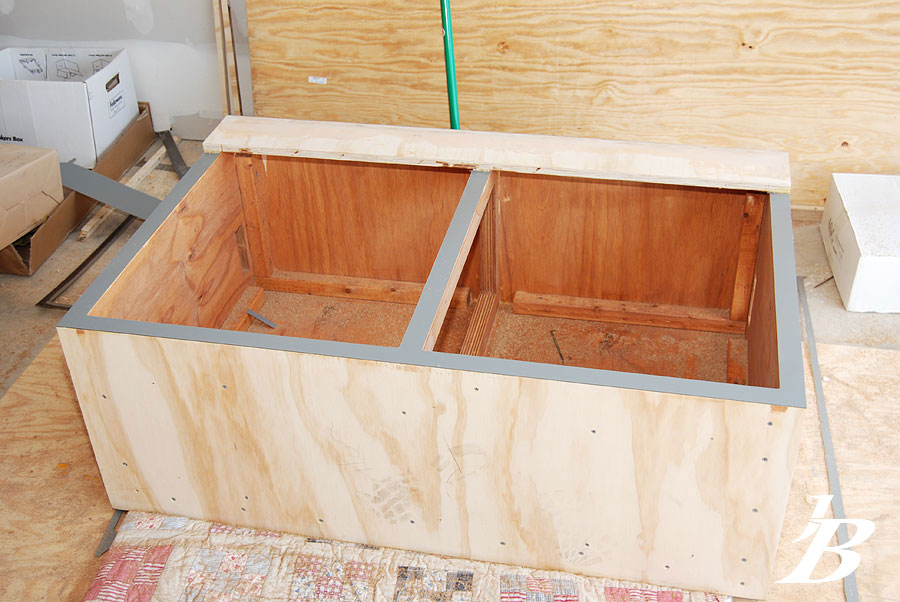
The early stages of the build. Notice no front piece or hole in the dividing support.
![Image]()
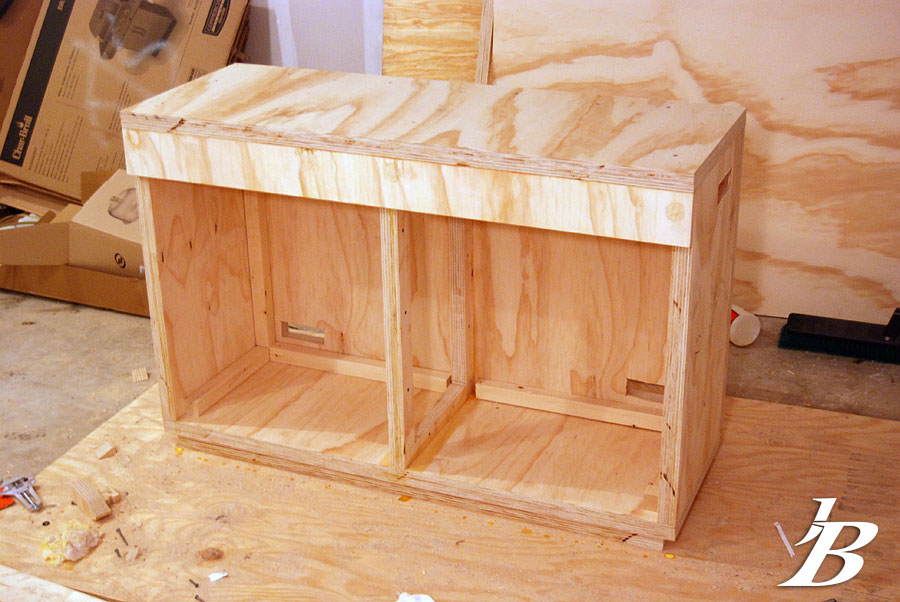
Wood work is complete....next is putty, sand, and formica.
![Image]()
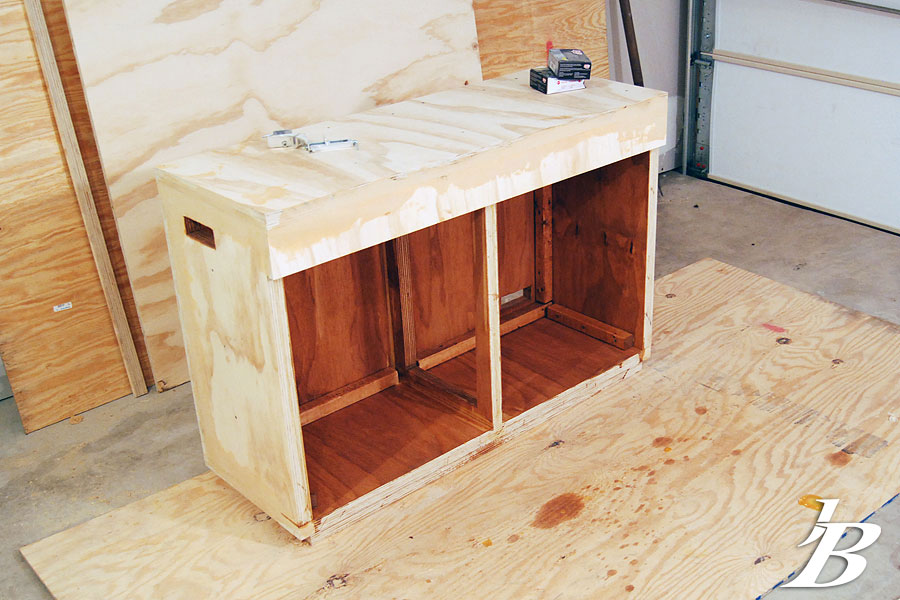
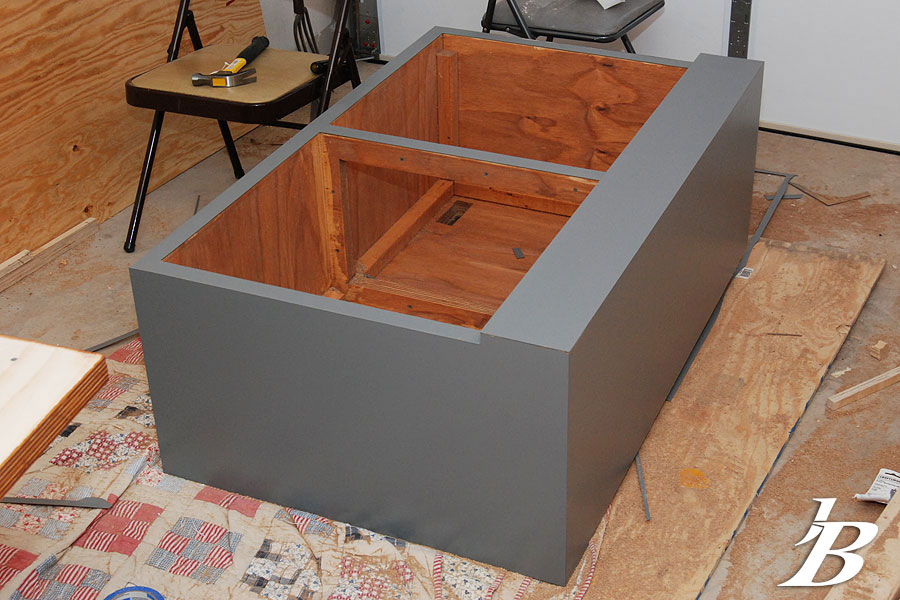
Puttied and the interior is stained.
![Image]()
This was the first piece of formica i ever glued and trimmed, so it was quite an accomplishment for me. I hope that you feel the same excitement just looking at the pic
![Image]()
Next was the back.
![Image]()
The front was slick....i cut out the trim from one solid piece. No seems!!
![Image]()
Ready for the last piece!!
![Image]()
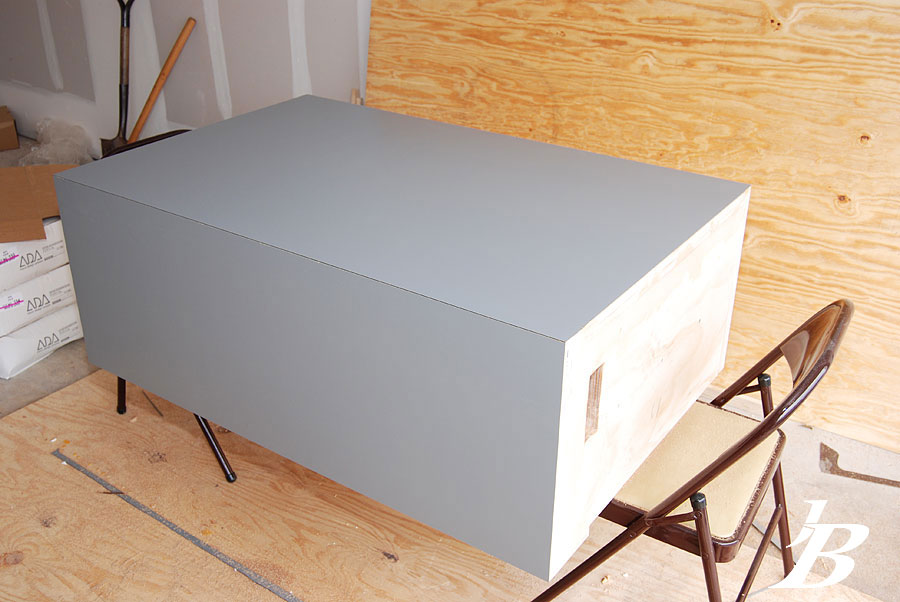
Formica is complete on the body.
![Image]()
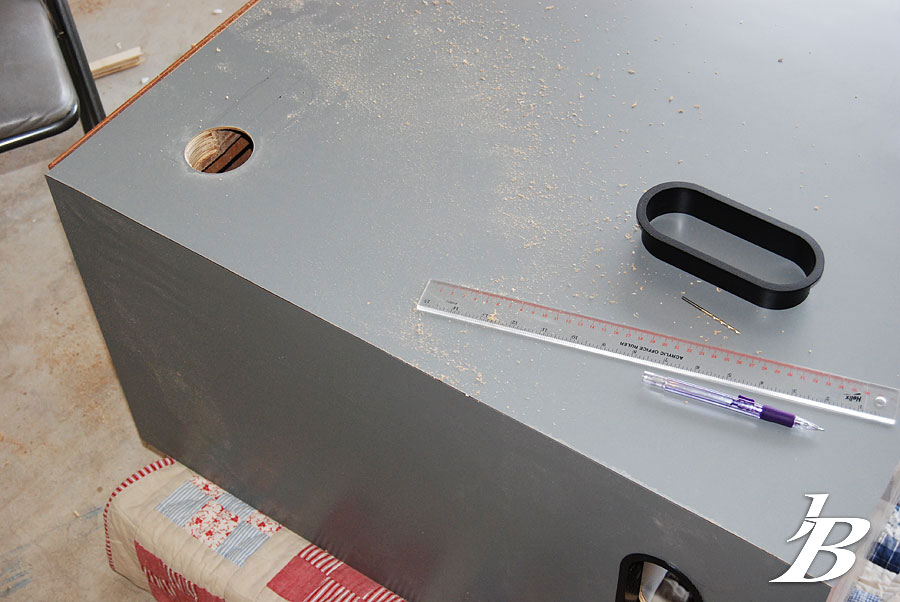
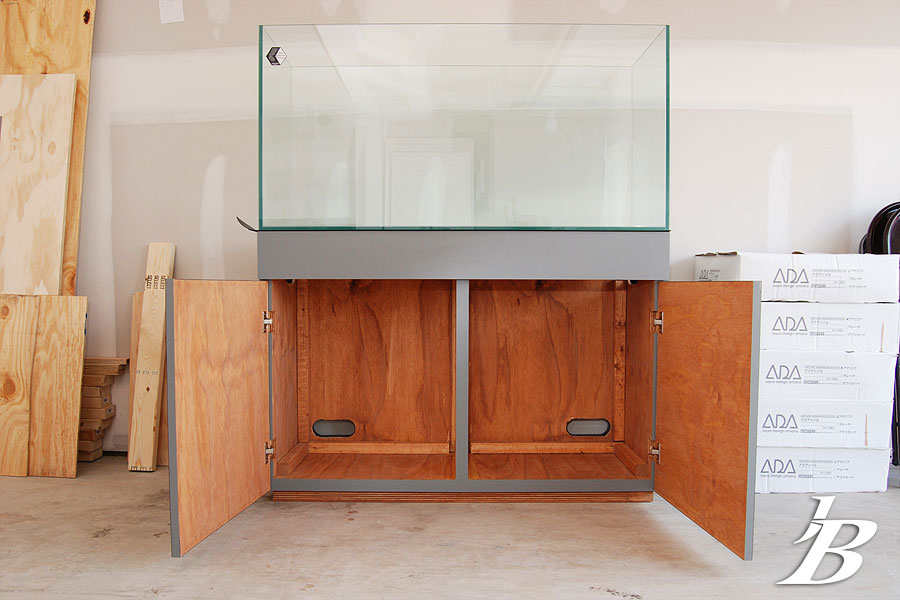
Drilling the holes for the wire/tubing portals. This was challenging.
![Image]()
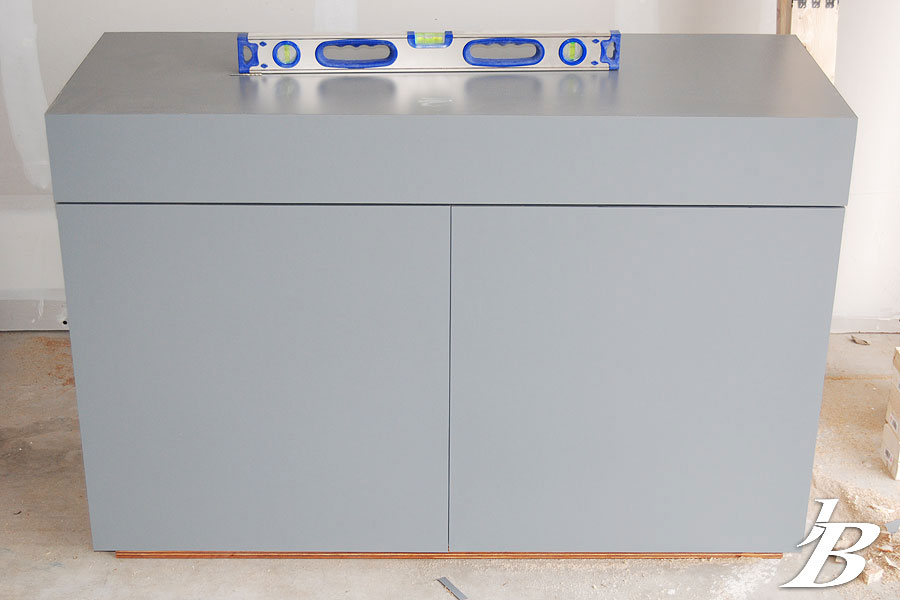
The stand is complete!!!!
![Image]()
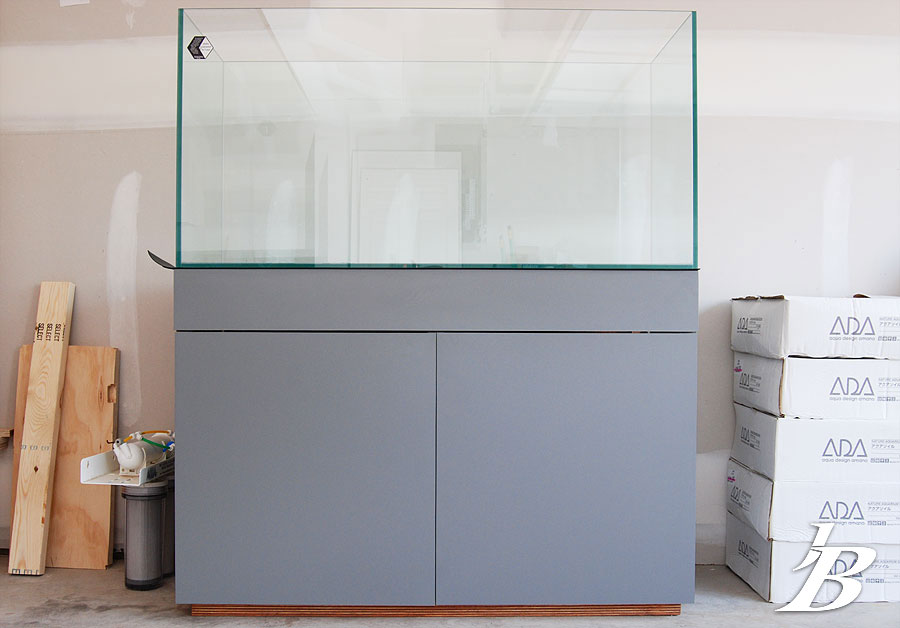
Lets add the tank!!!
![Image]()
![Image]()
![Image]()
Final Product!!
![Image]()
Final shot of the seams....for Erik (Troy McClure)
![Image]()
Hope you had as much fun looking as i did building!!
Oh, and my last tip...
Freshly routed Formica is very very sharp!!! My hands are completely messed up from the last two weeks.
jB
I decided to cover the stand in formica. Here are the sheets of formica after I picked them up. ....rocking hard with the marshall cab!!!

The early stages of the build. Notice no front piece or hole in the dividing support.
Wood work is complete....next is putty, sand, and formica.
Puttied and the interior is stained.
This was the first piece of formica i ever glued and trimmed, so it was quite an accomplishment for me. I hope that you feel the same excitement just looking at the pic

Next was the back.
The front was slick....i cut out the trim from one solid piece. No seems!!
Ready for the last piece!!

Formica is complete on the body.
Drilling the holes for the wire/tubing portals. This was challenging.
The stand is complete!!!!
Lets add the tank!!!

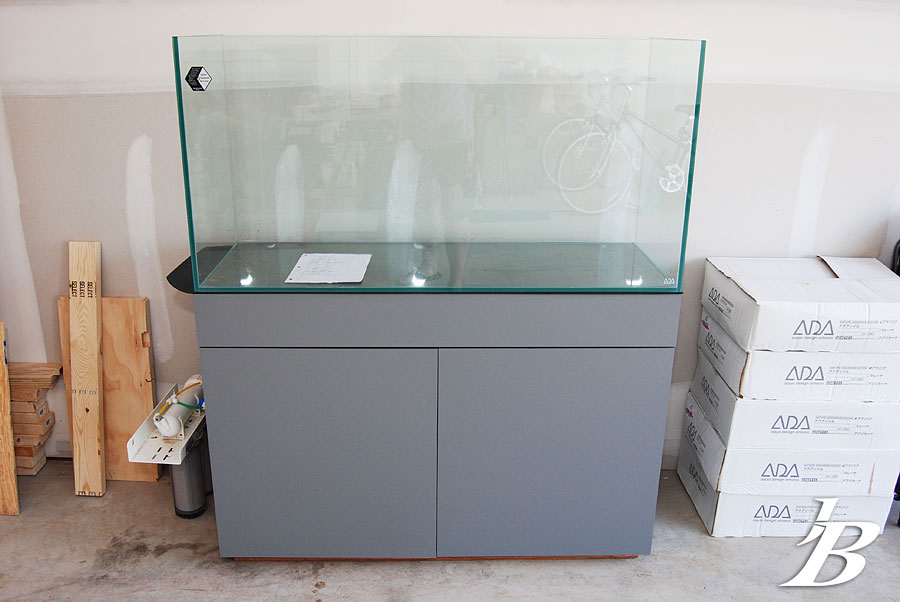
Final Product!!
Final shot of the seams....for Erik (Troy McClure)
Hope you had as much fun looking as i did building!!
Oh, and my last tip...
Freshly routed Formica is very very sharp!!! My hands are completely messed up from the last two weeks.
jB