Just finished up with the move from old rental property to new home. Life sure has been hectic lately!
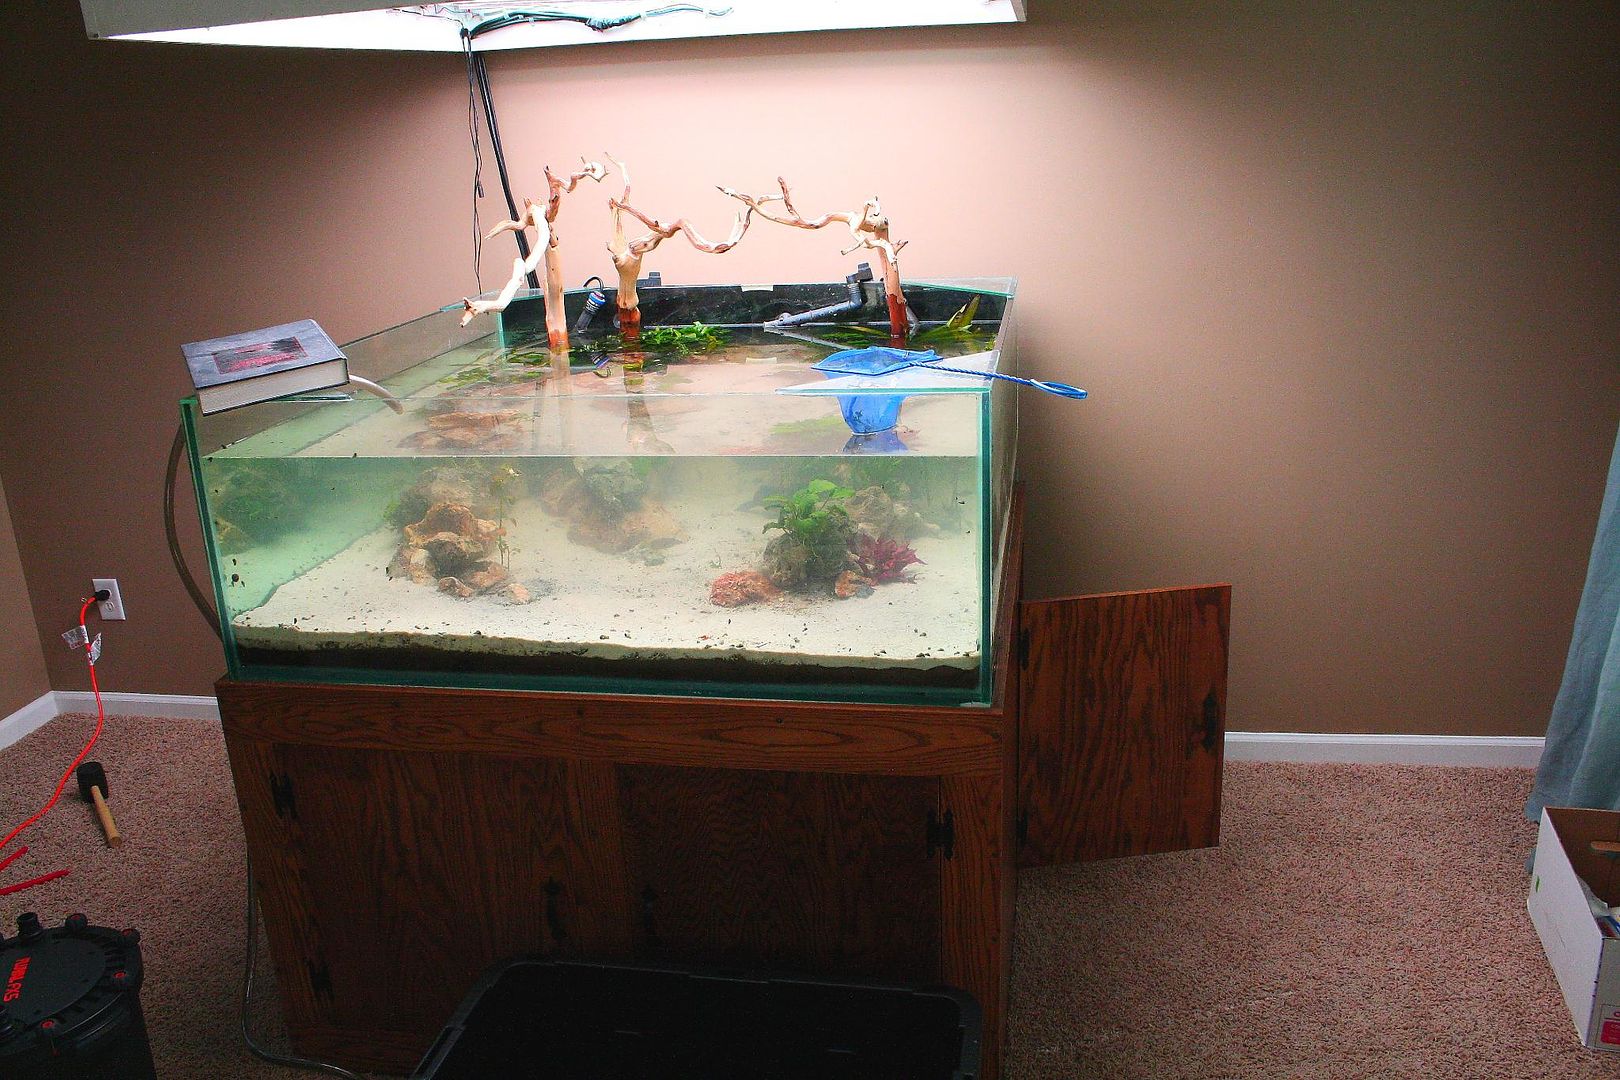
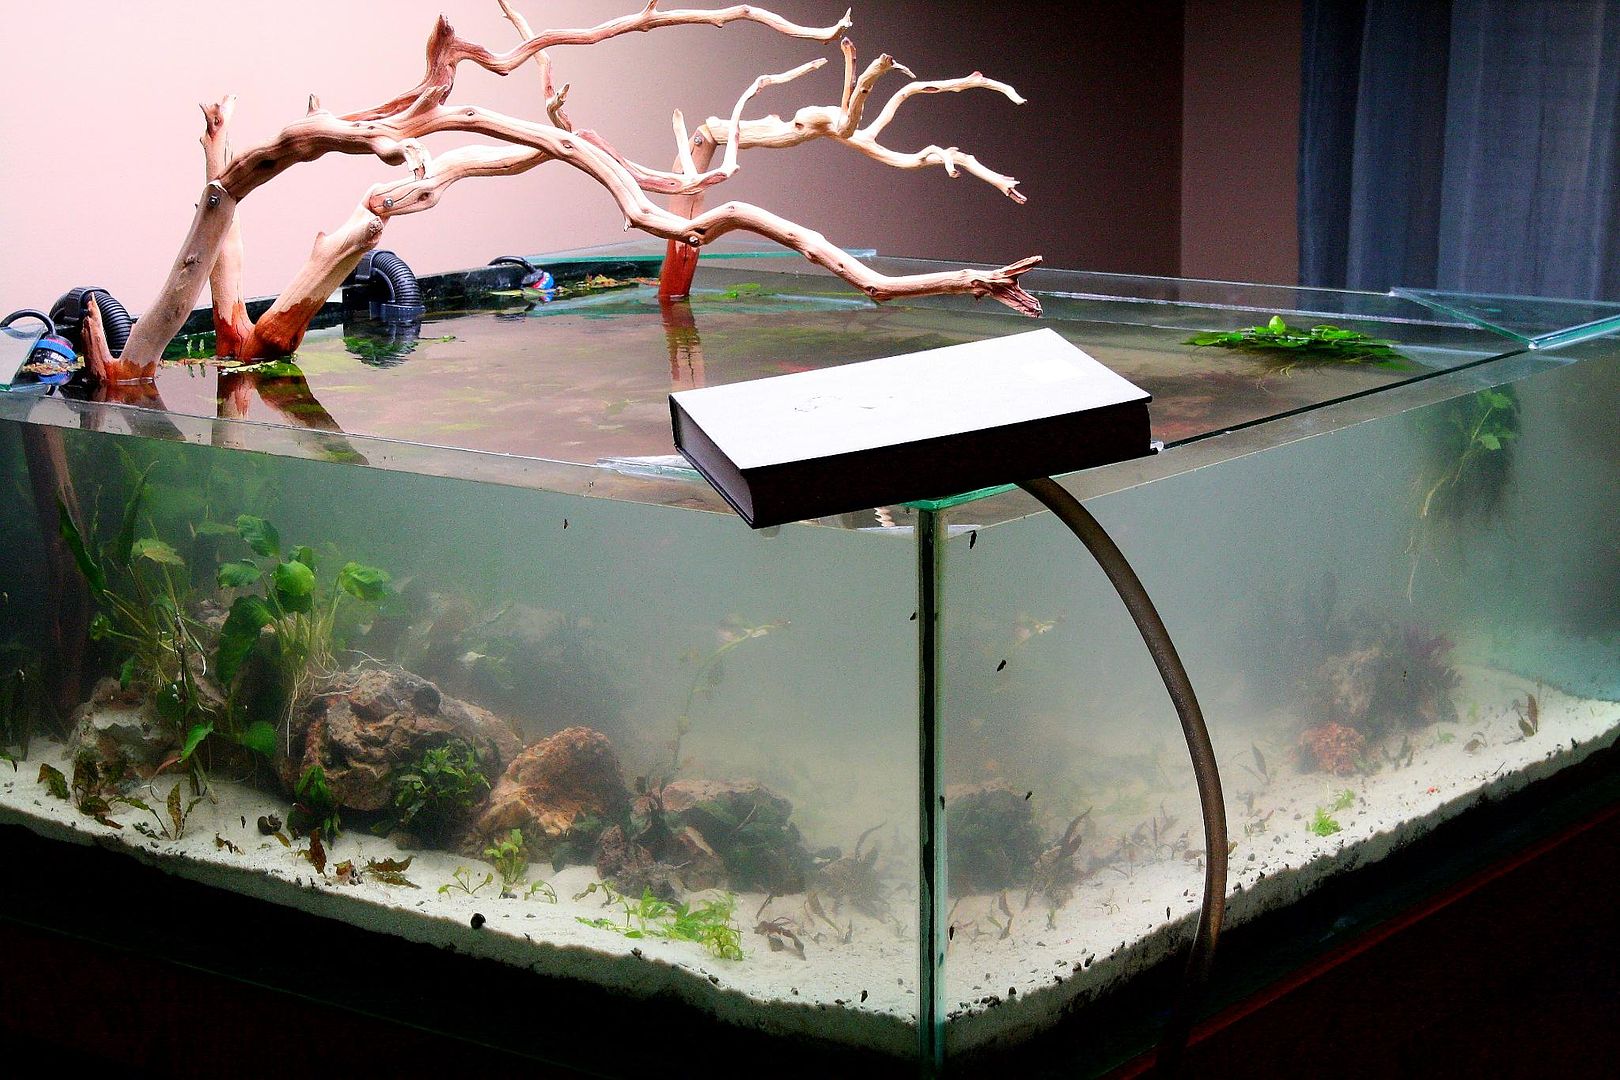
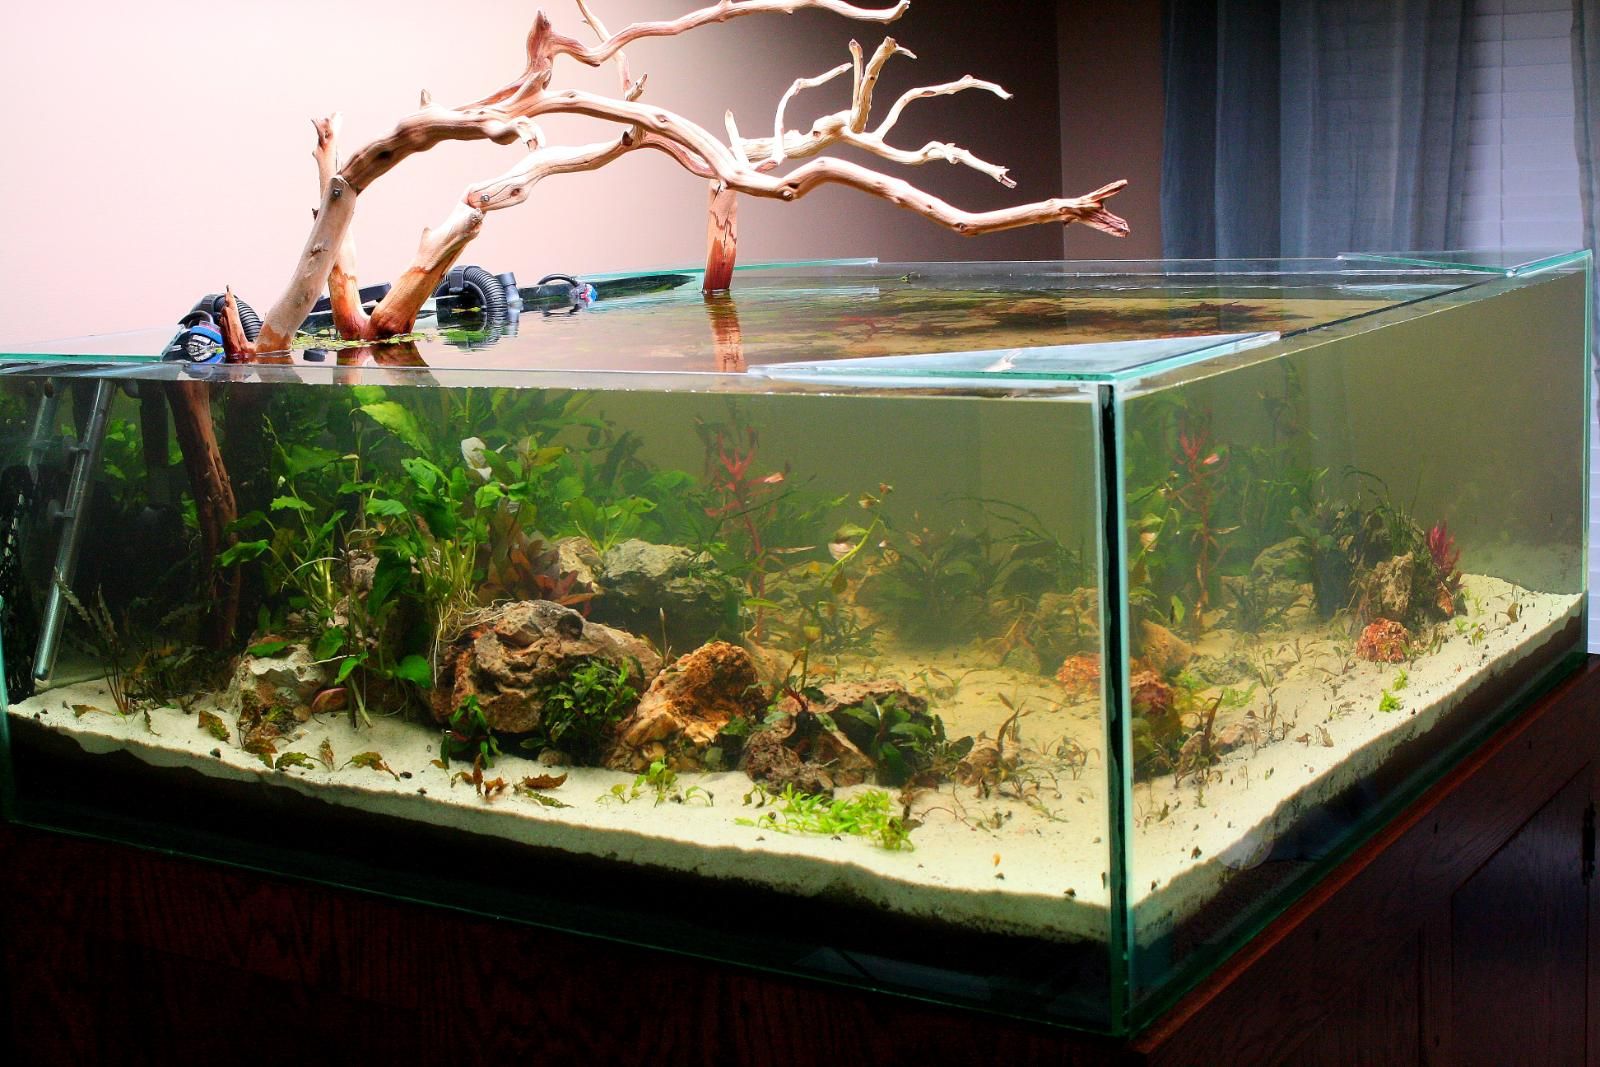
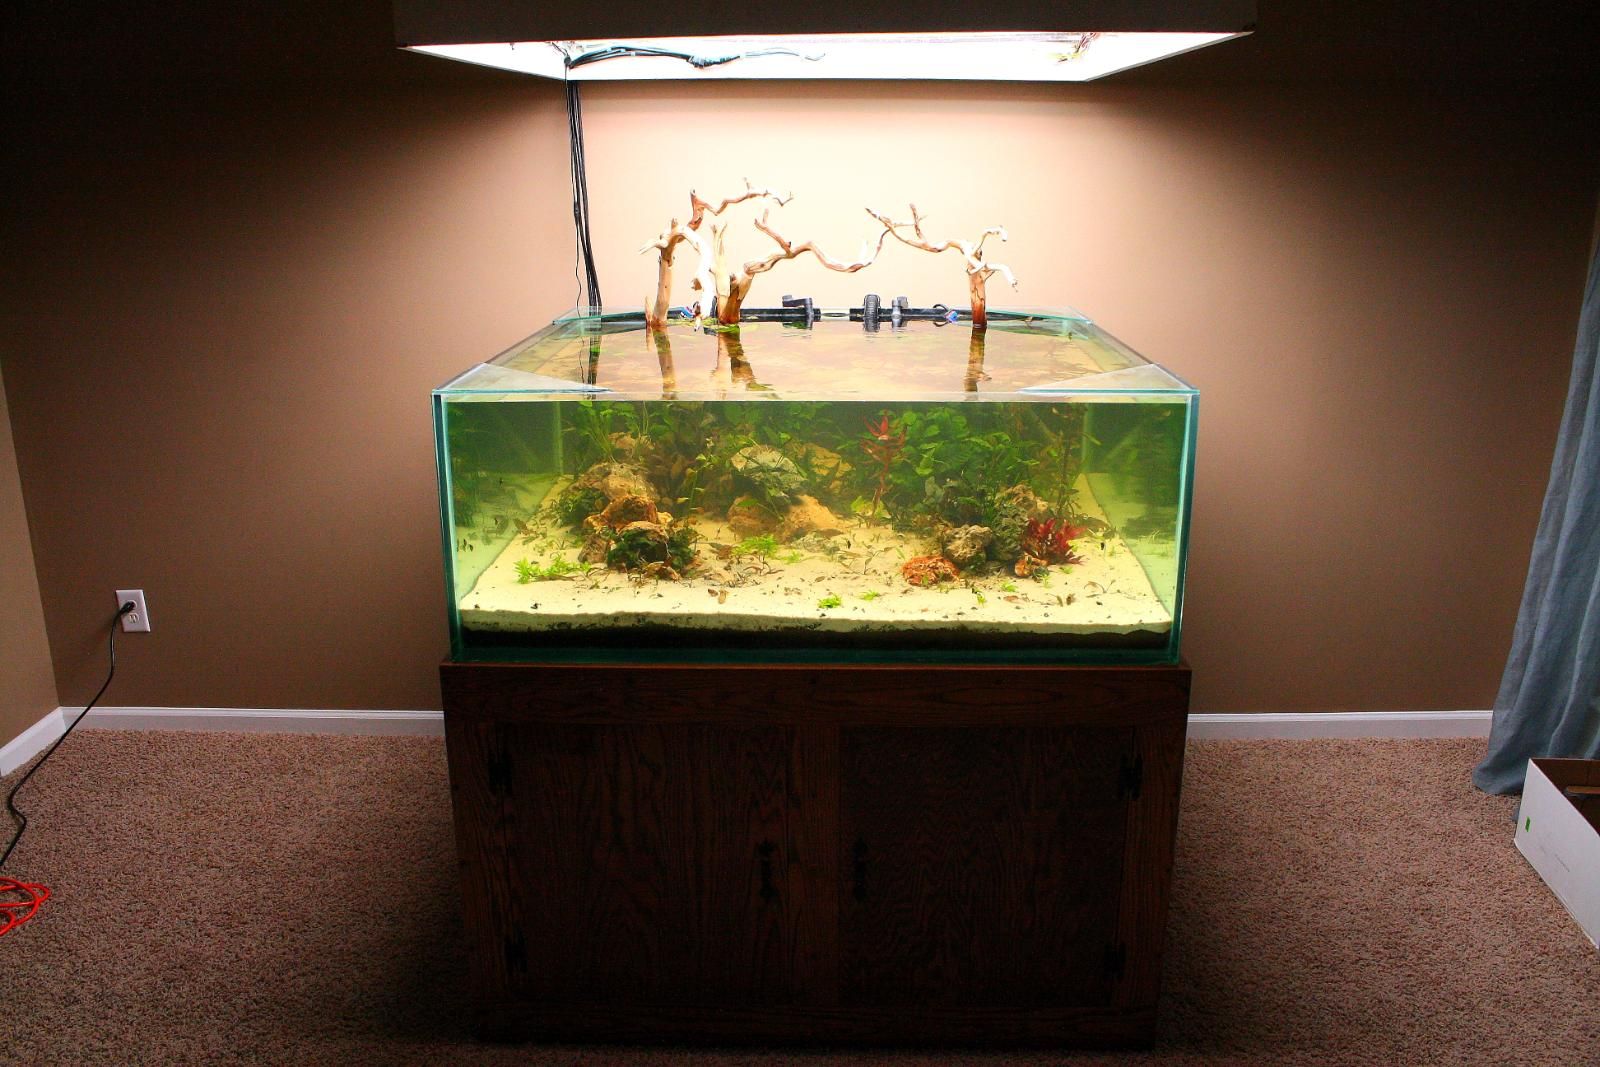
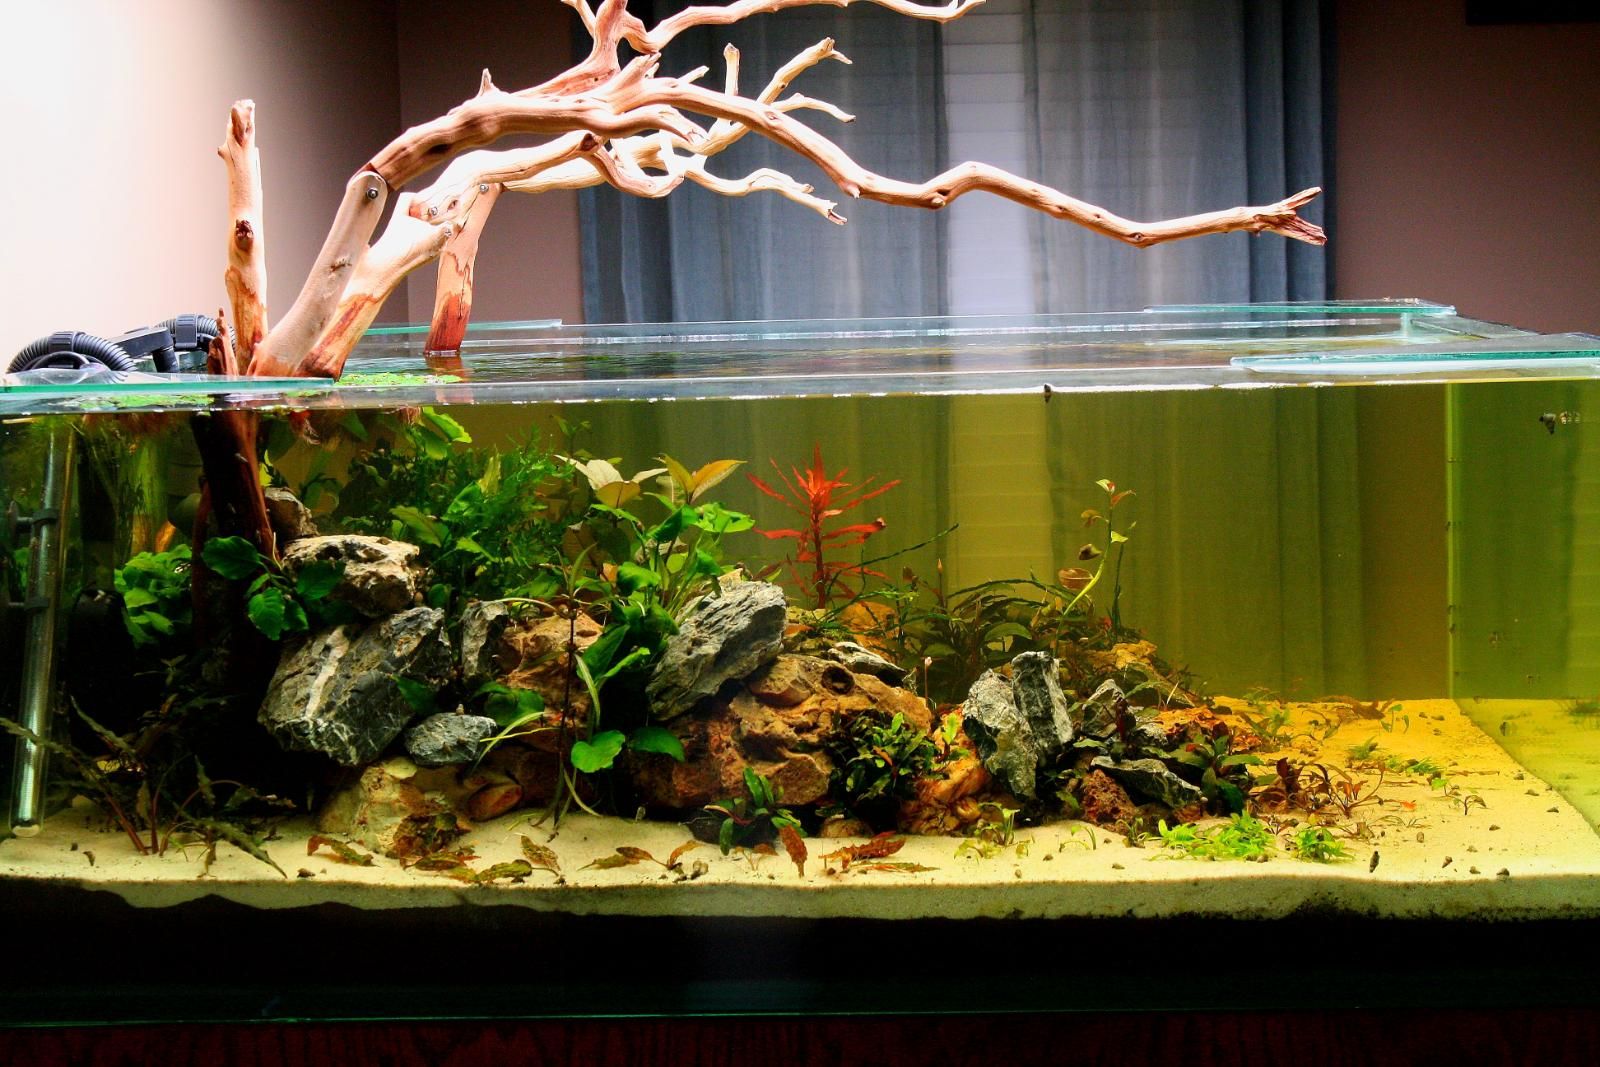
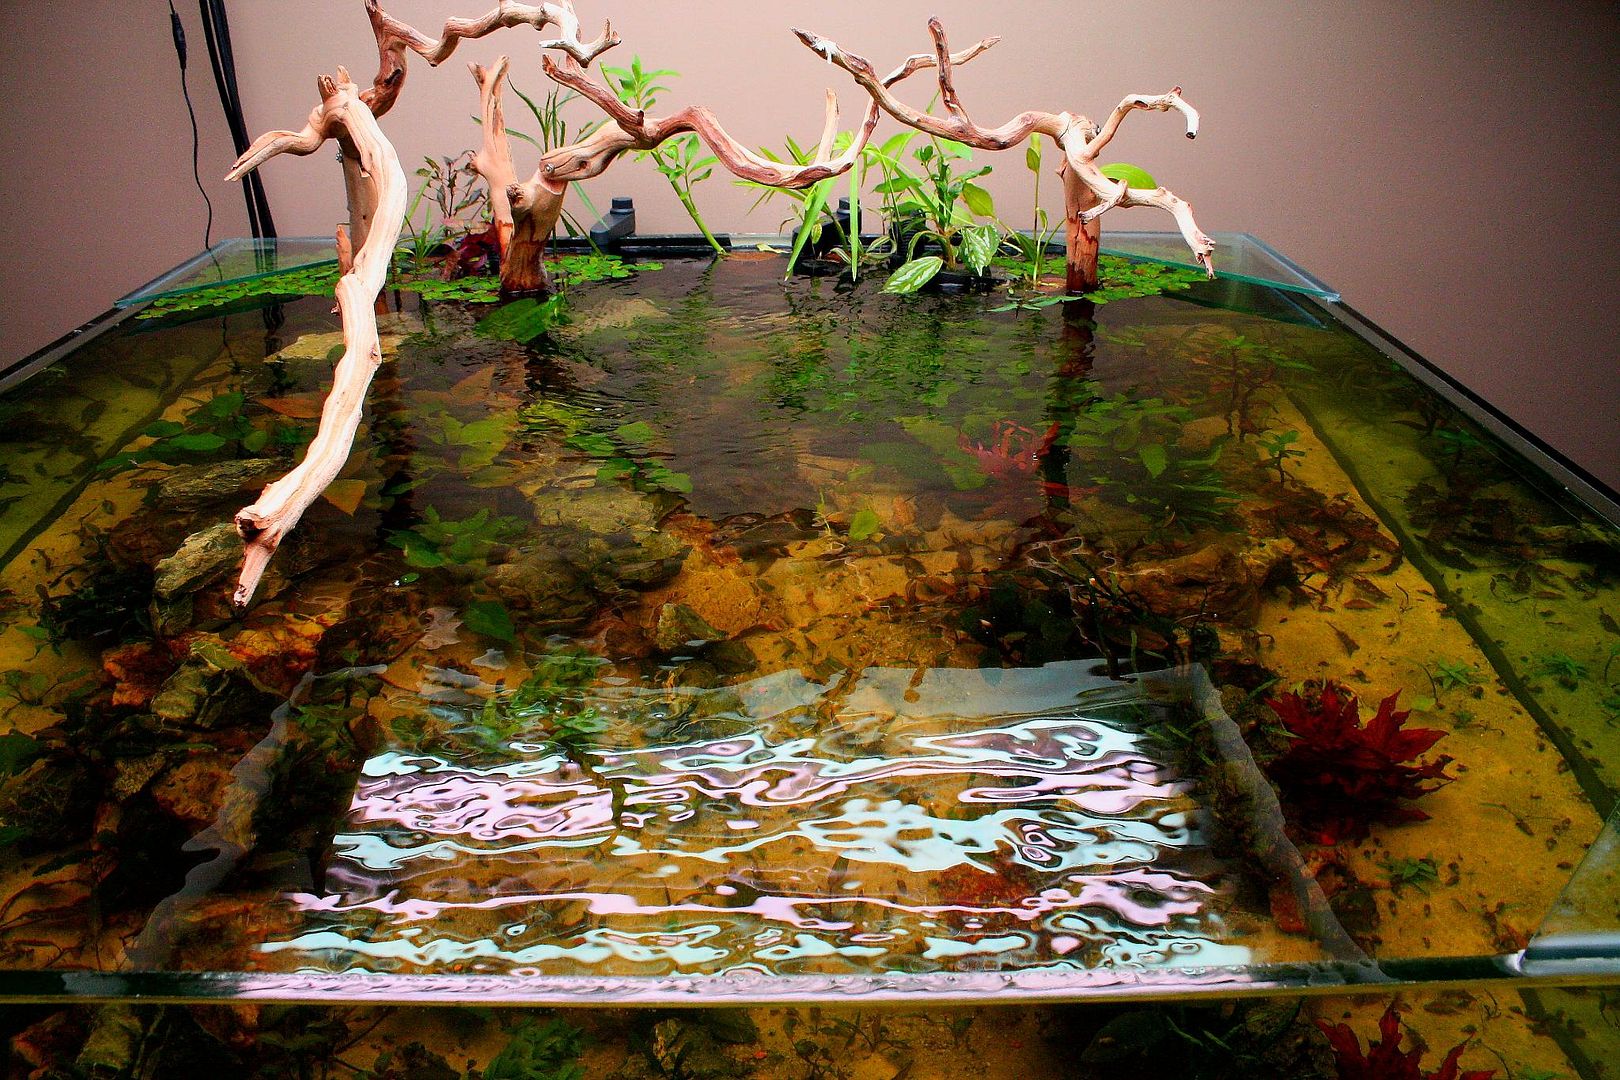
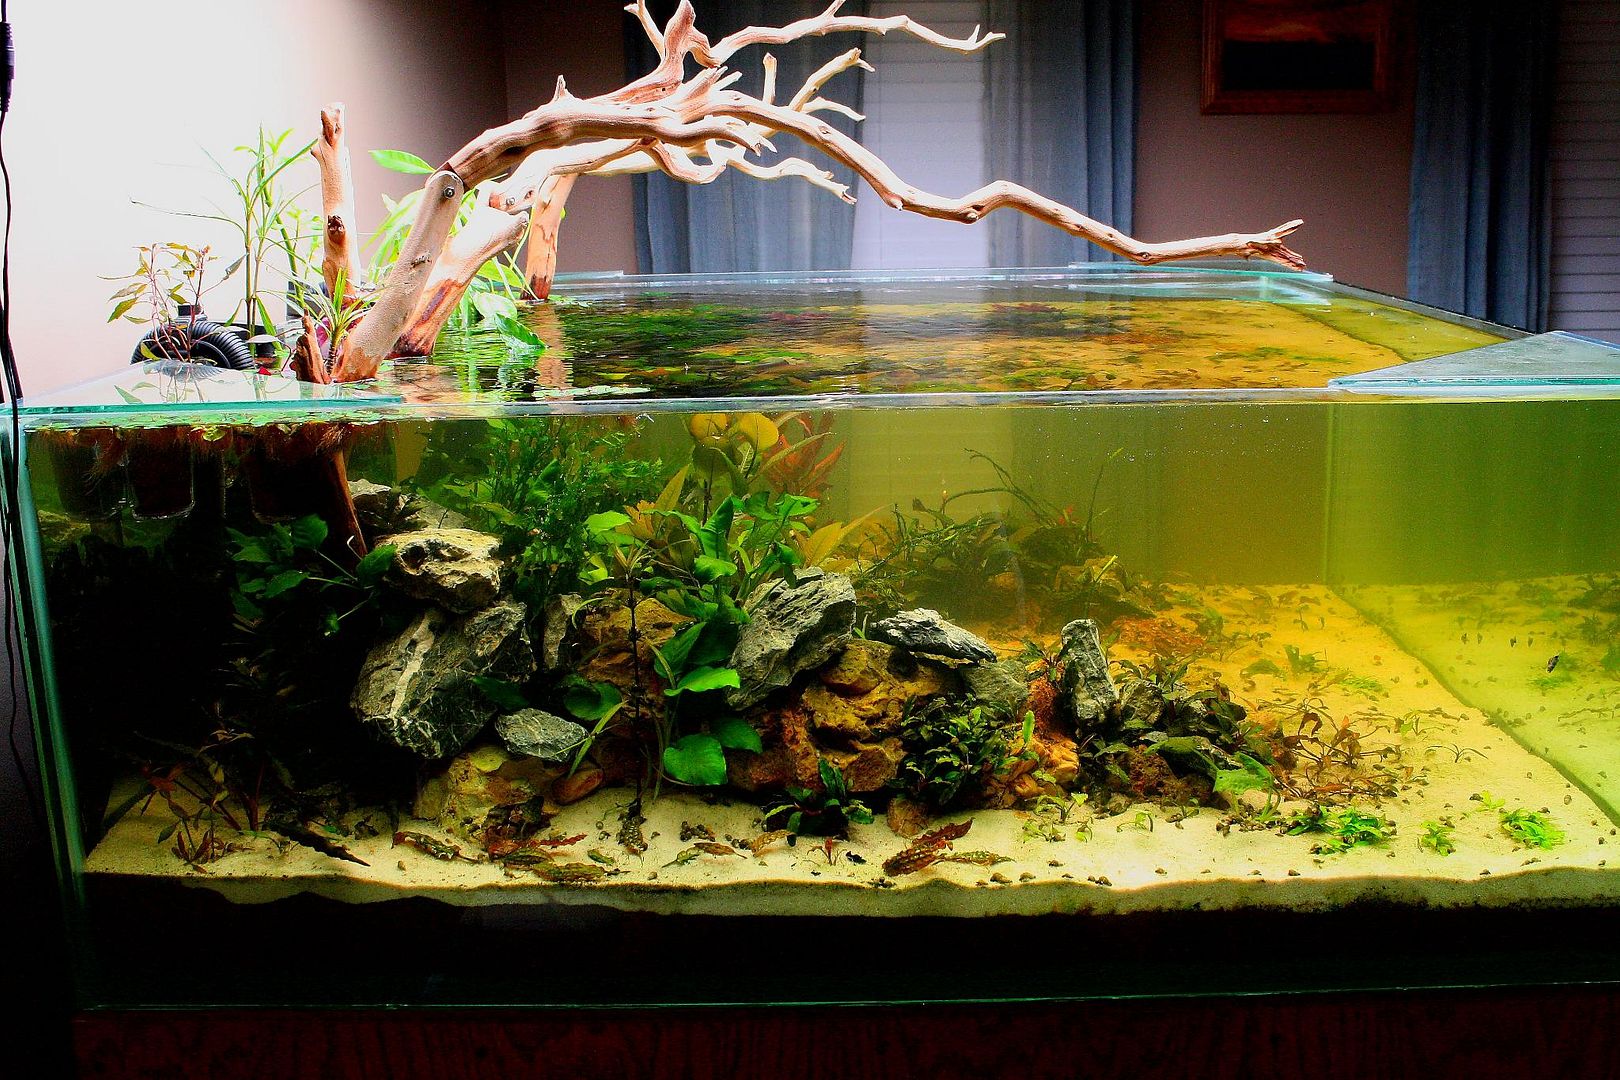
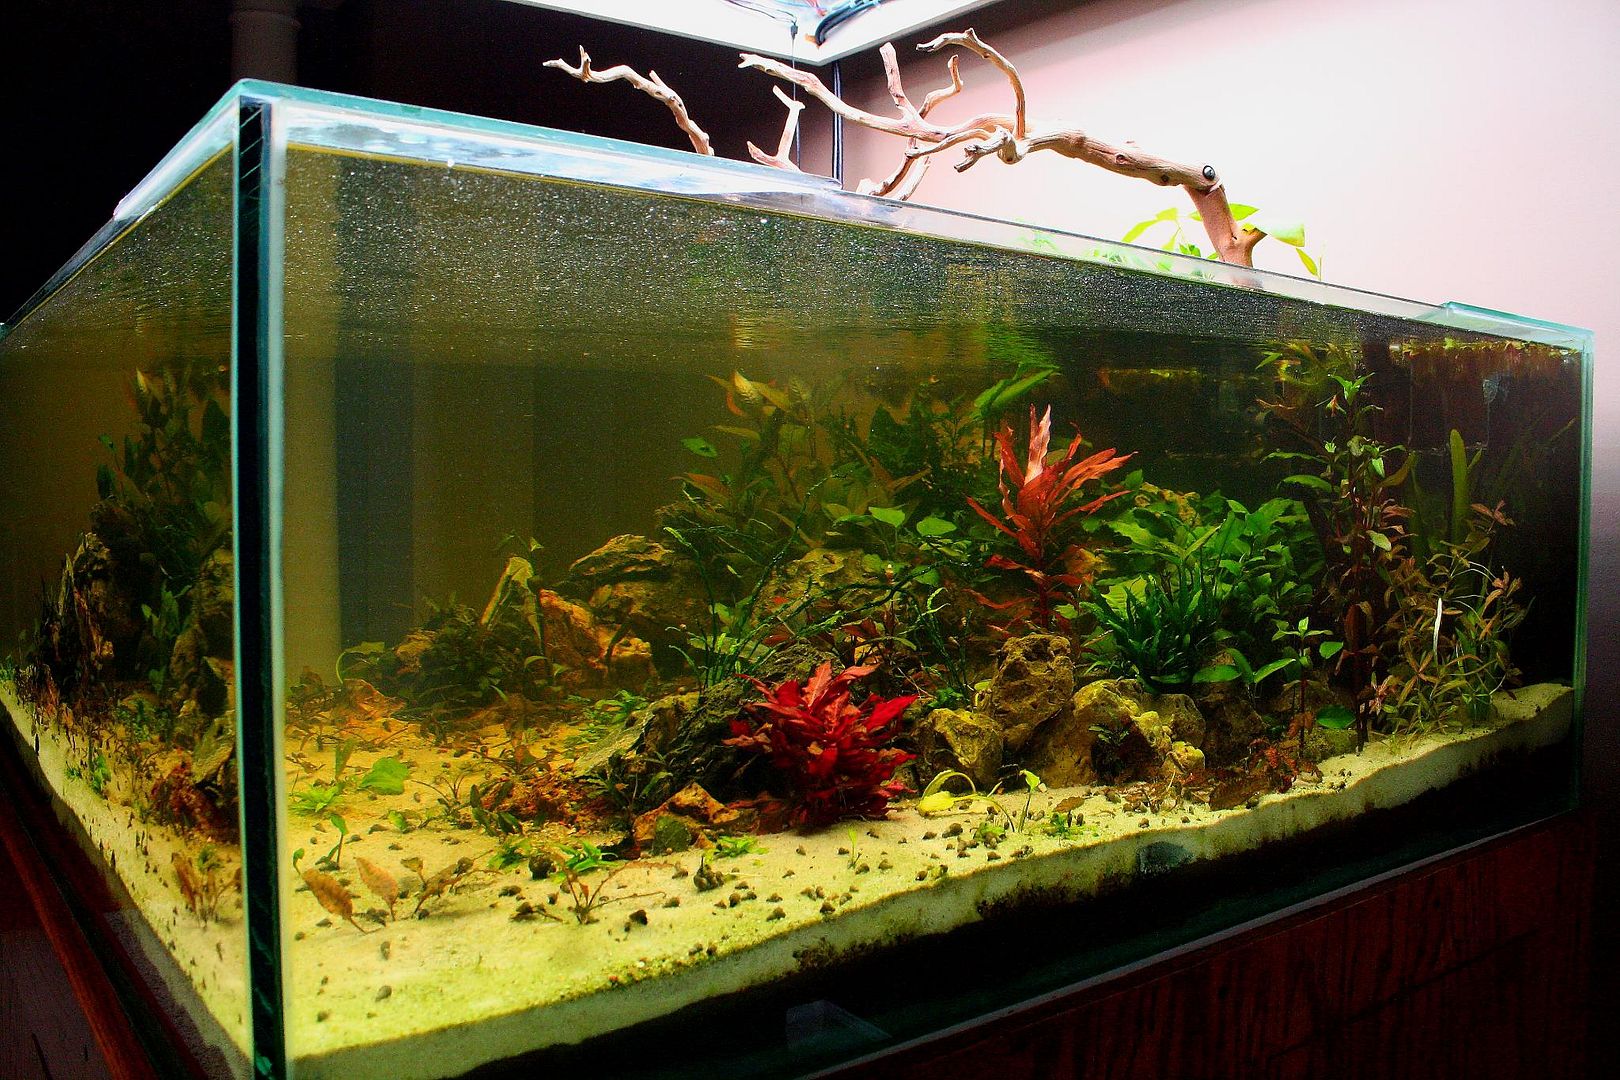
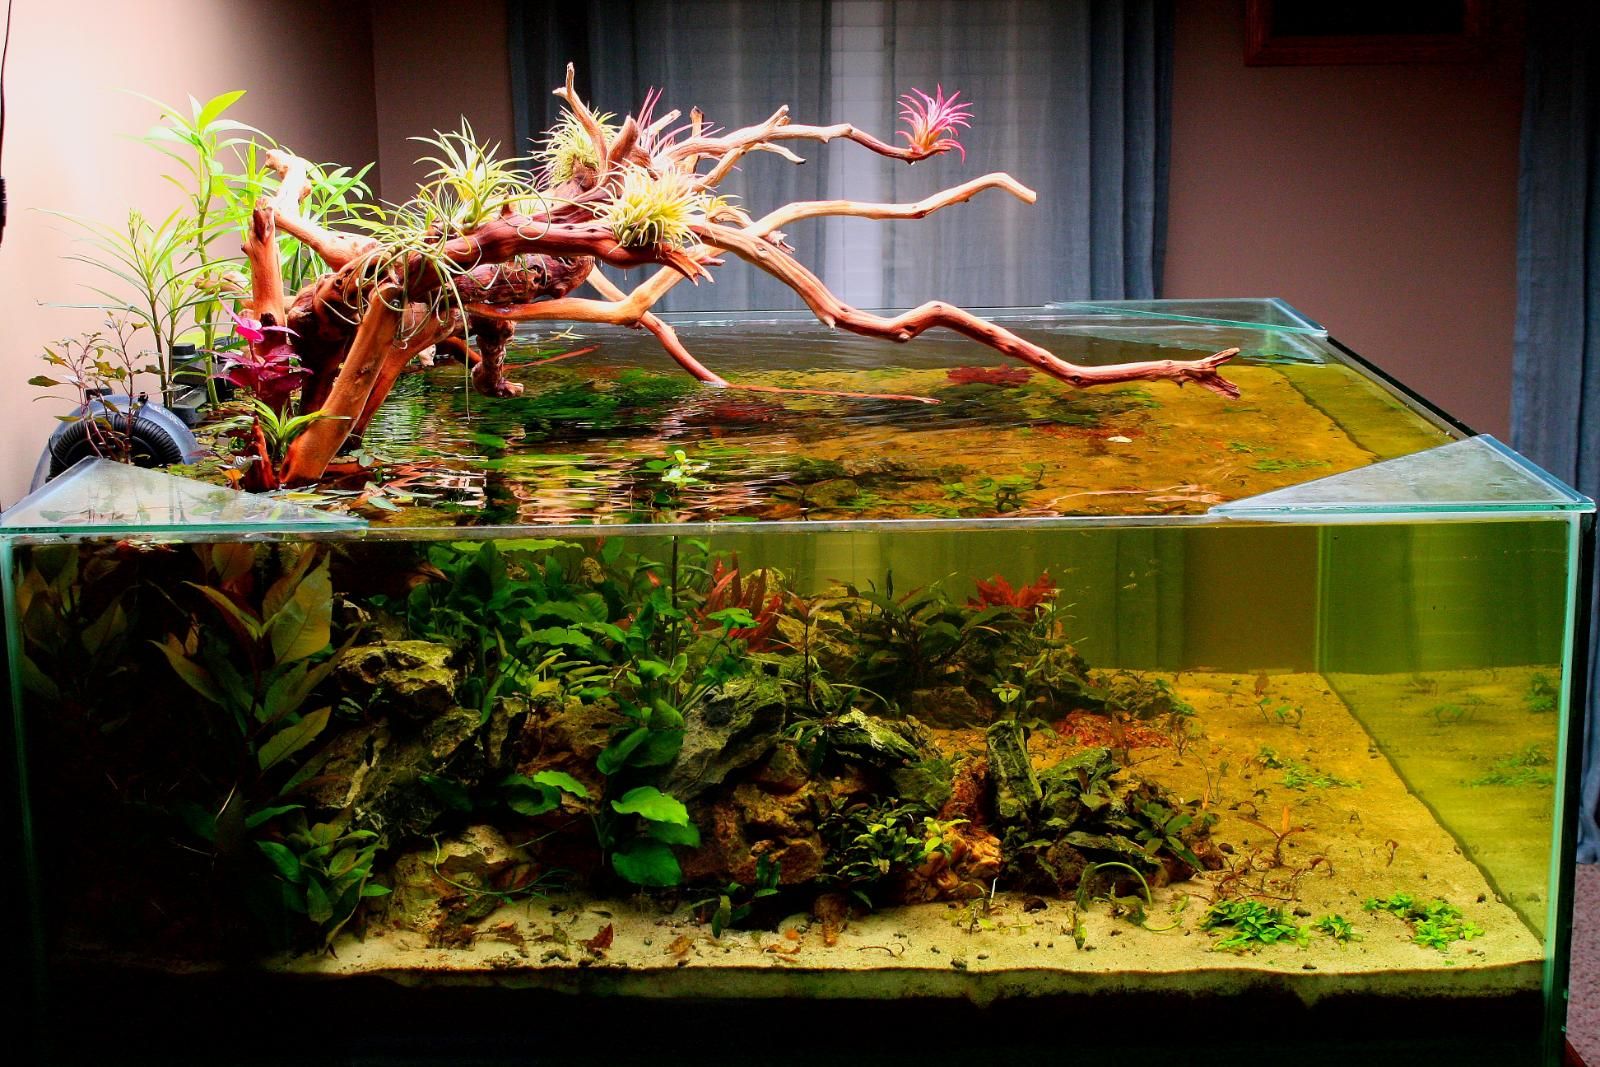
So, the Journal starts over, and as much as I hated to tear down the tank from this:
![Image]()
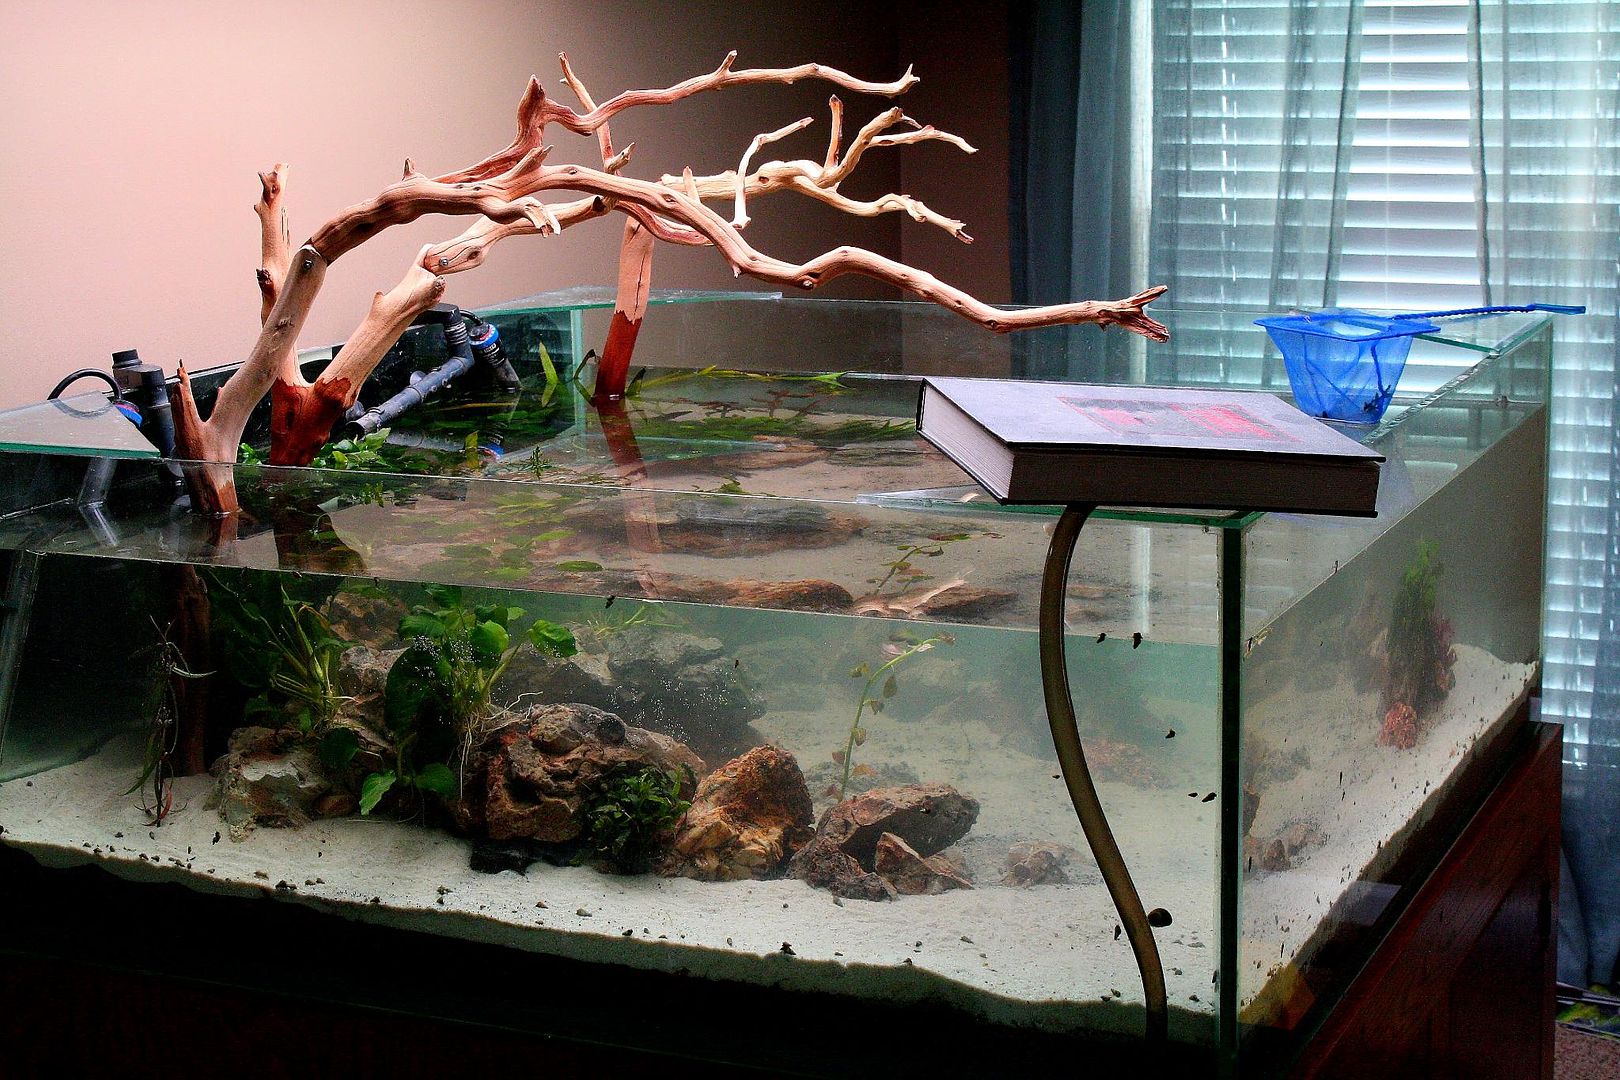
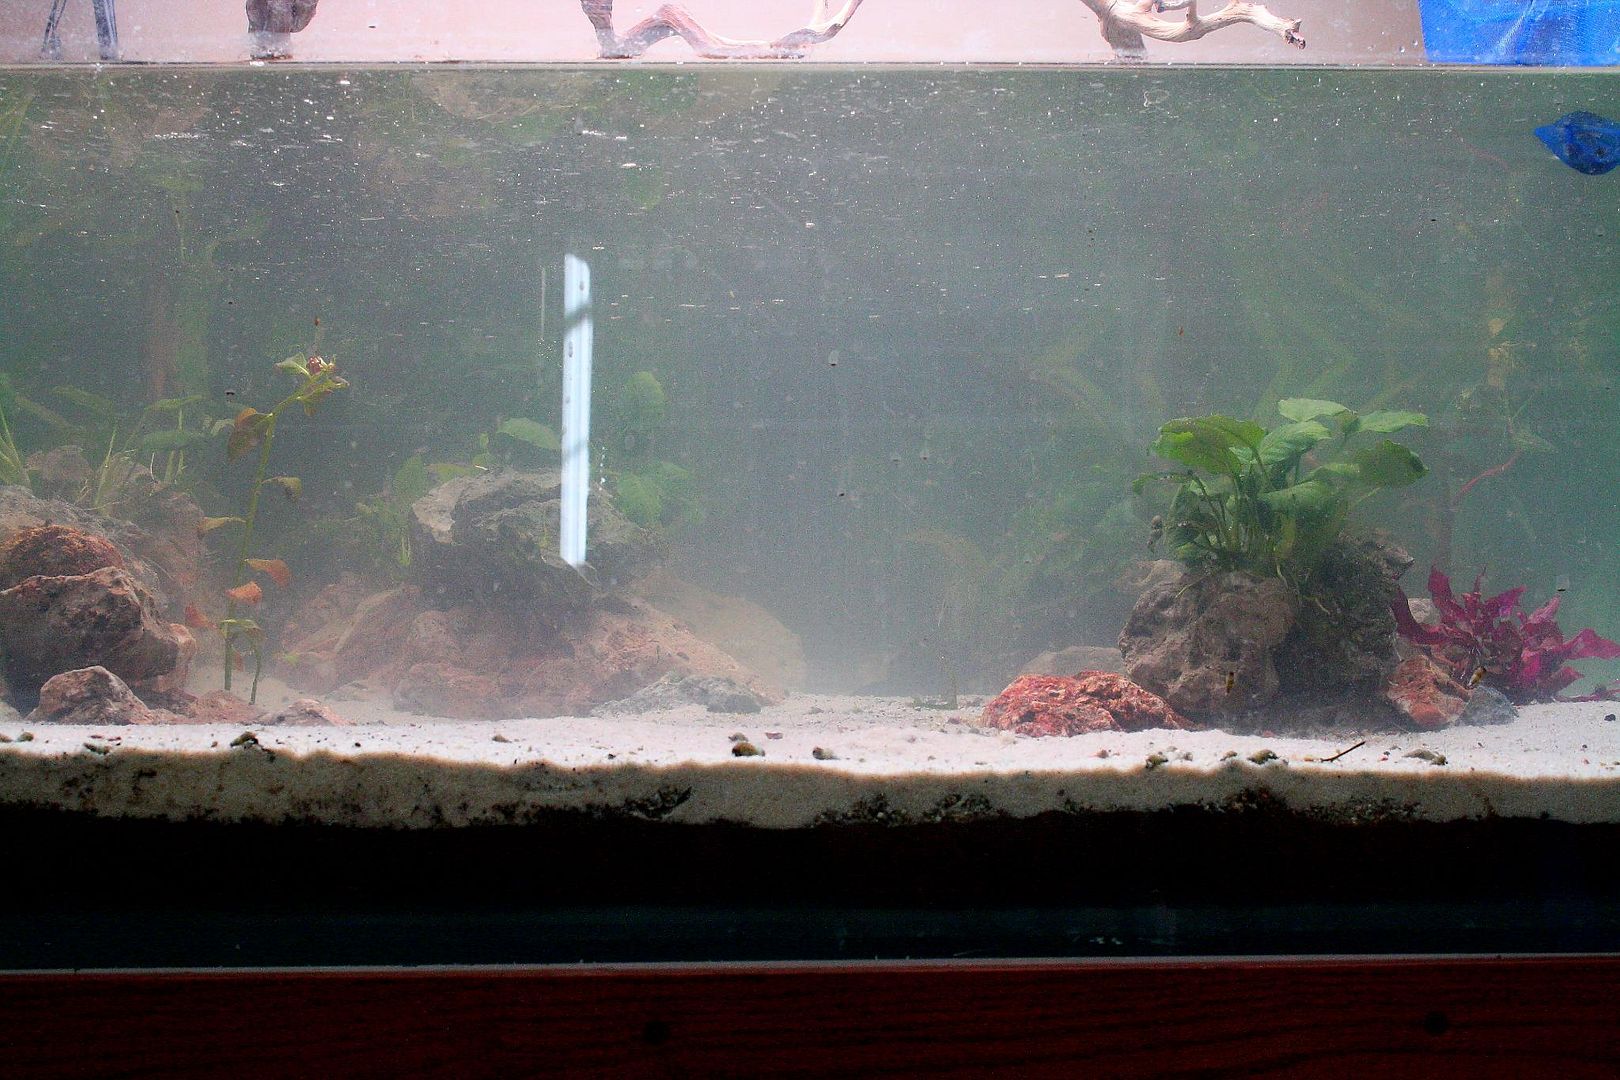
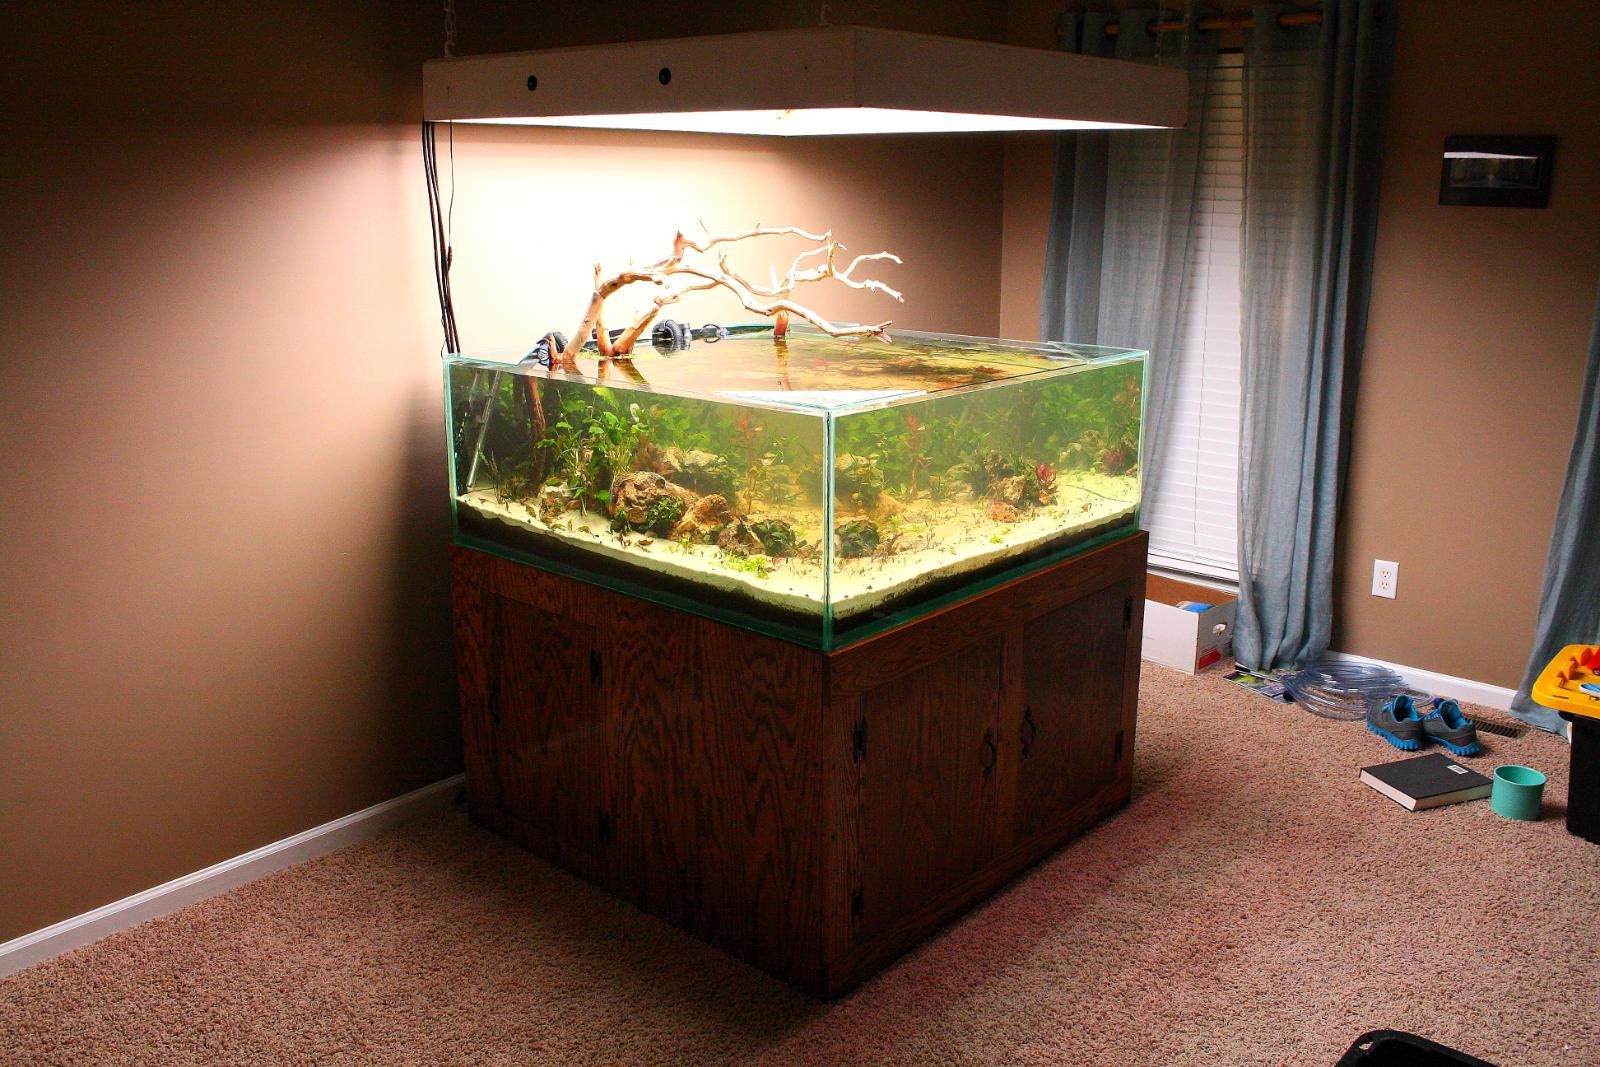
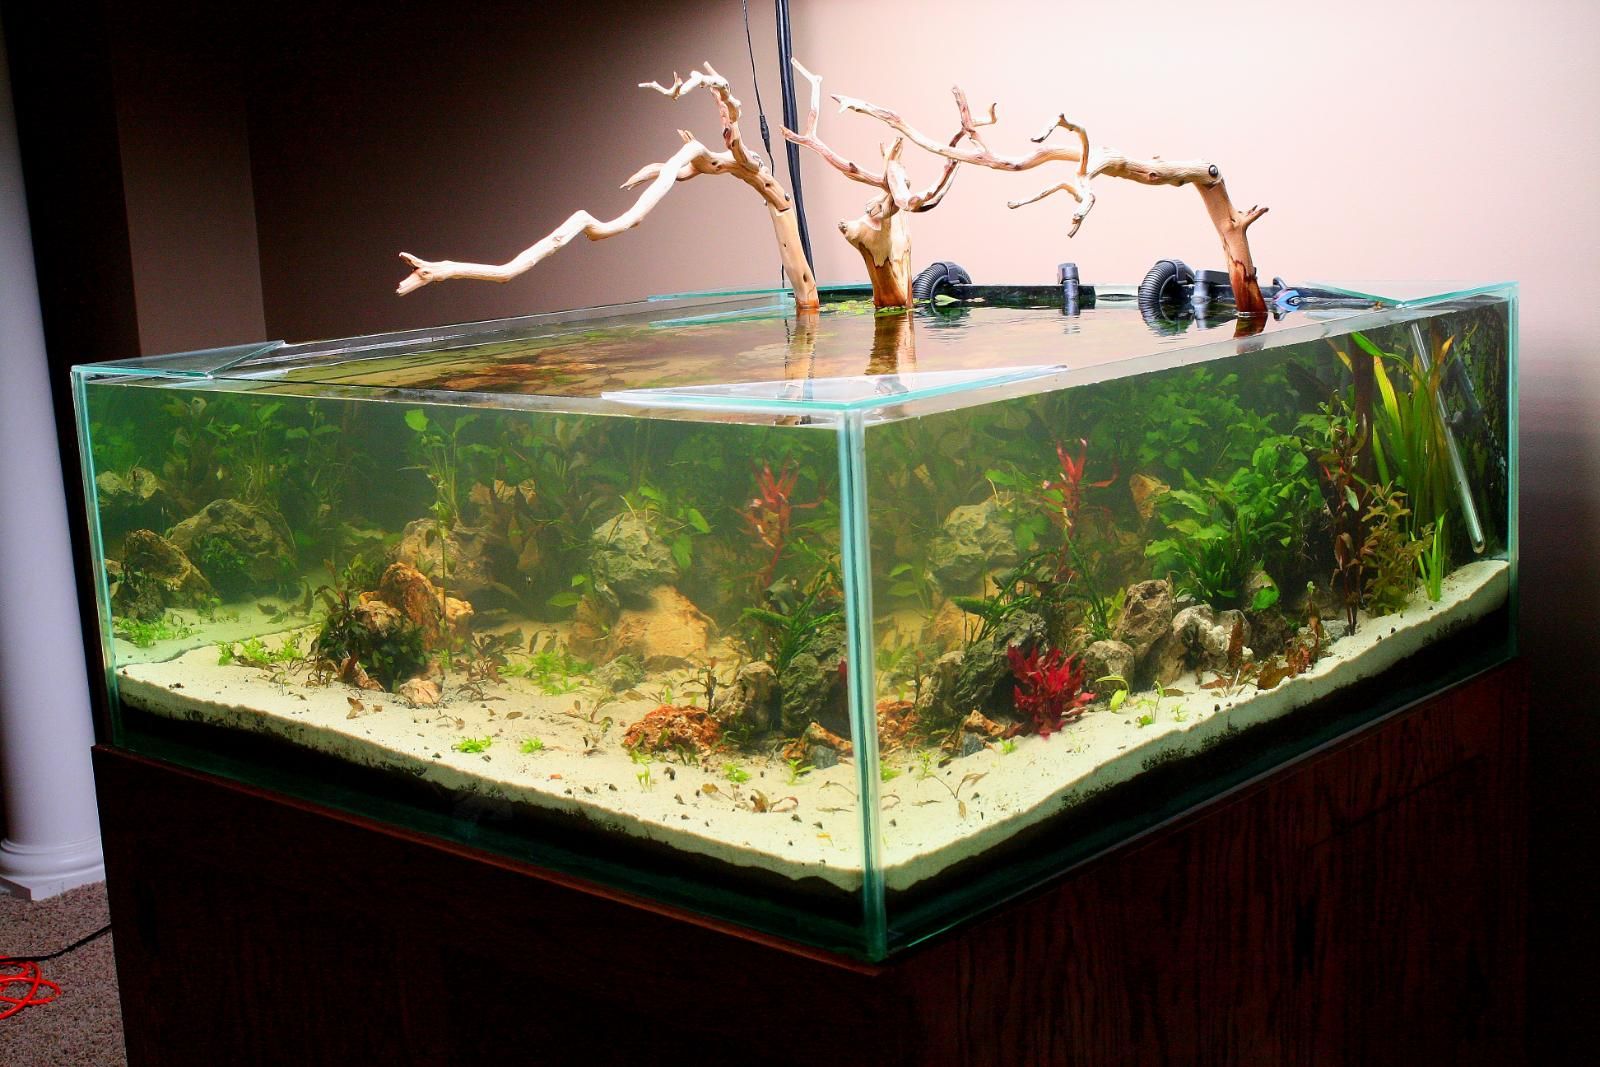
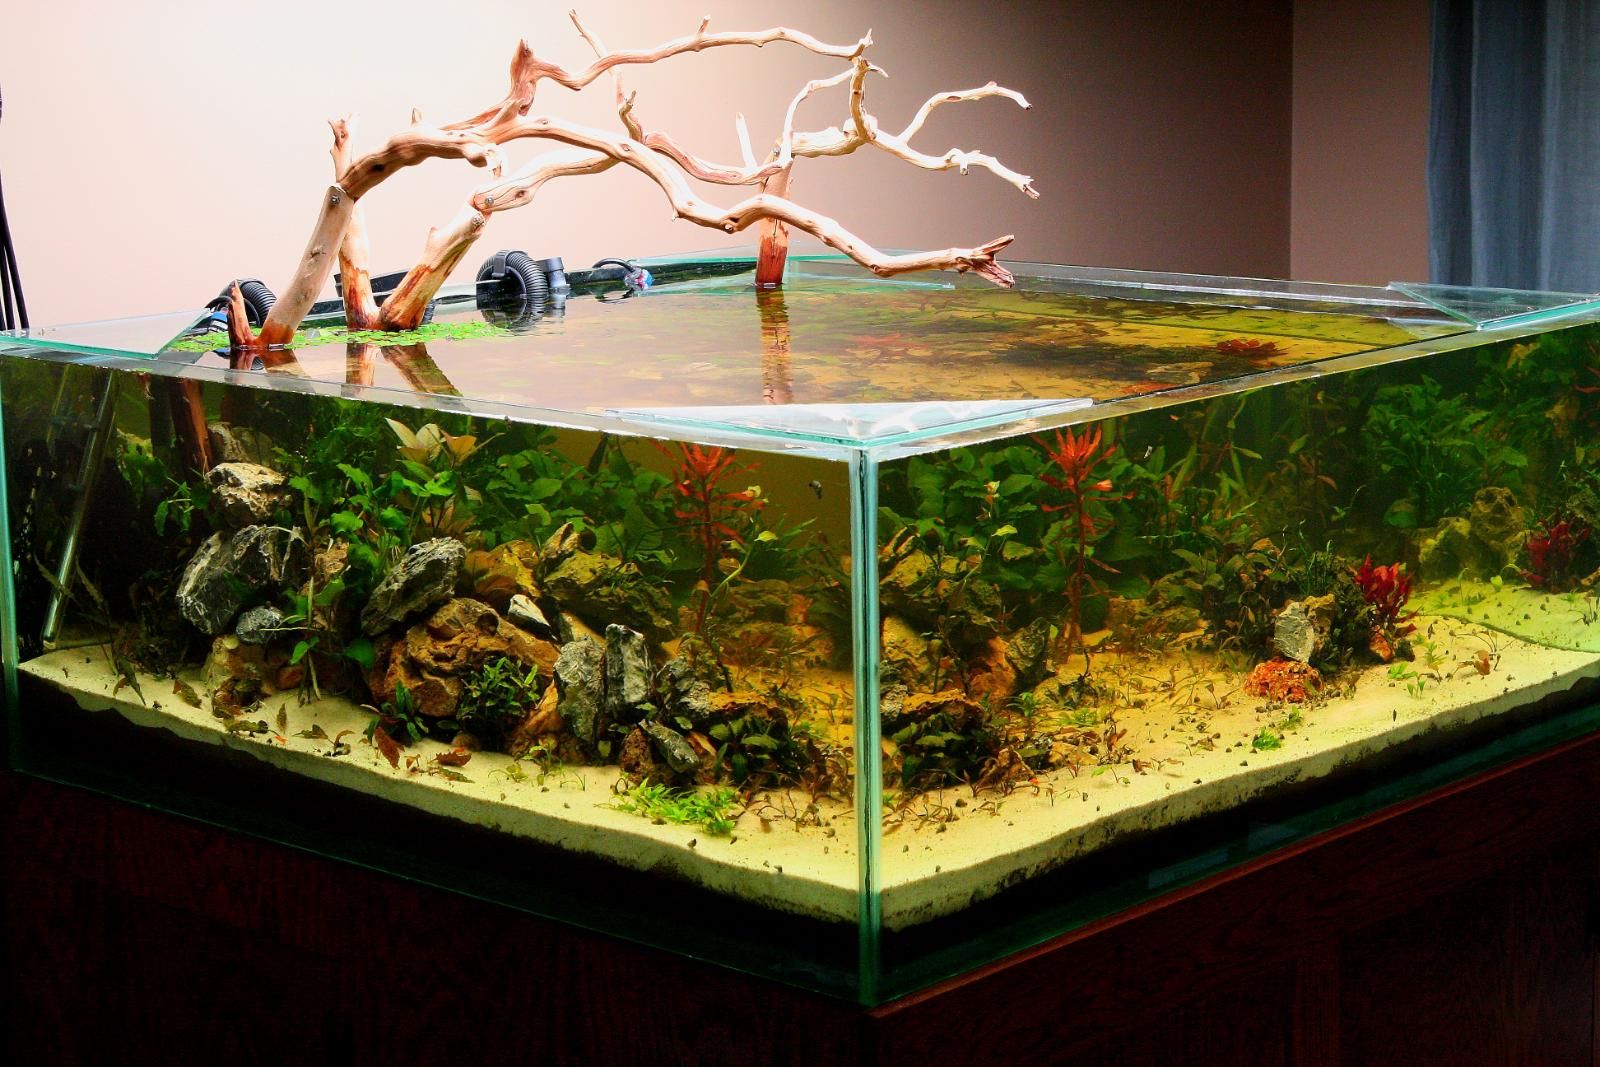
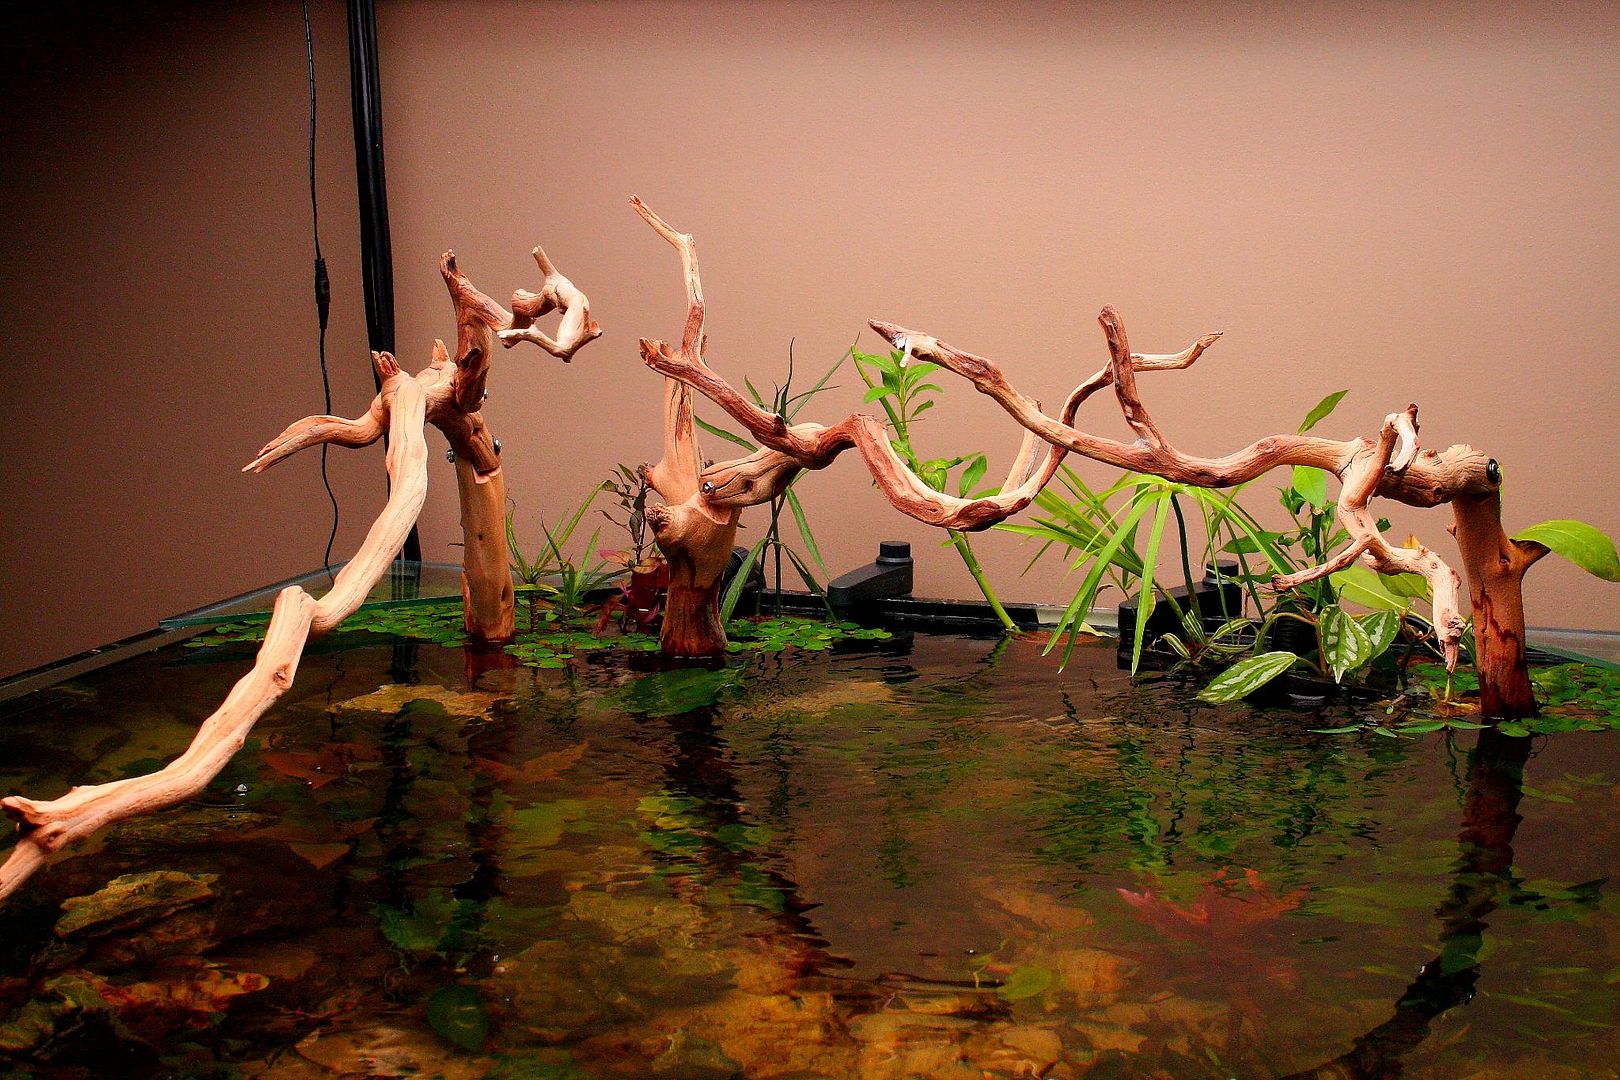
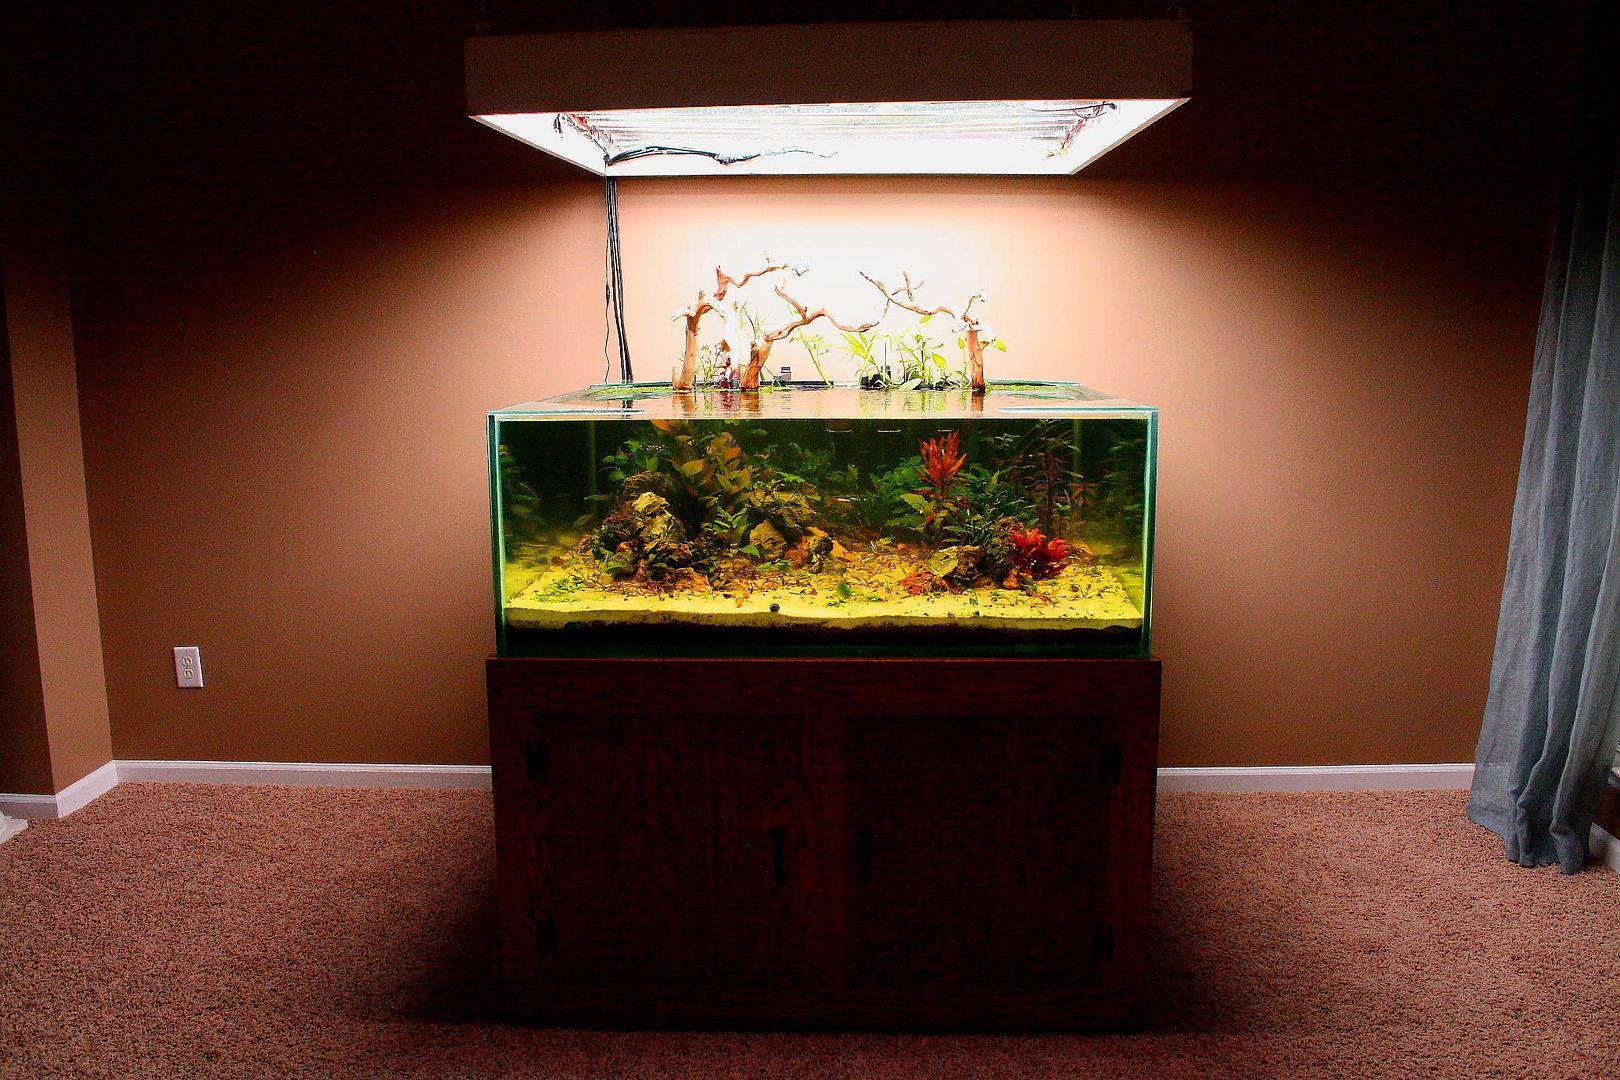
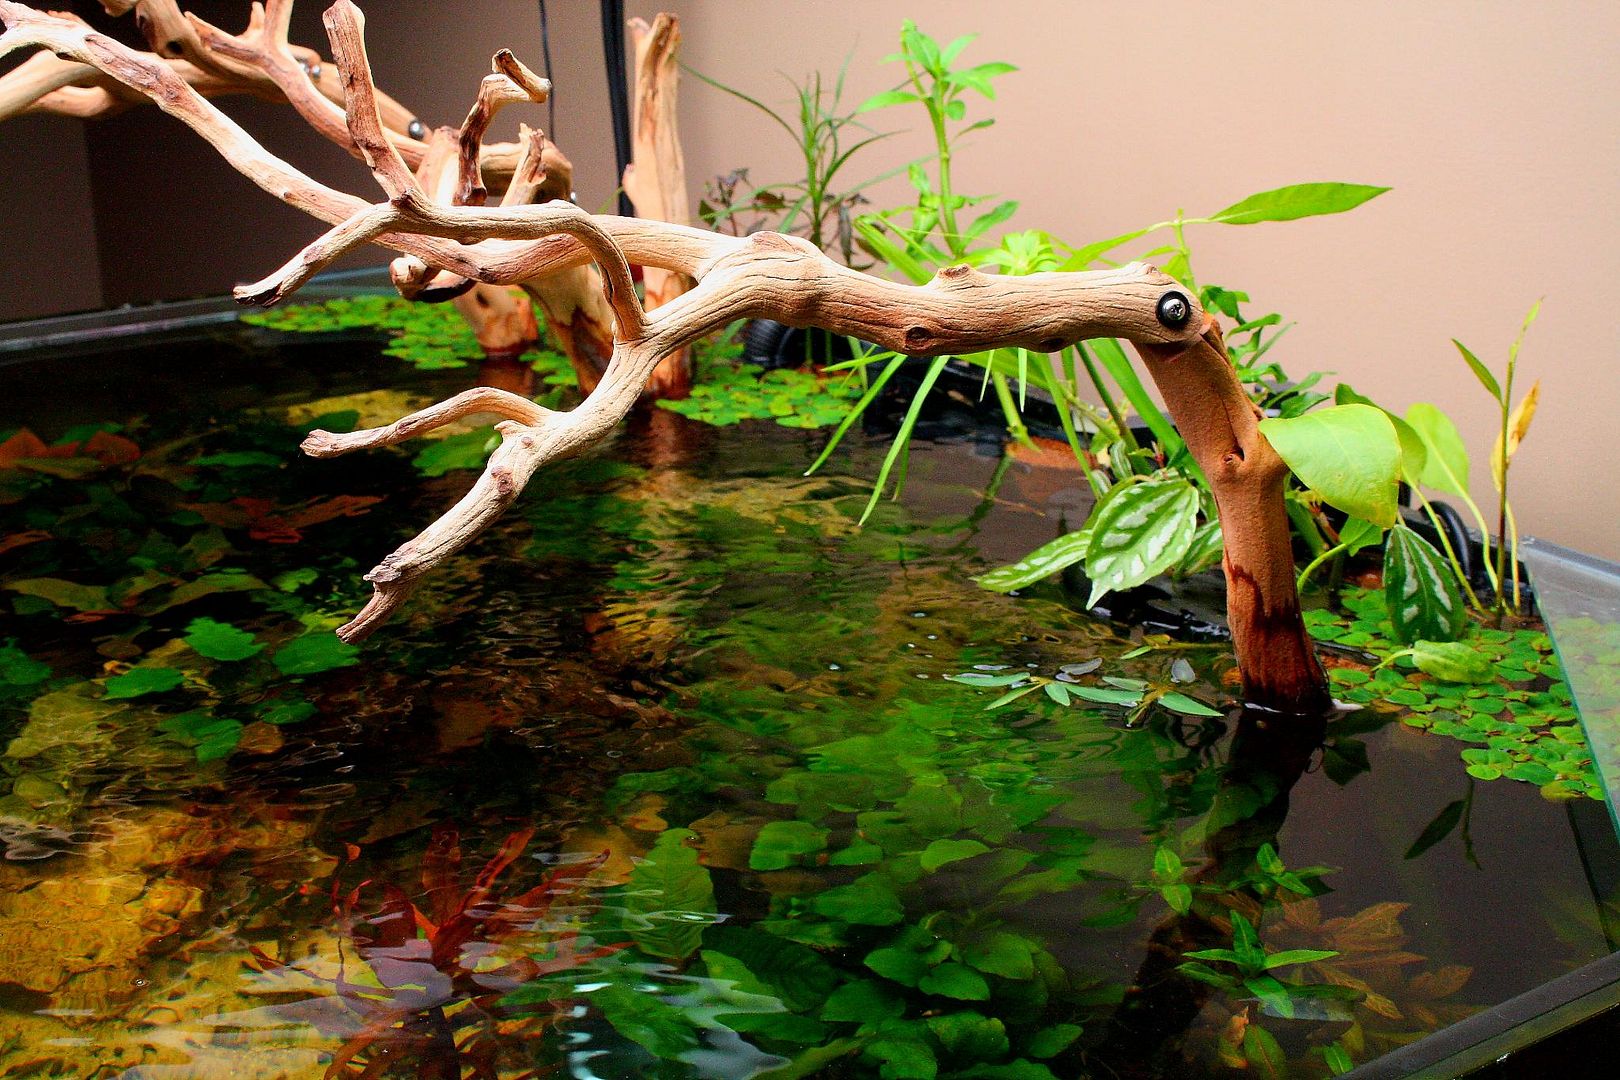
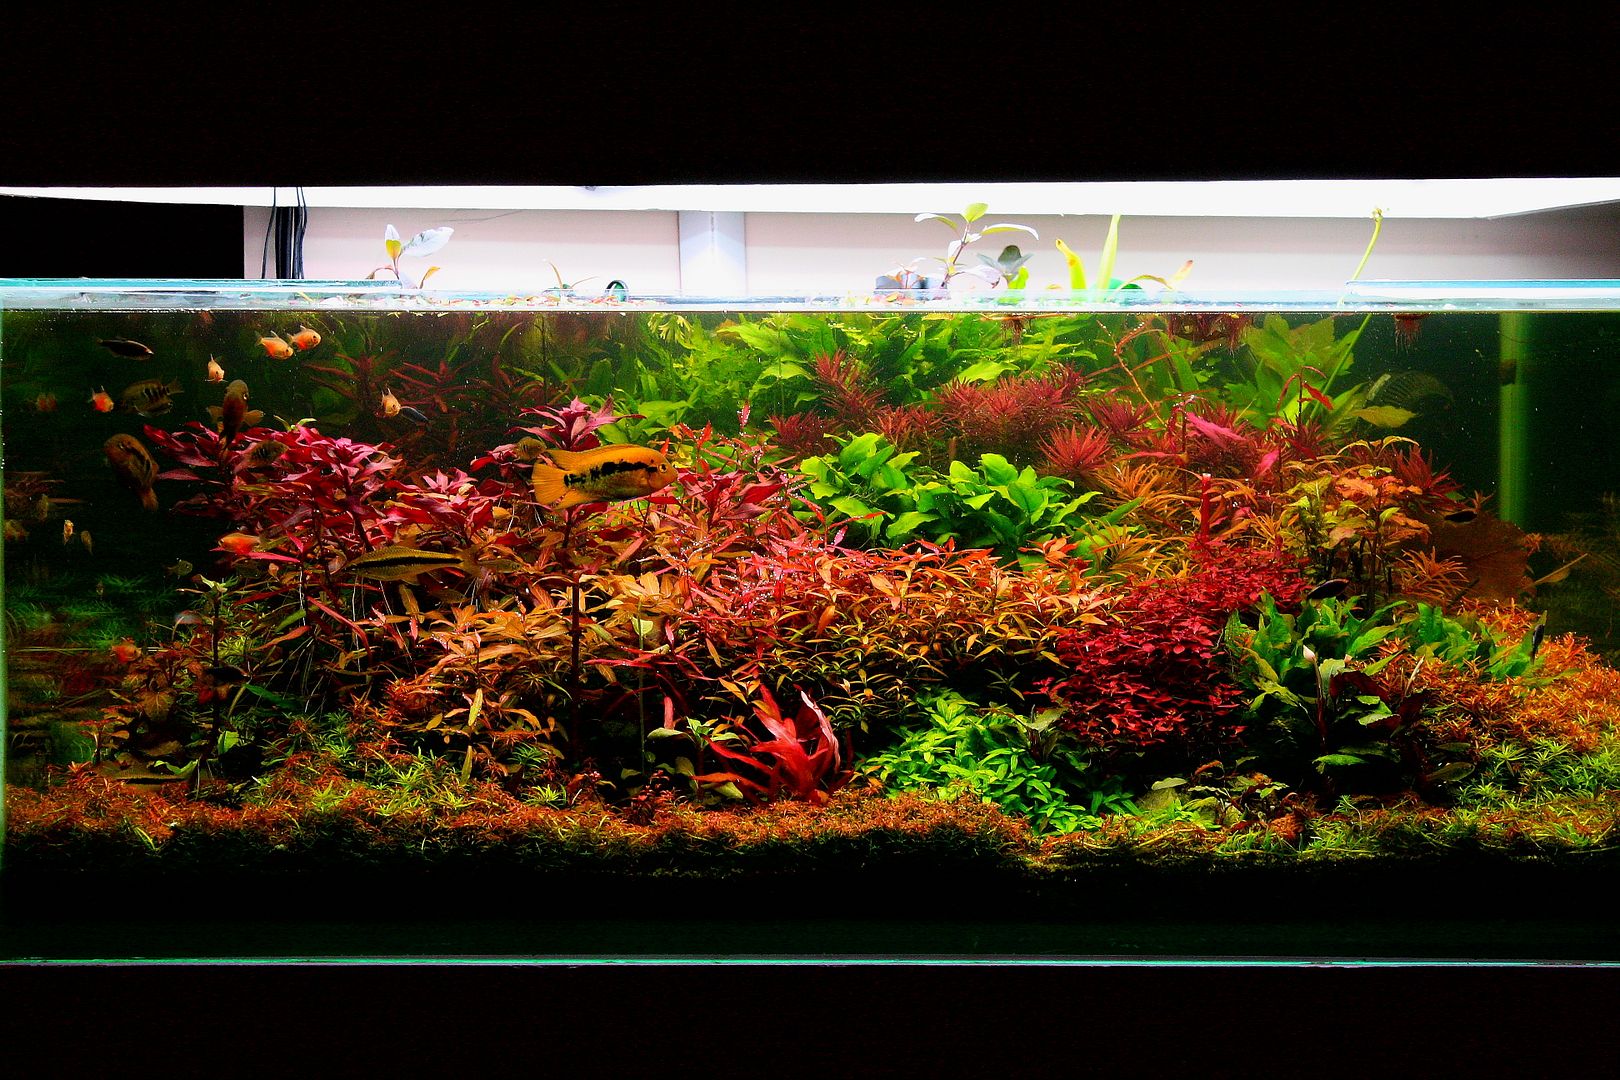
and this:
![Image]()
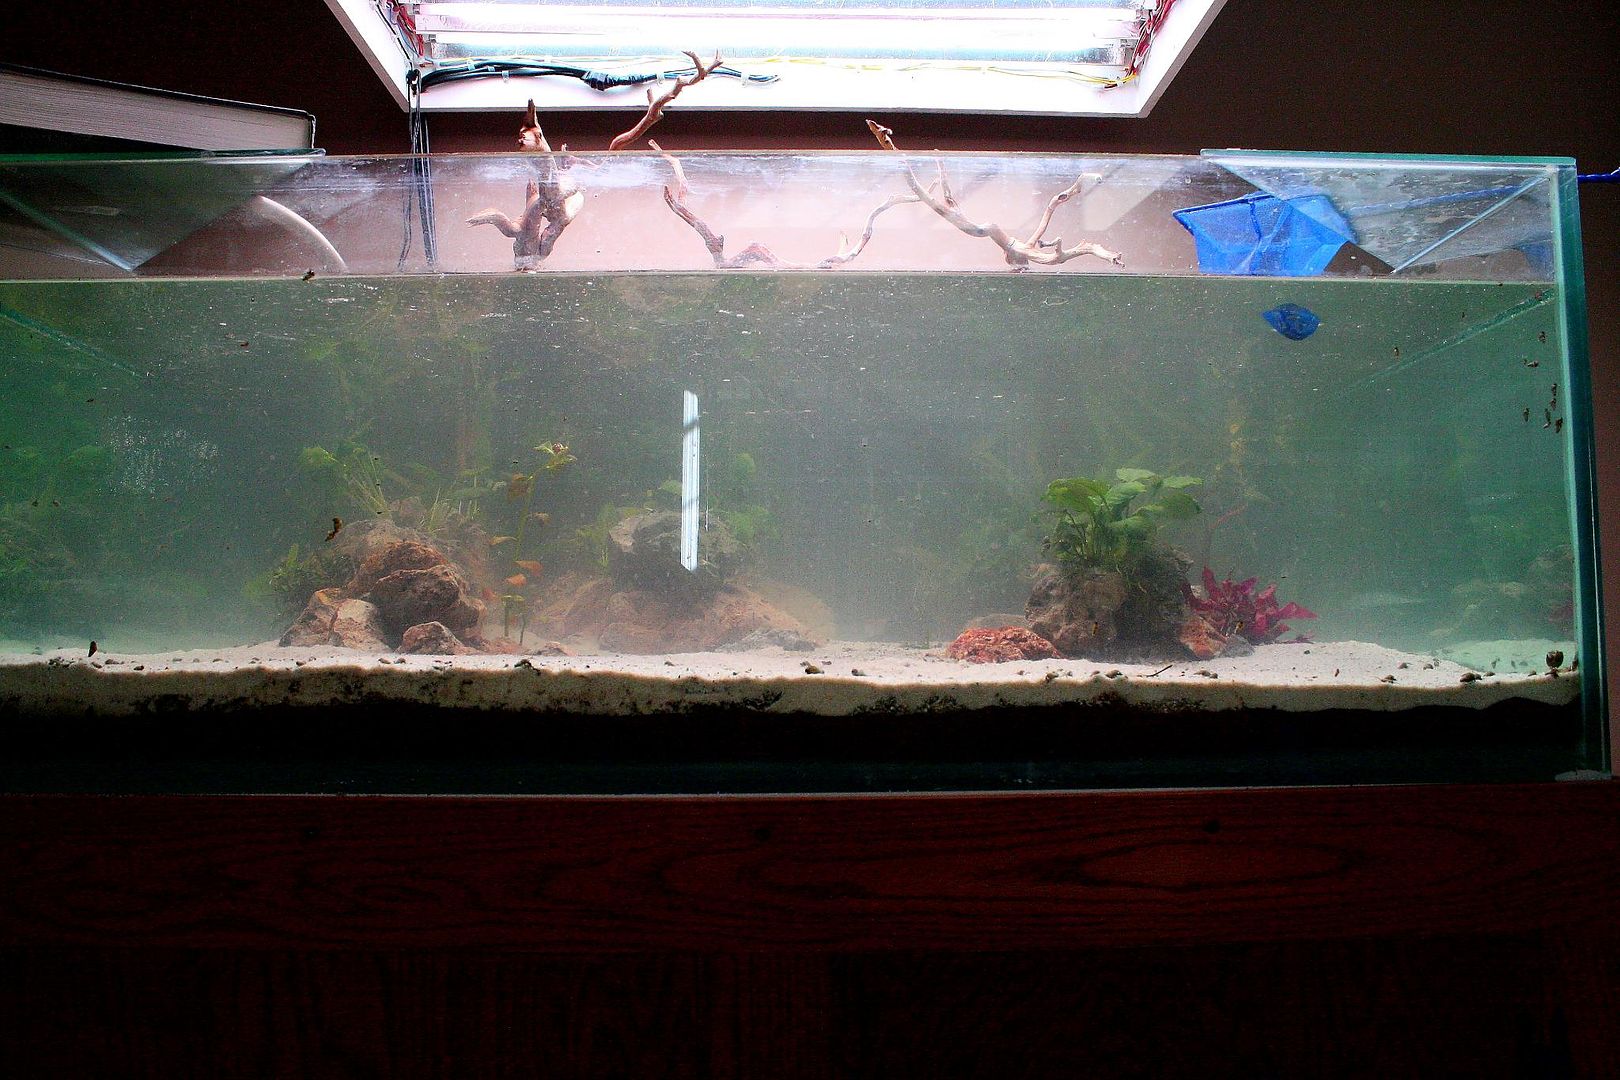
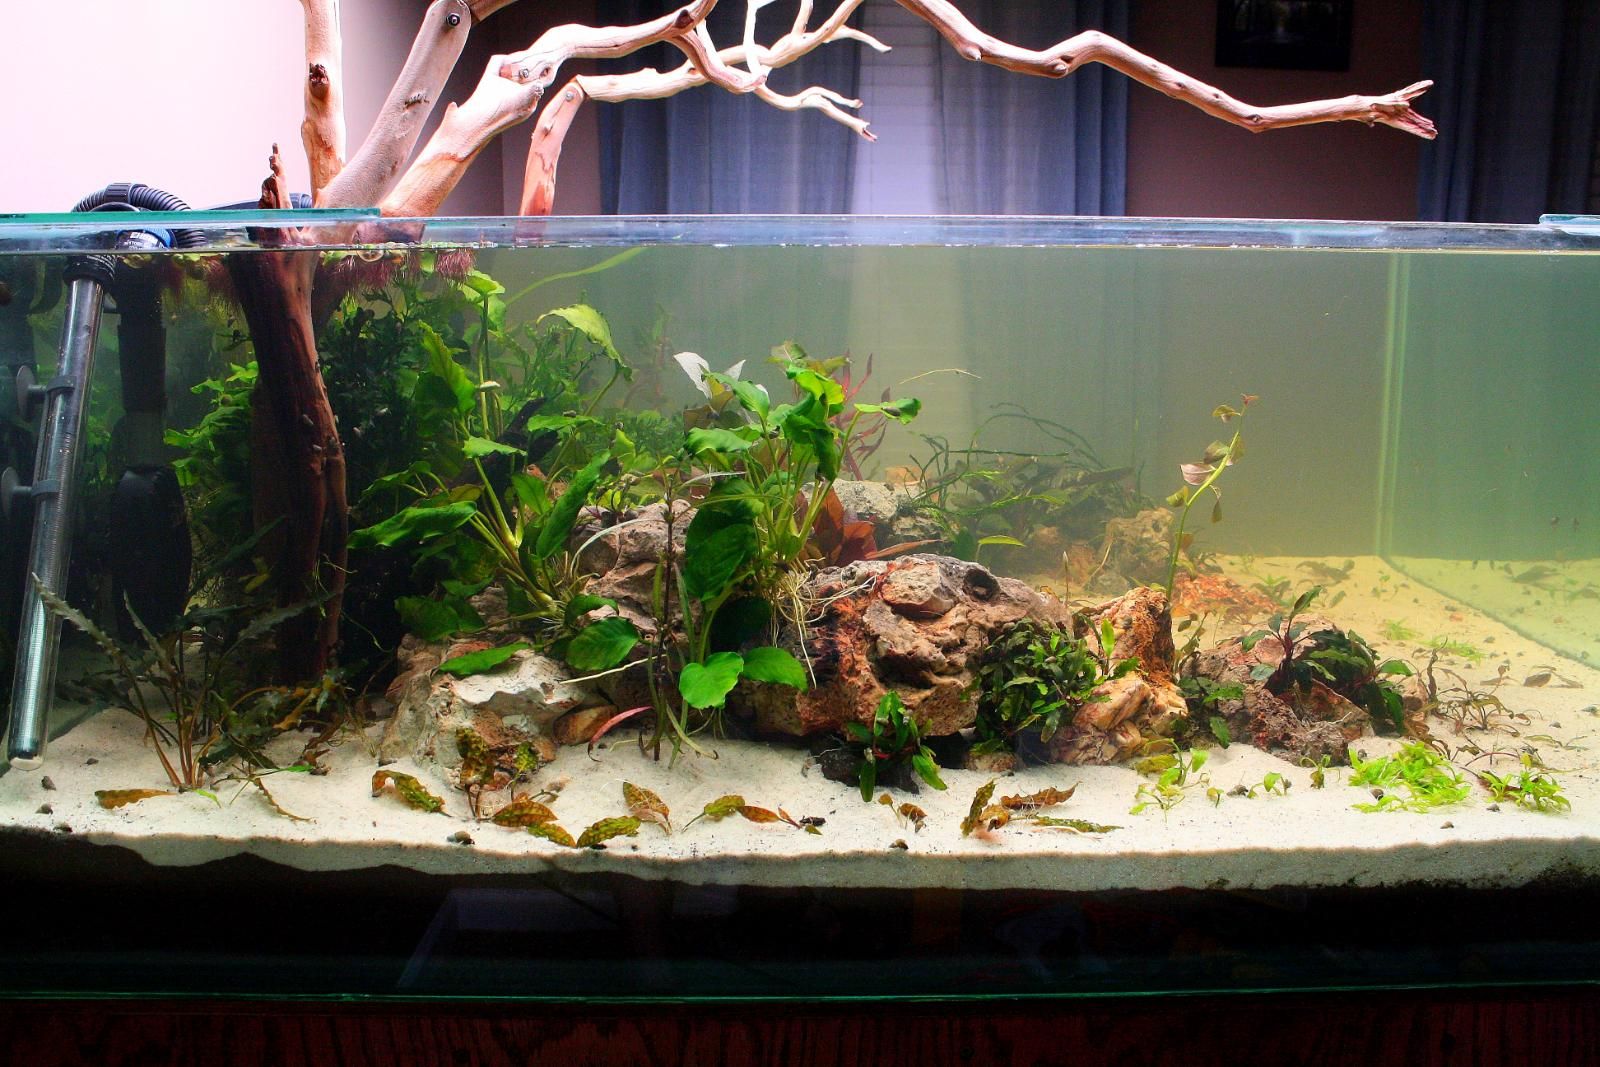
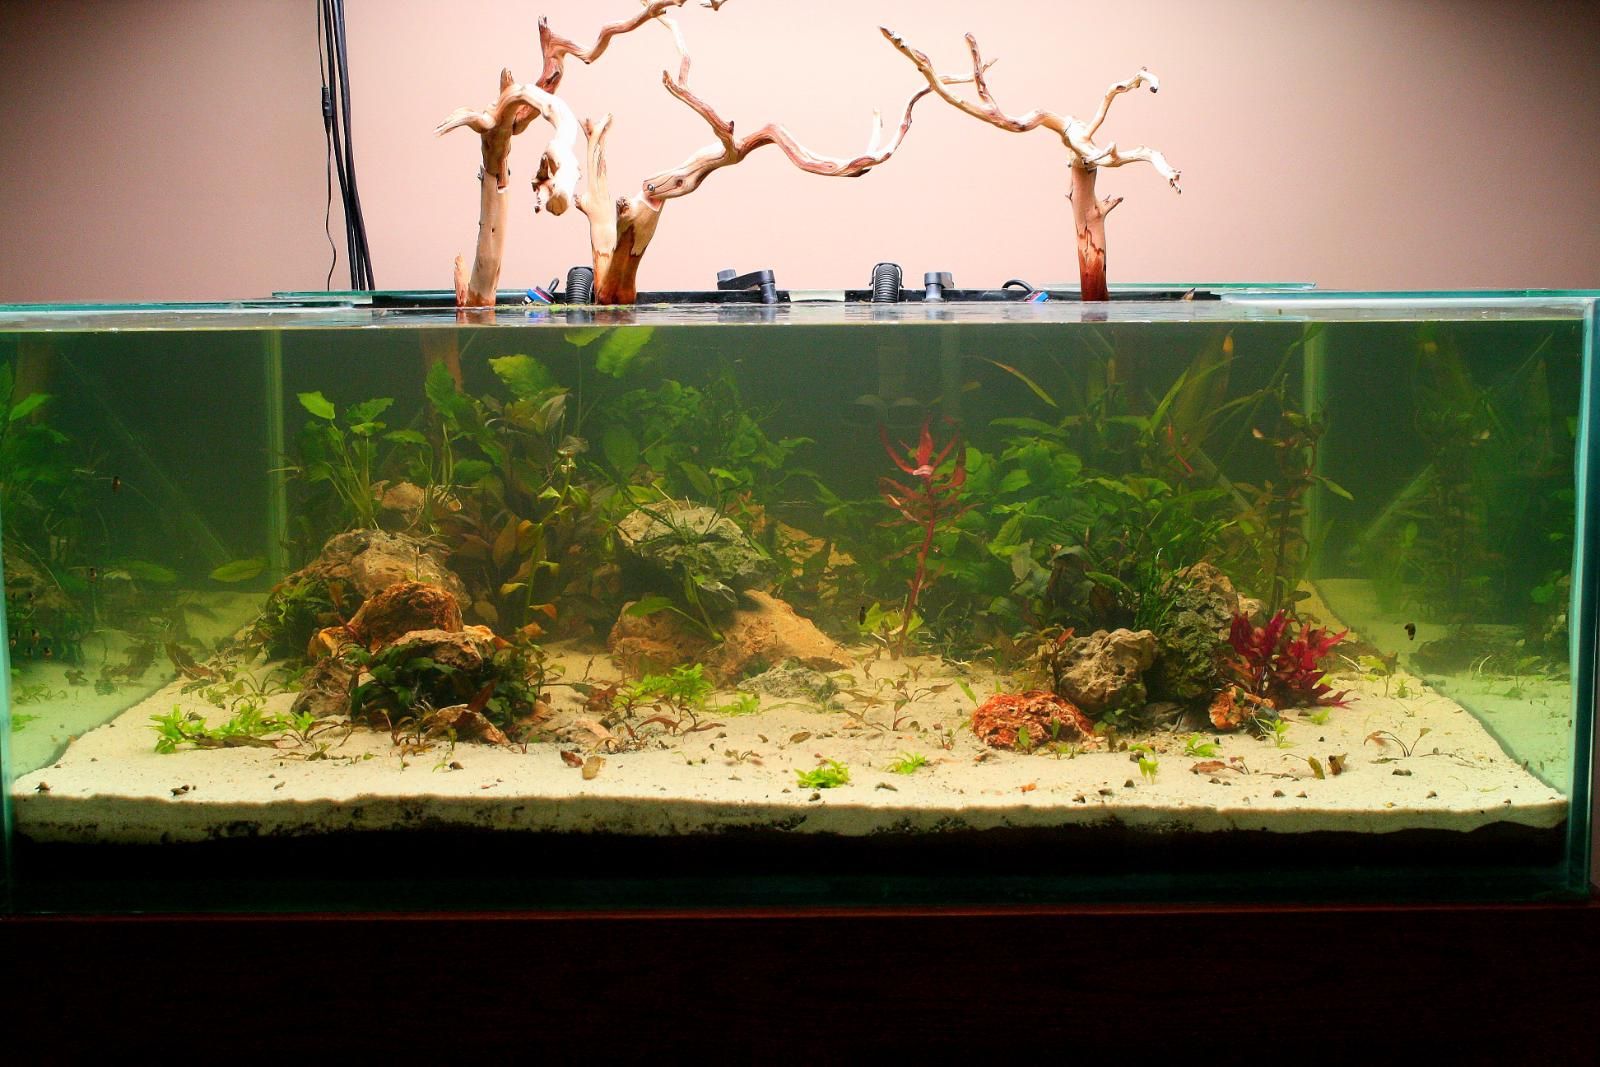
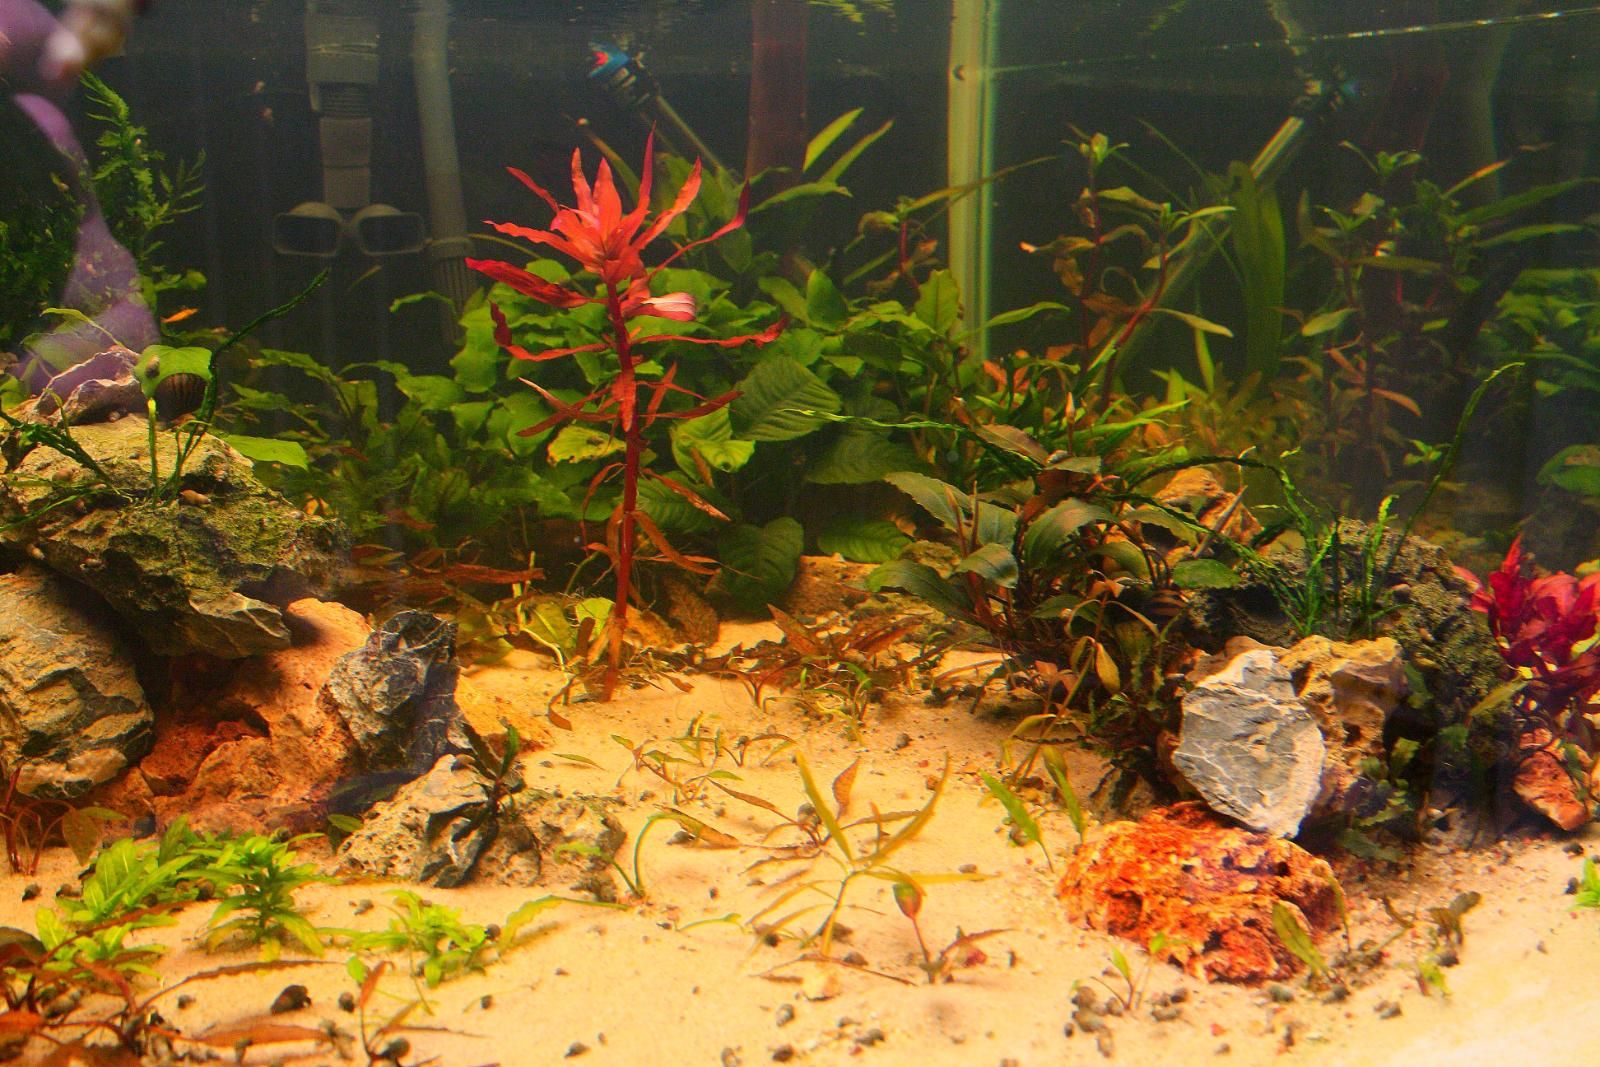
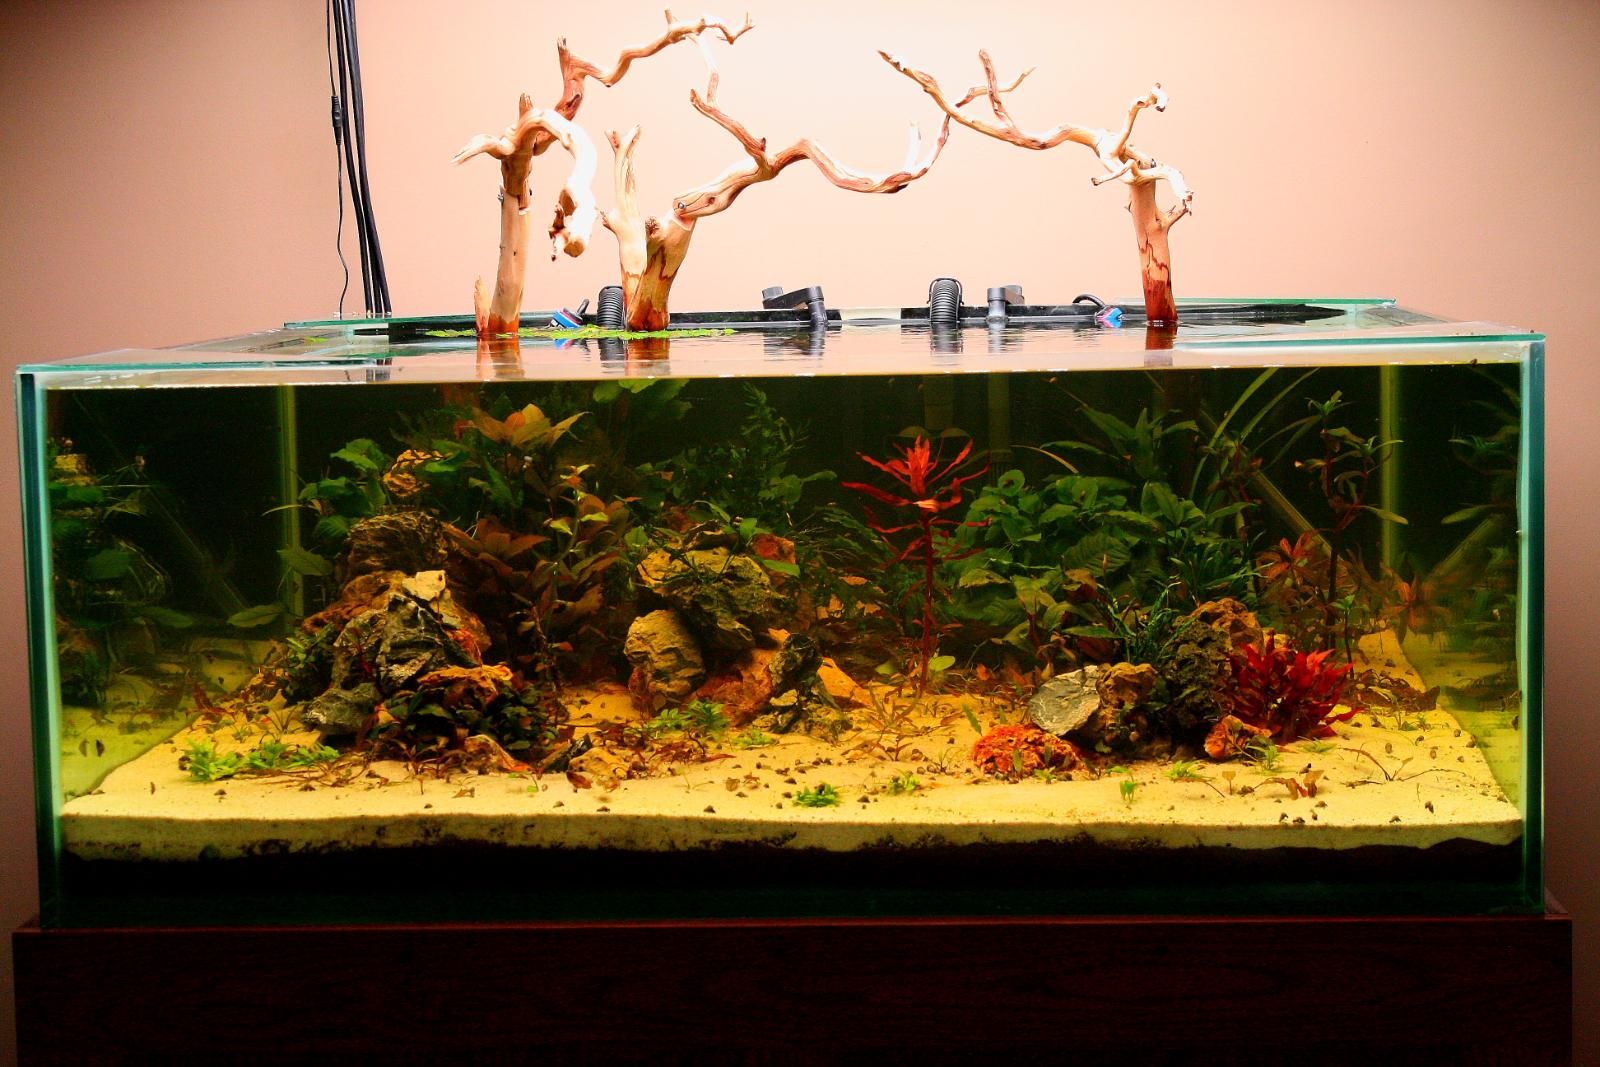
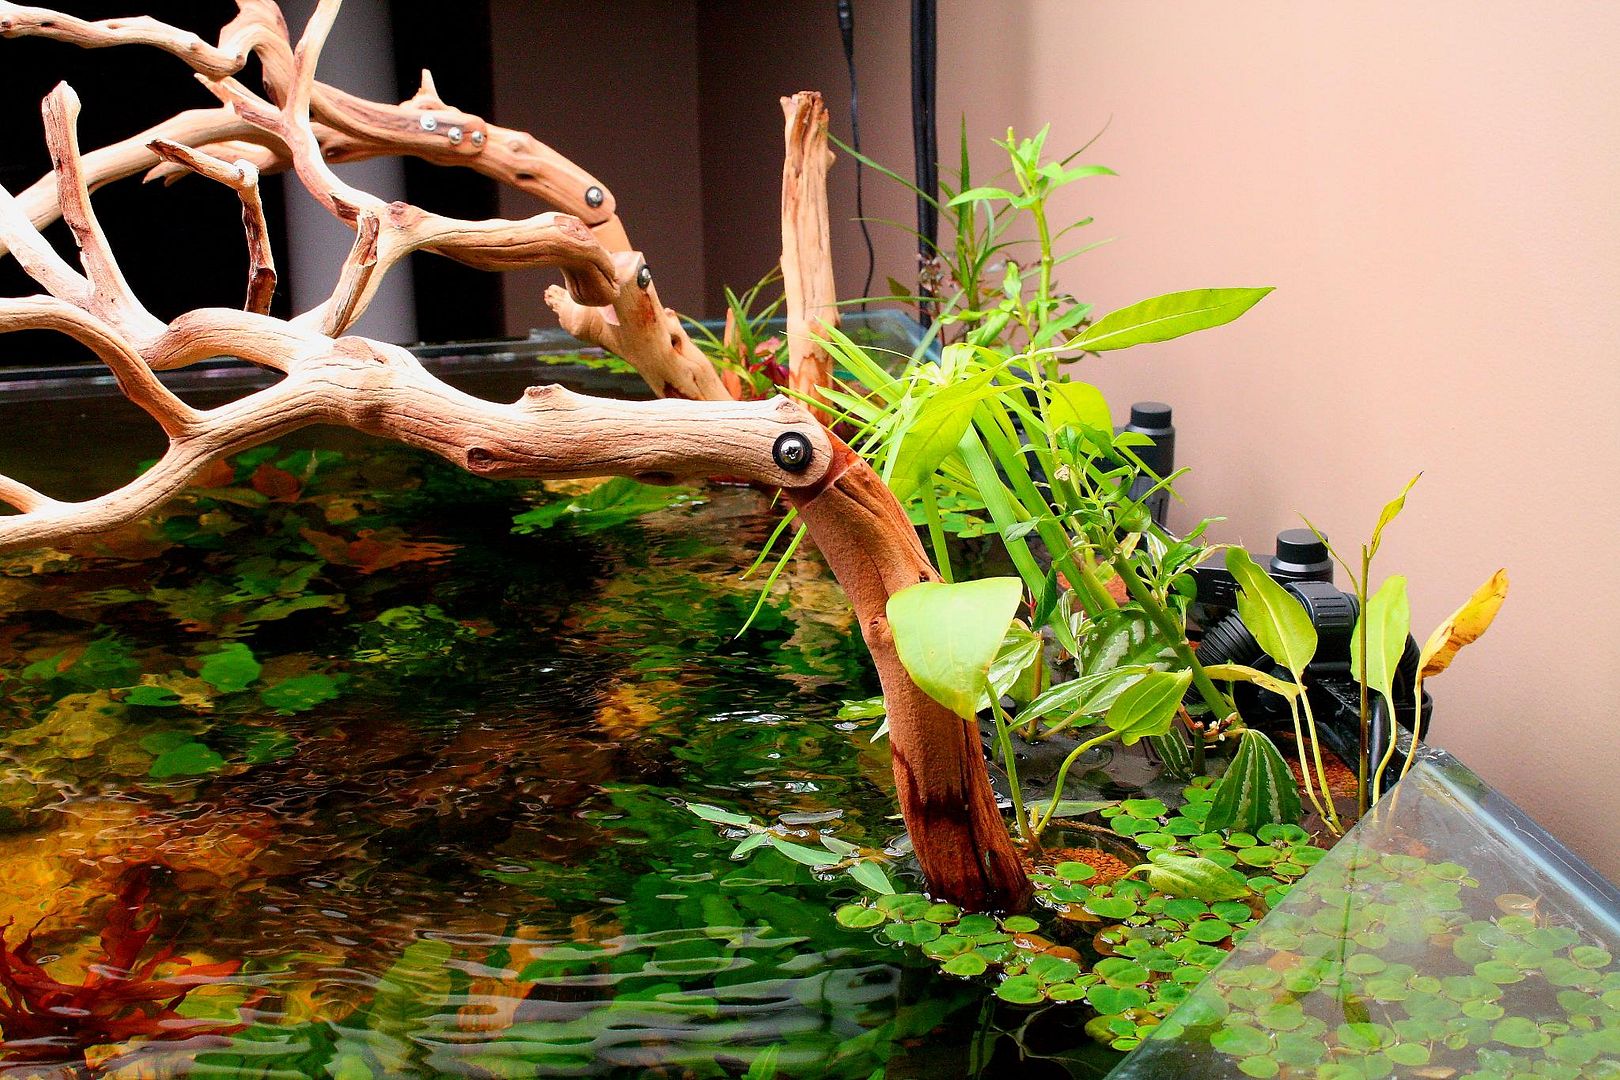
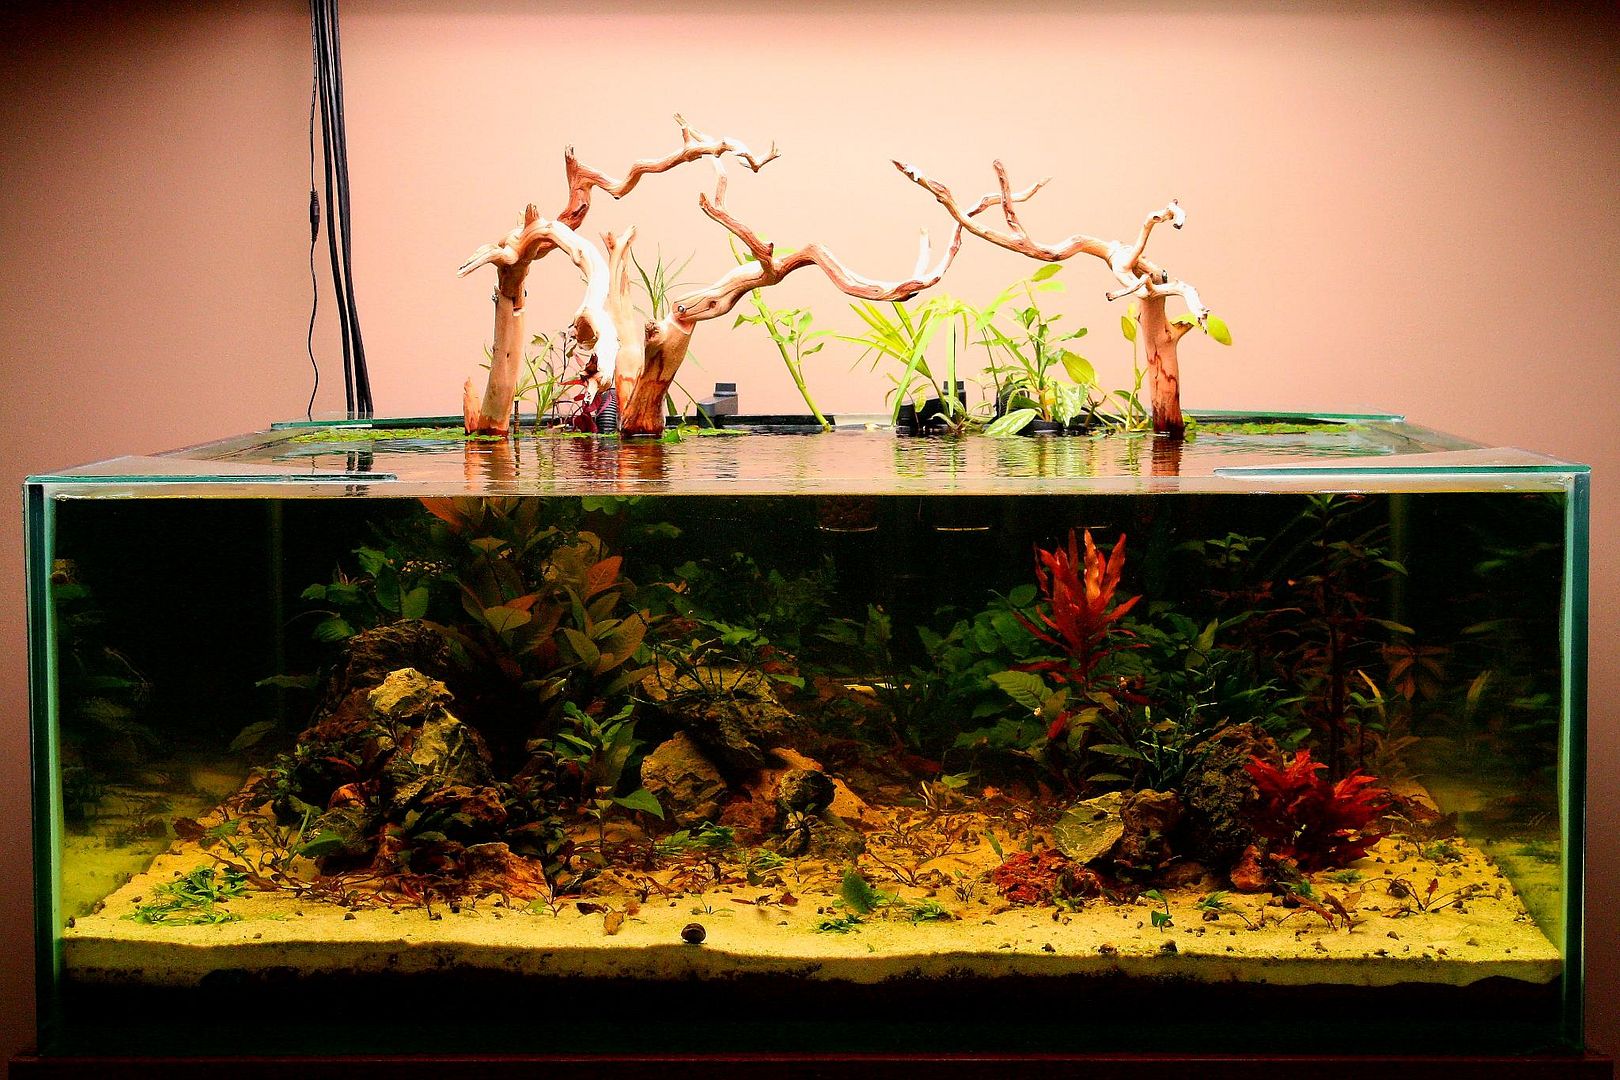
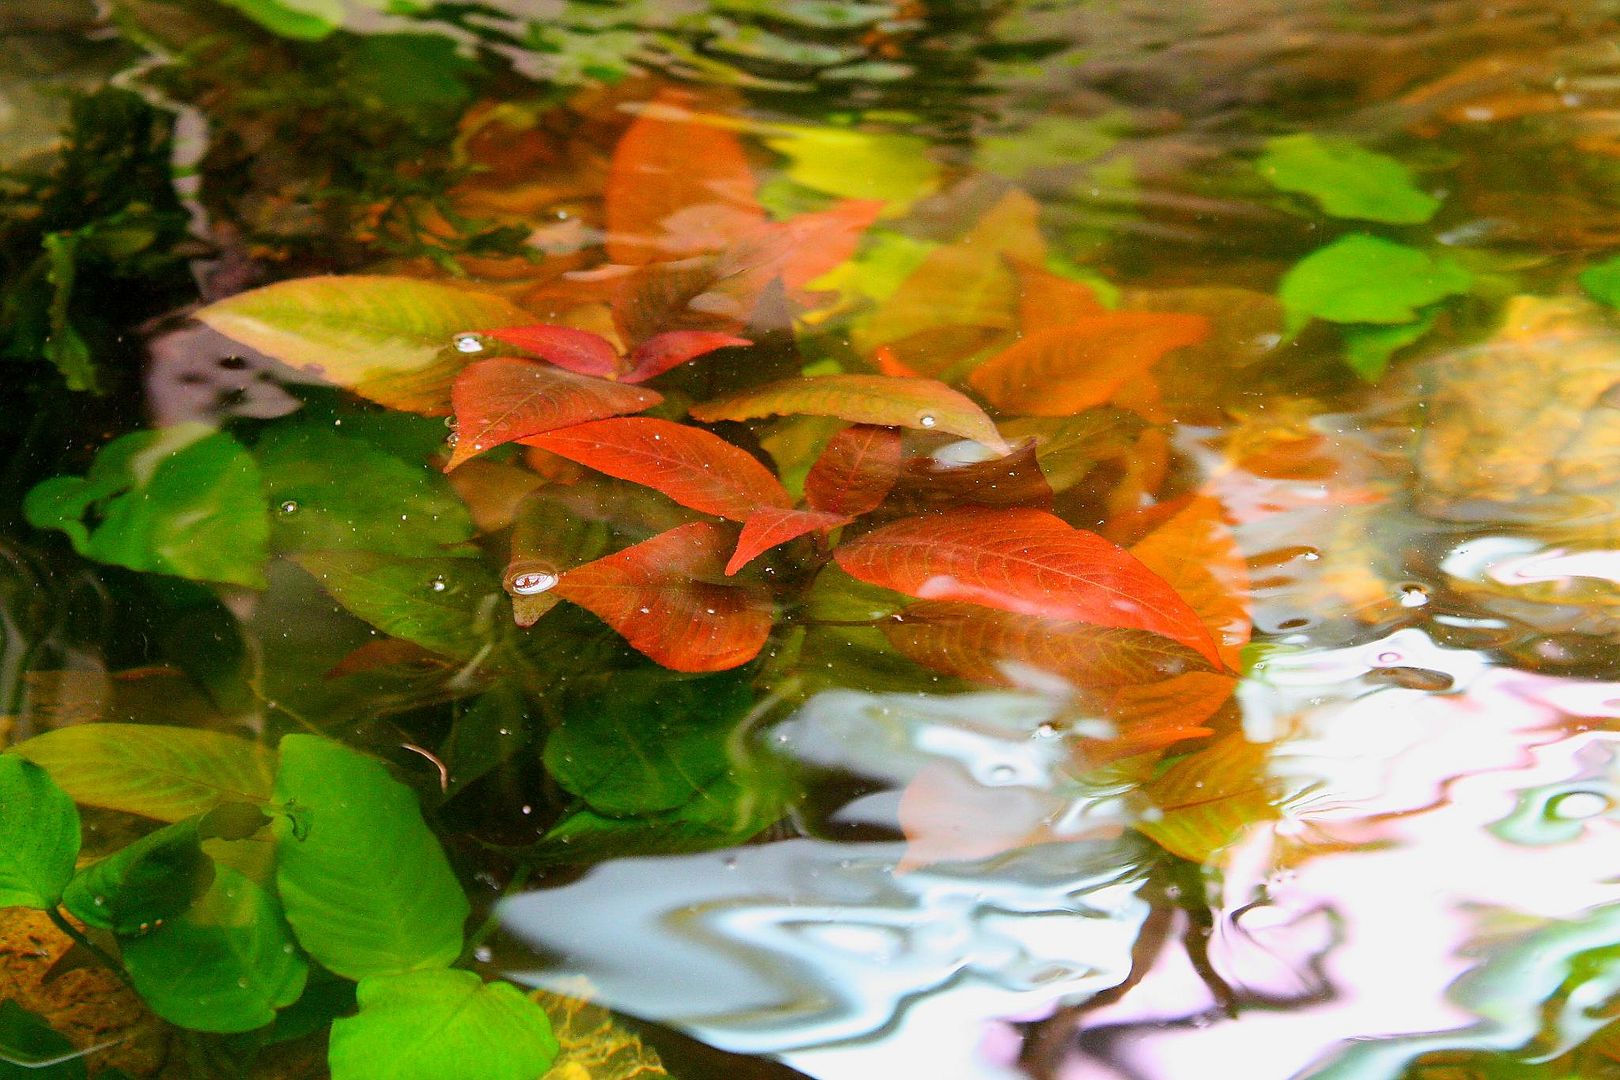
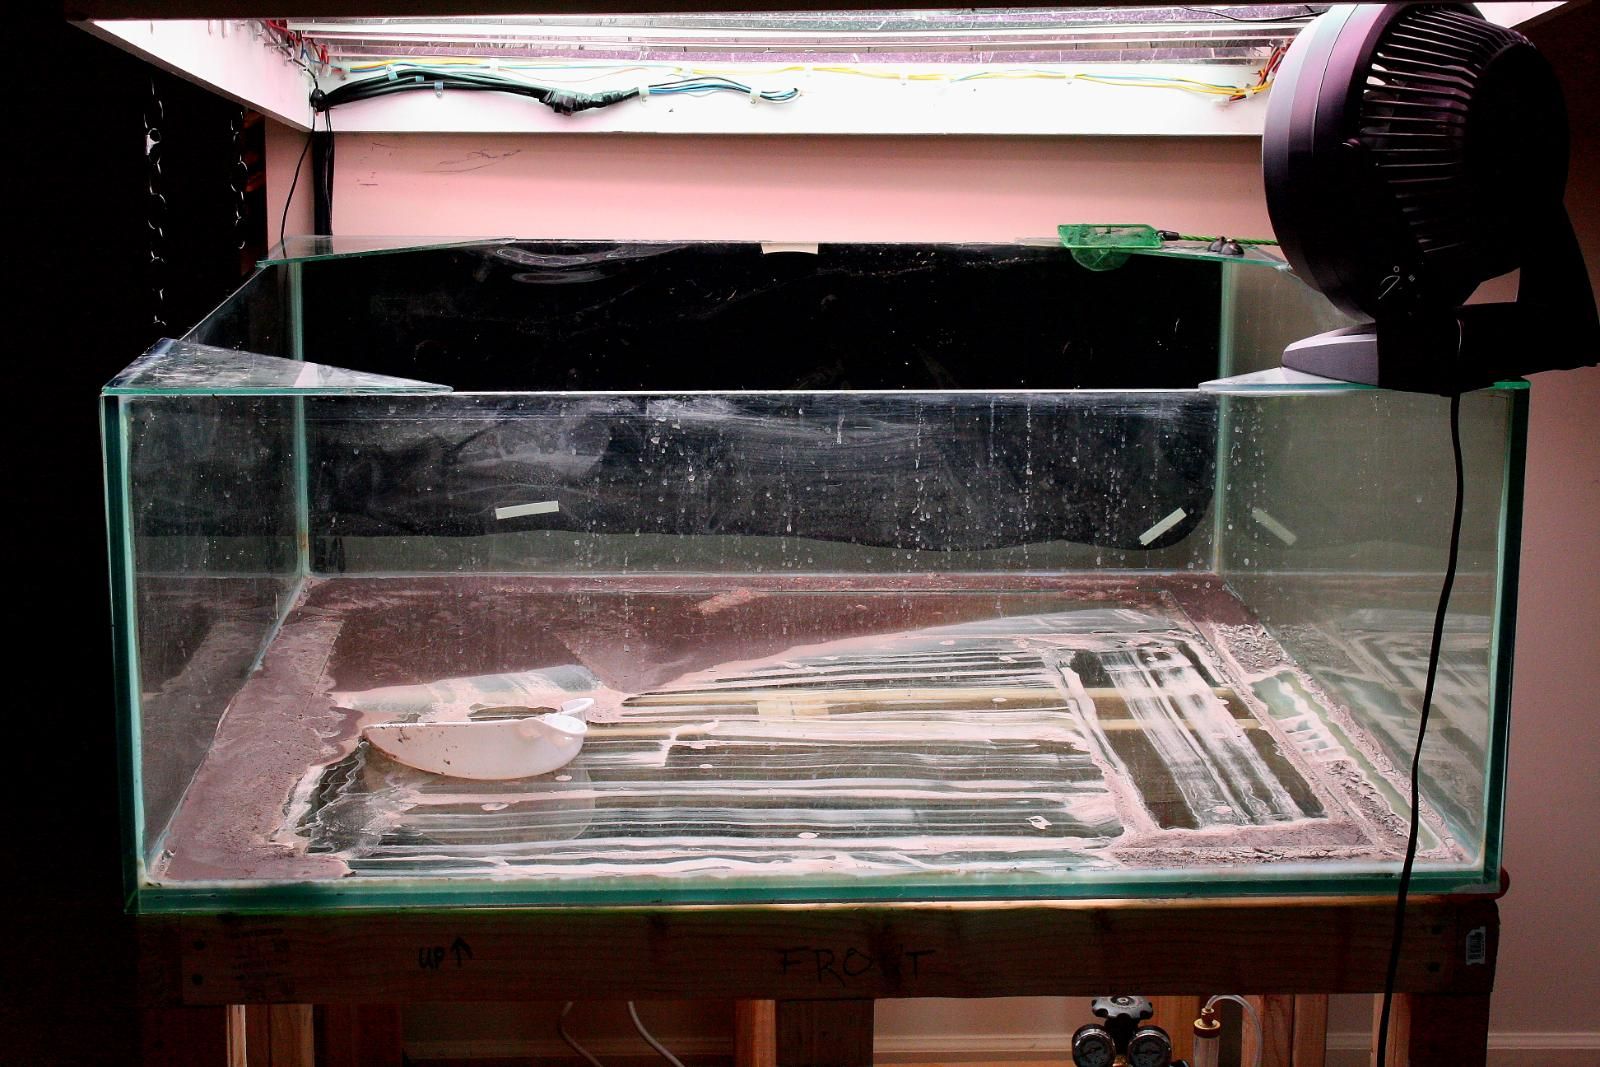
To THIS:
![Image]()
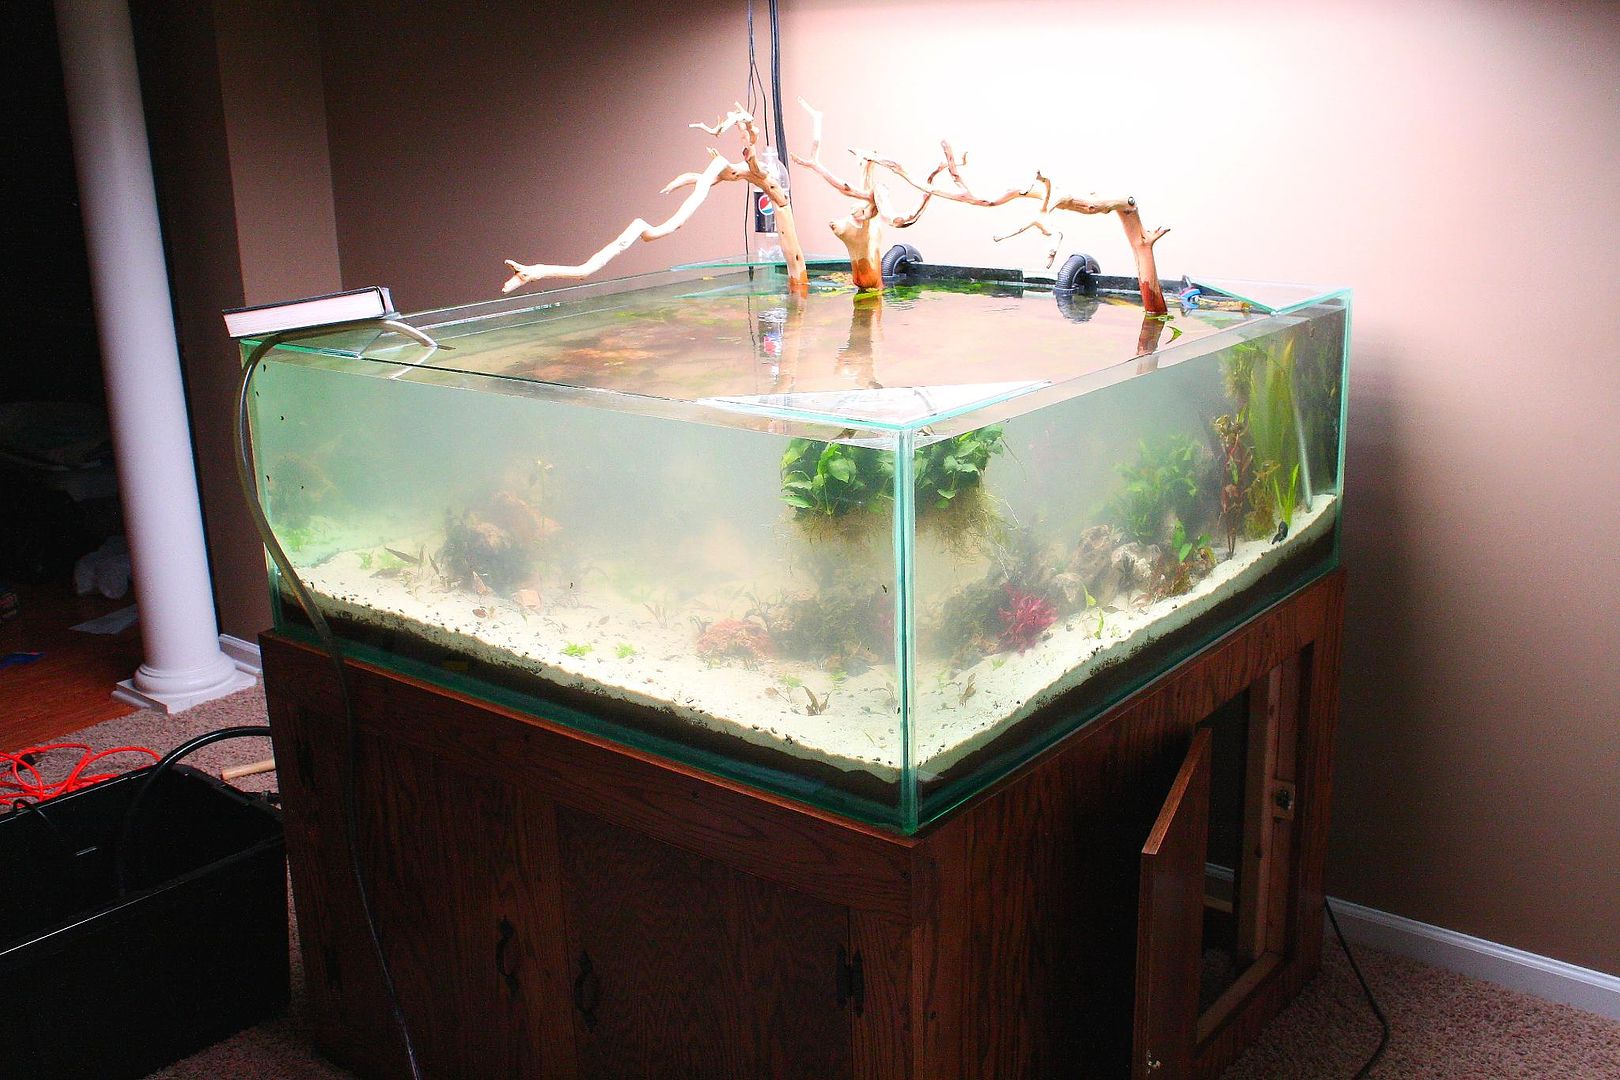
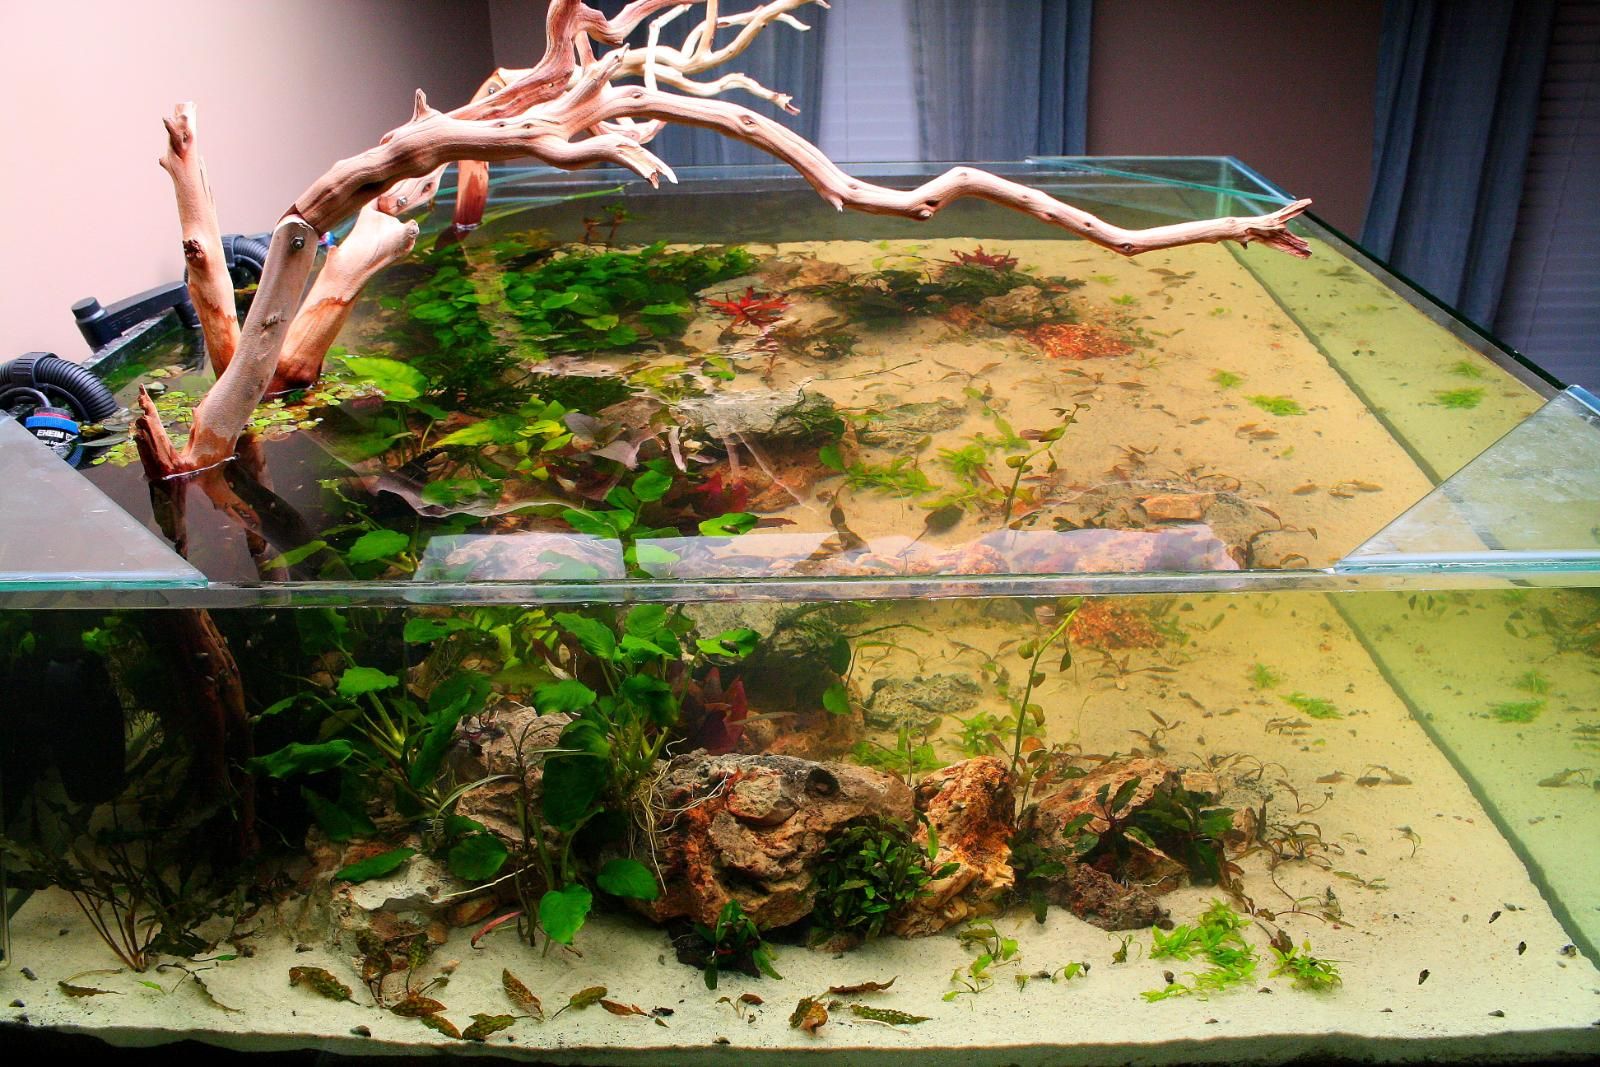
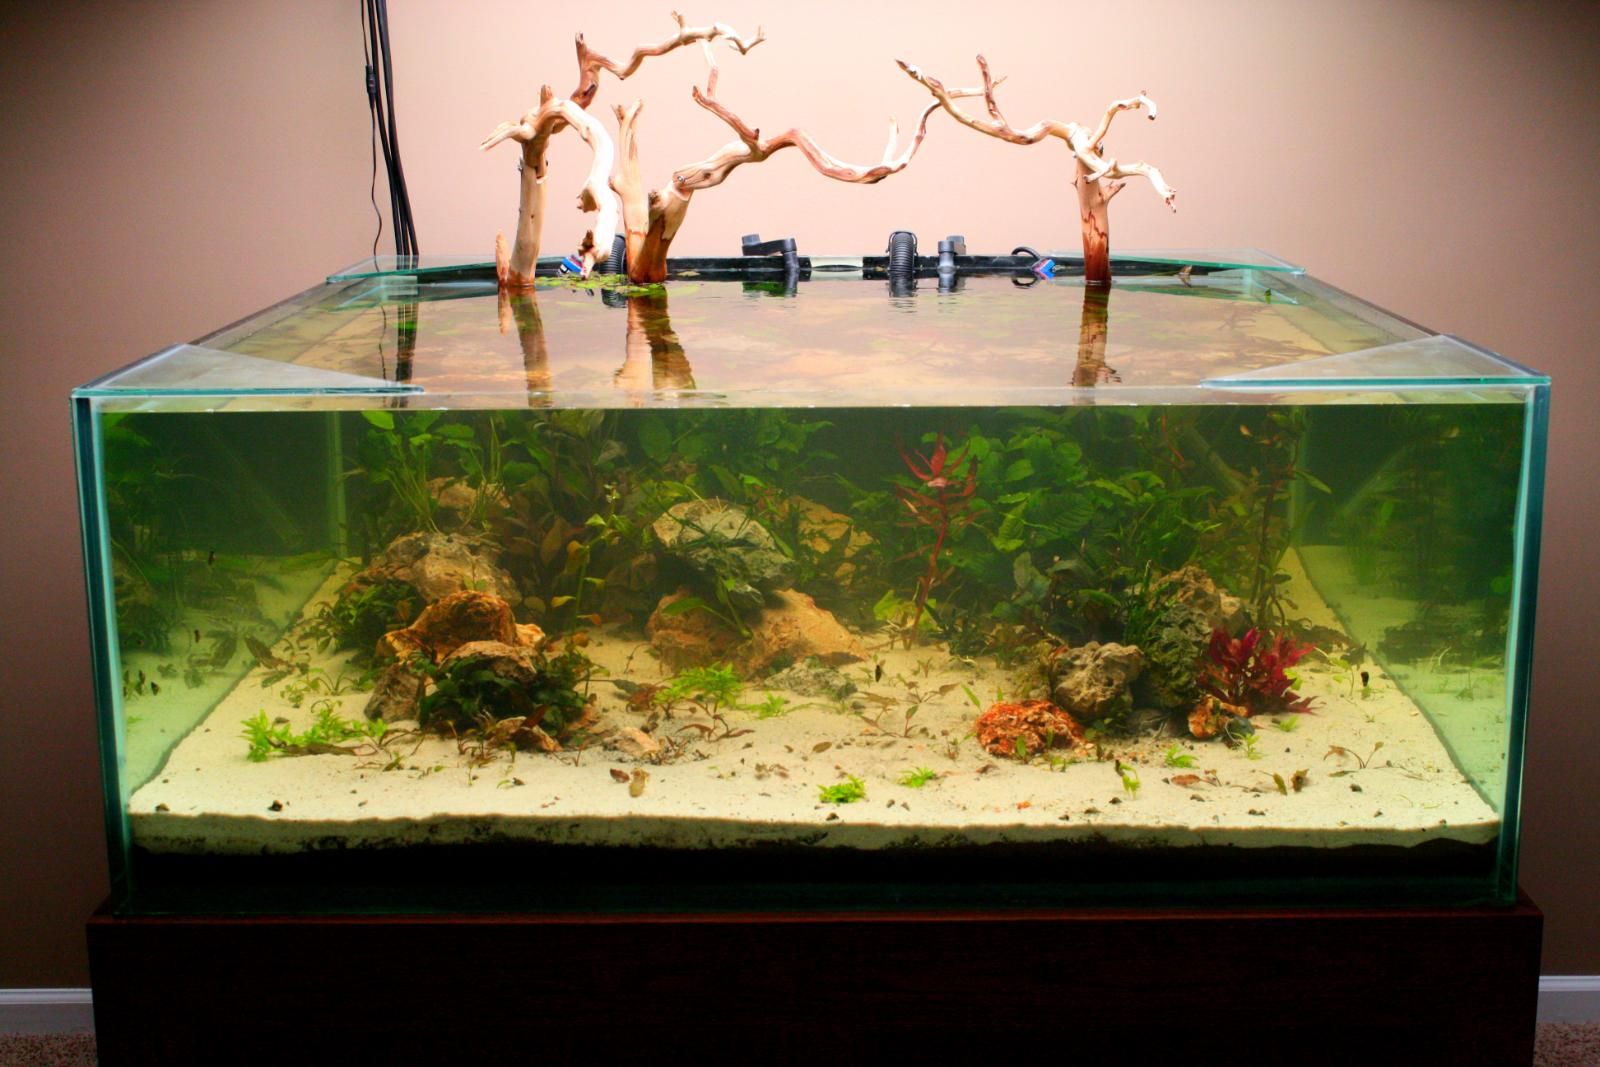
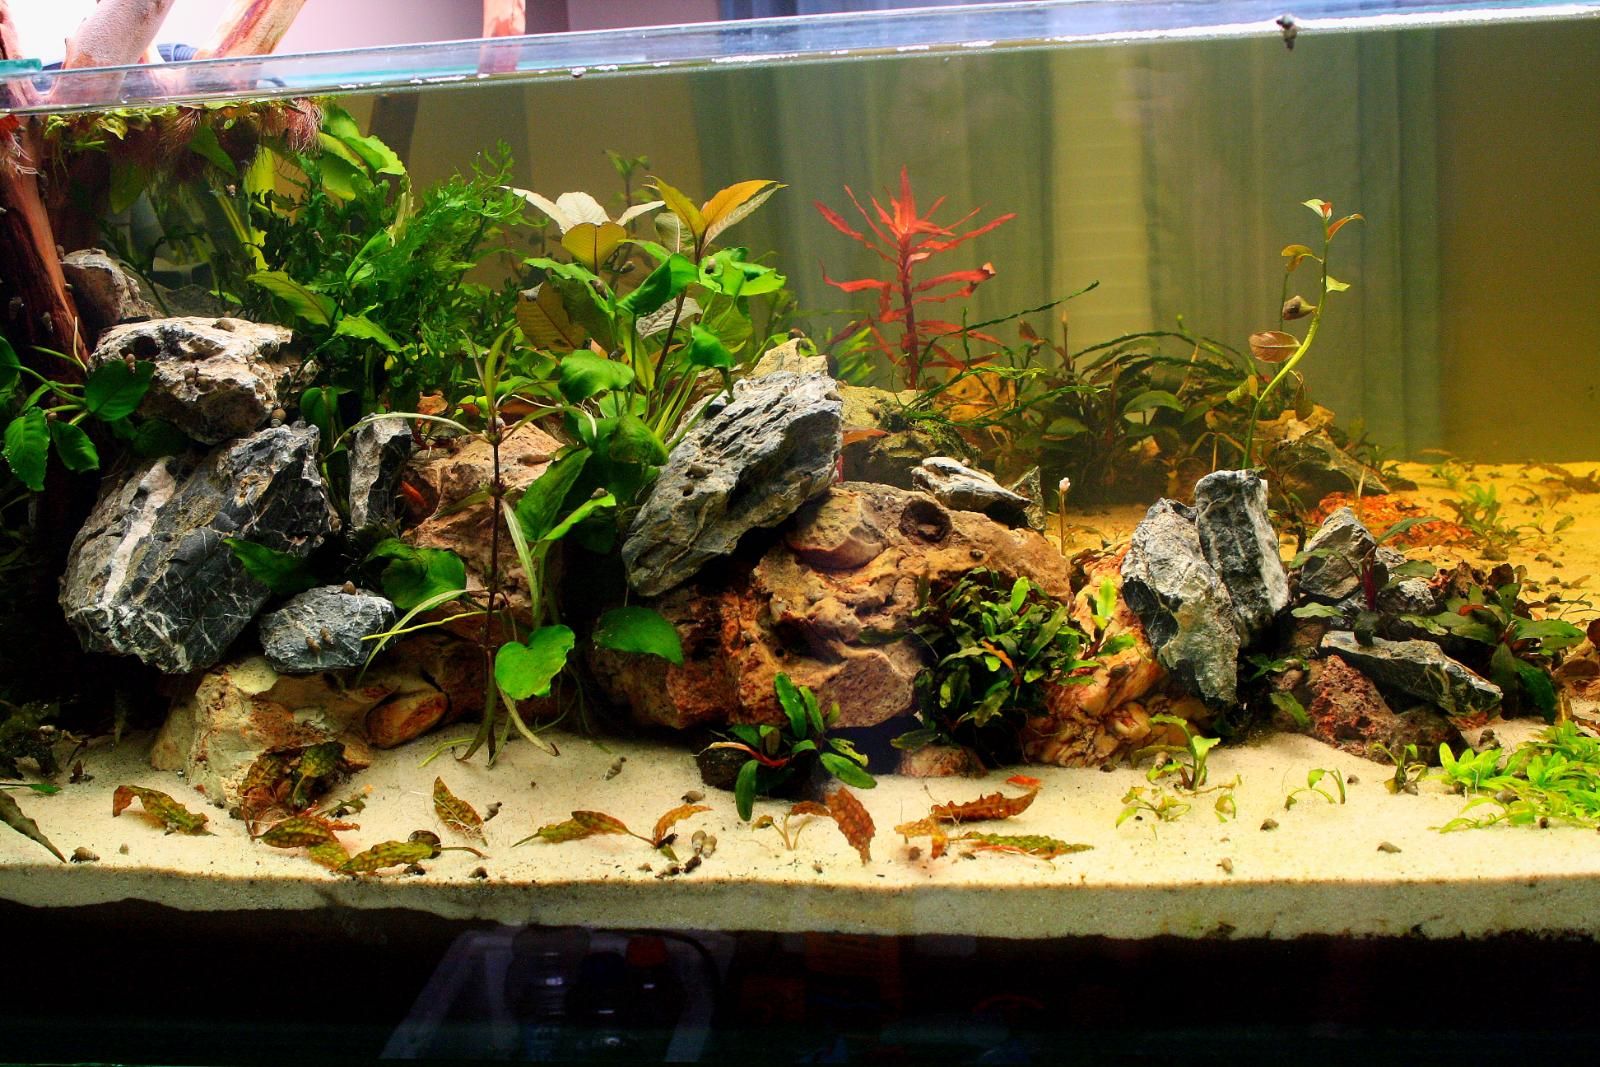
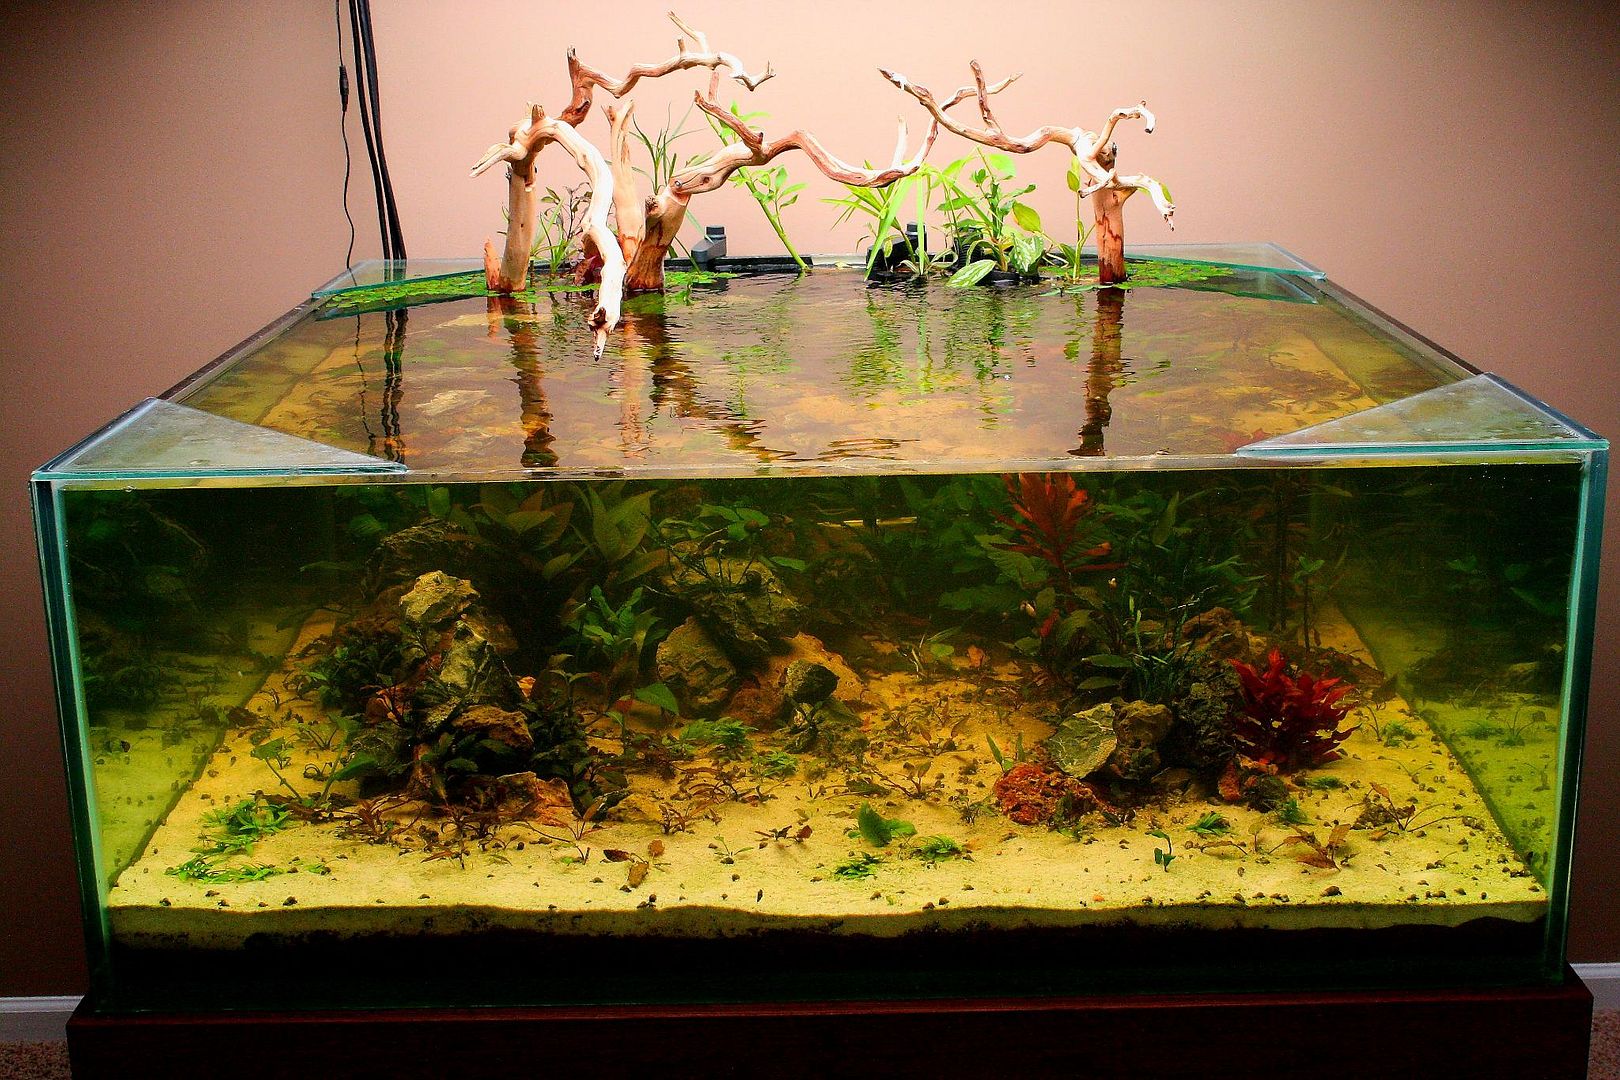
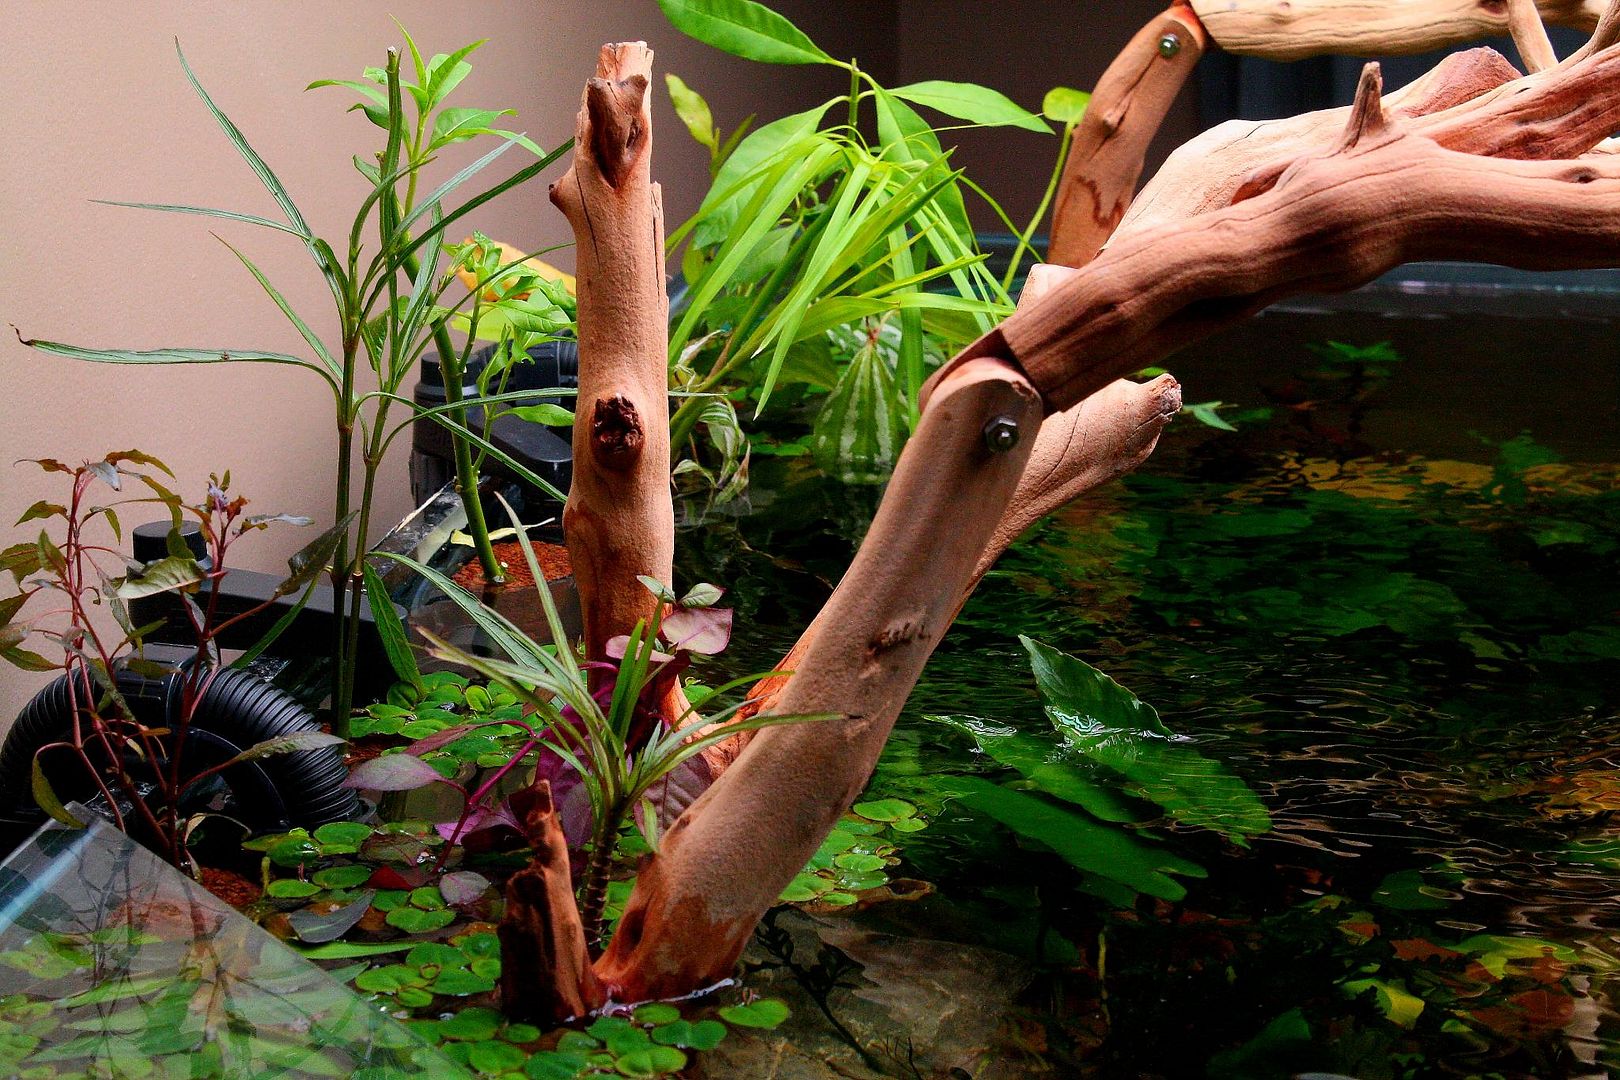
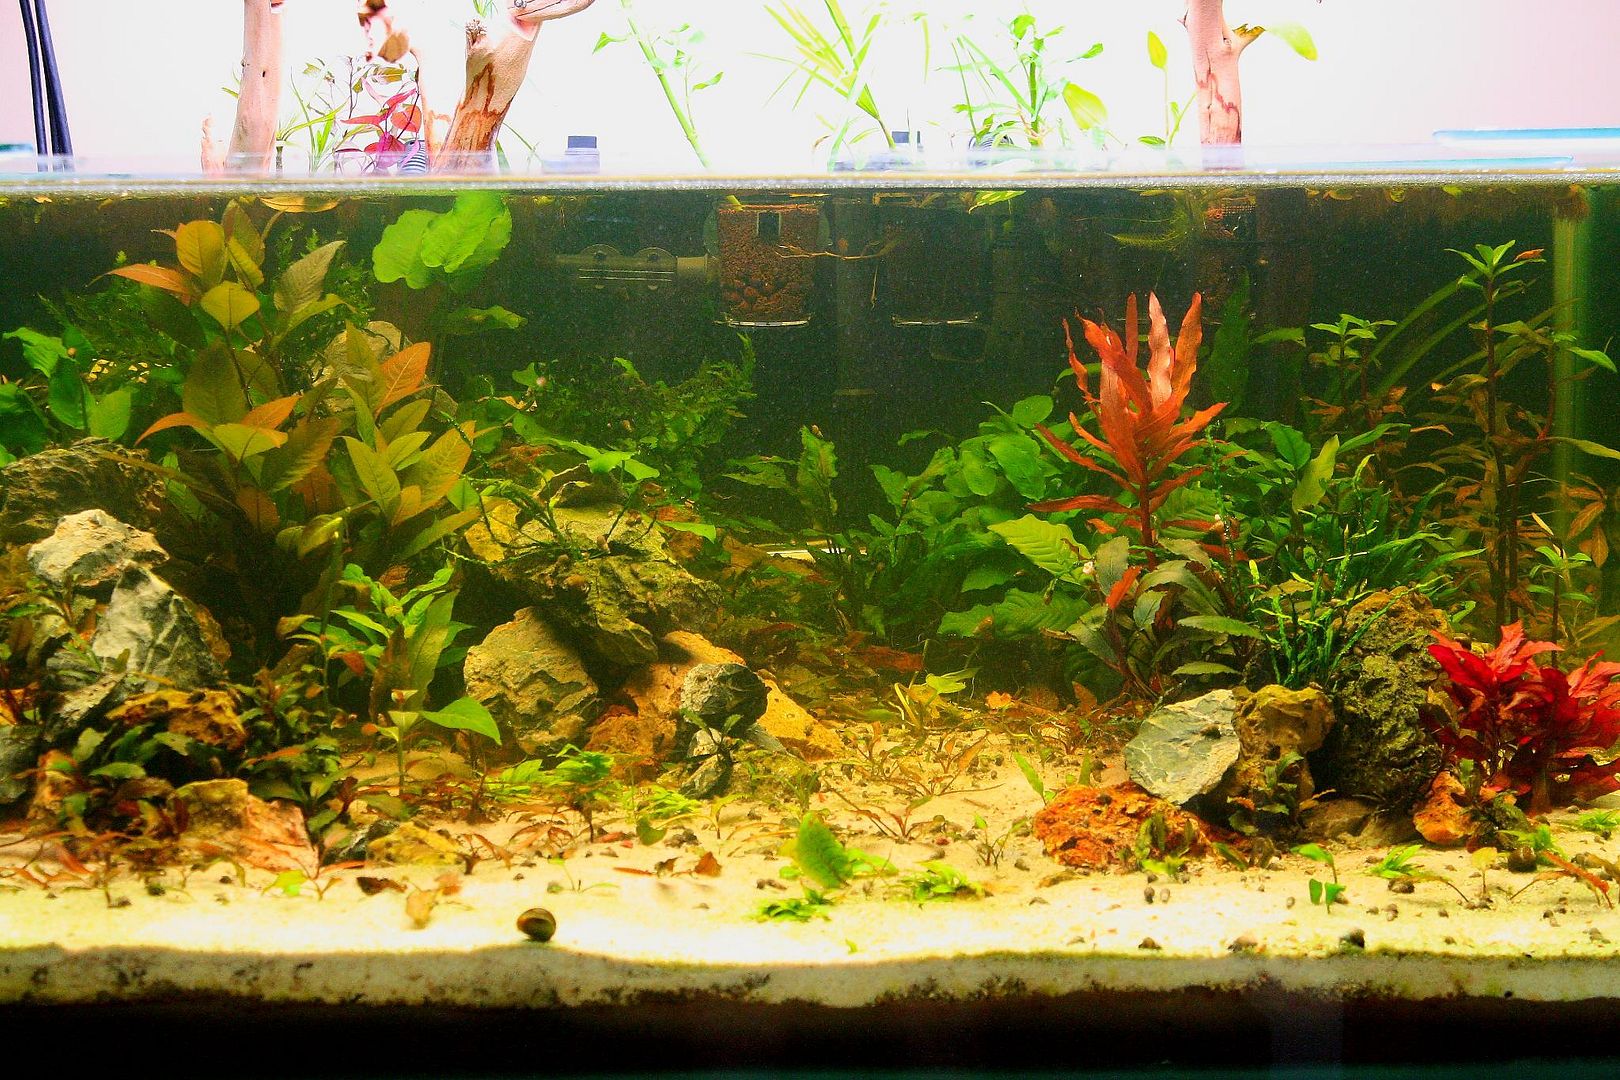
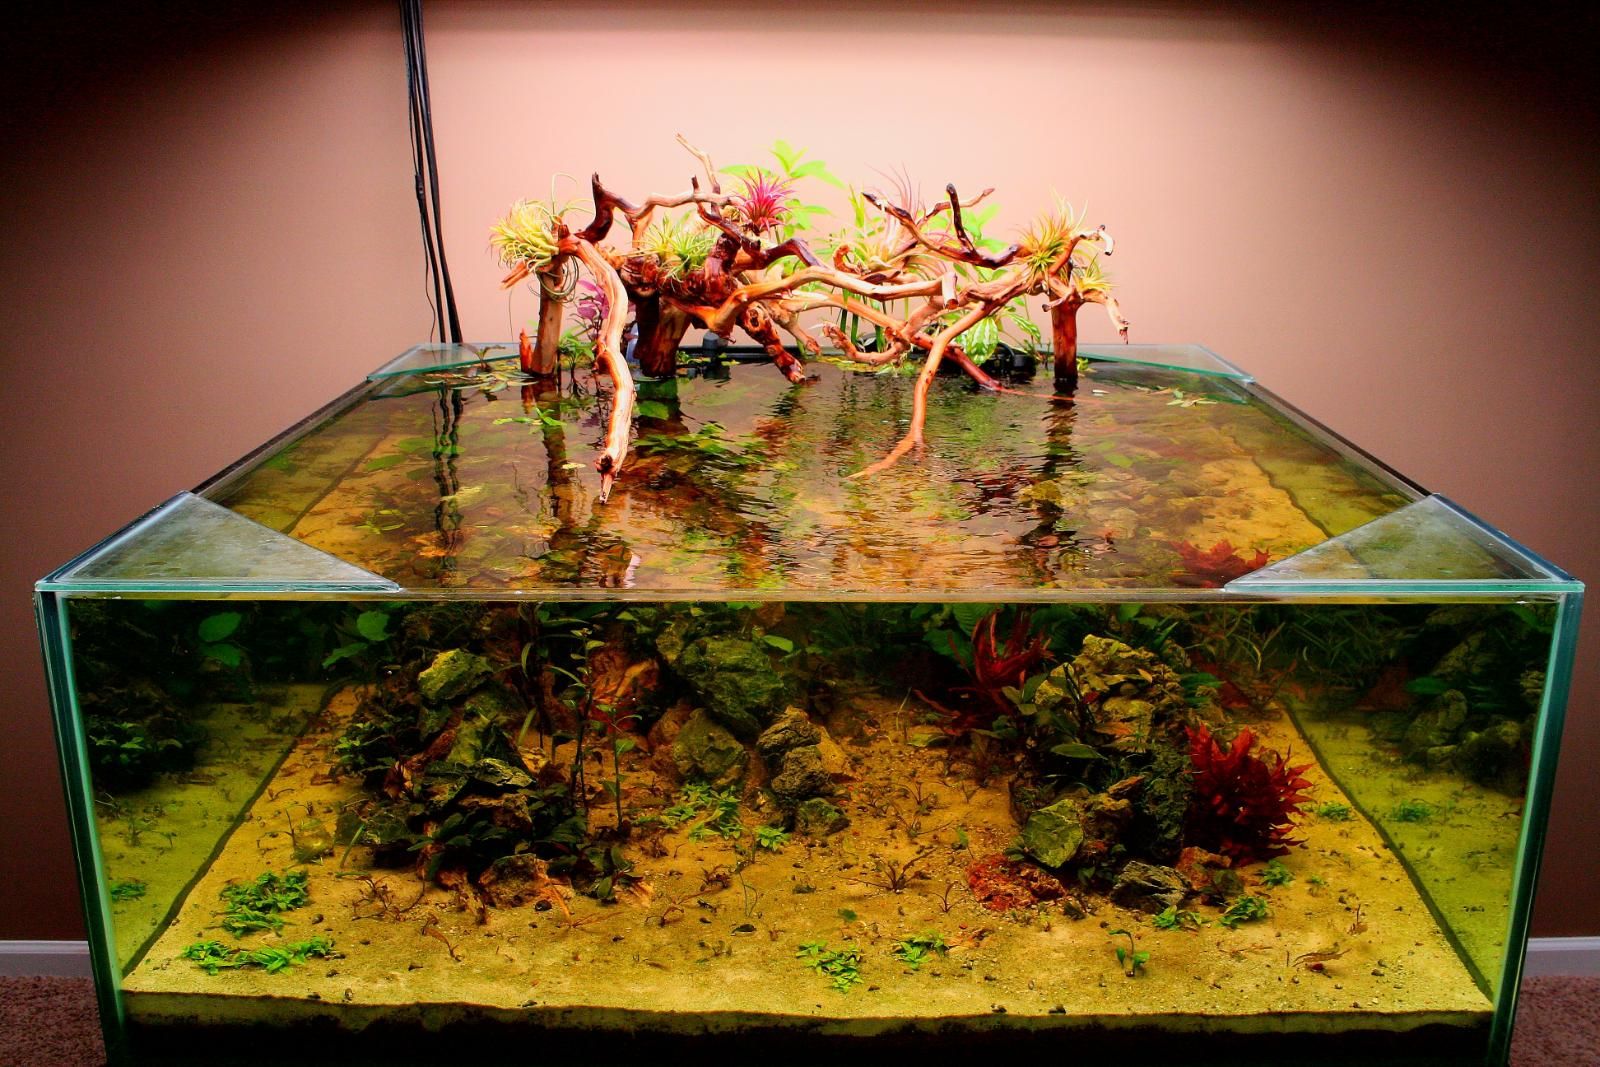
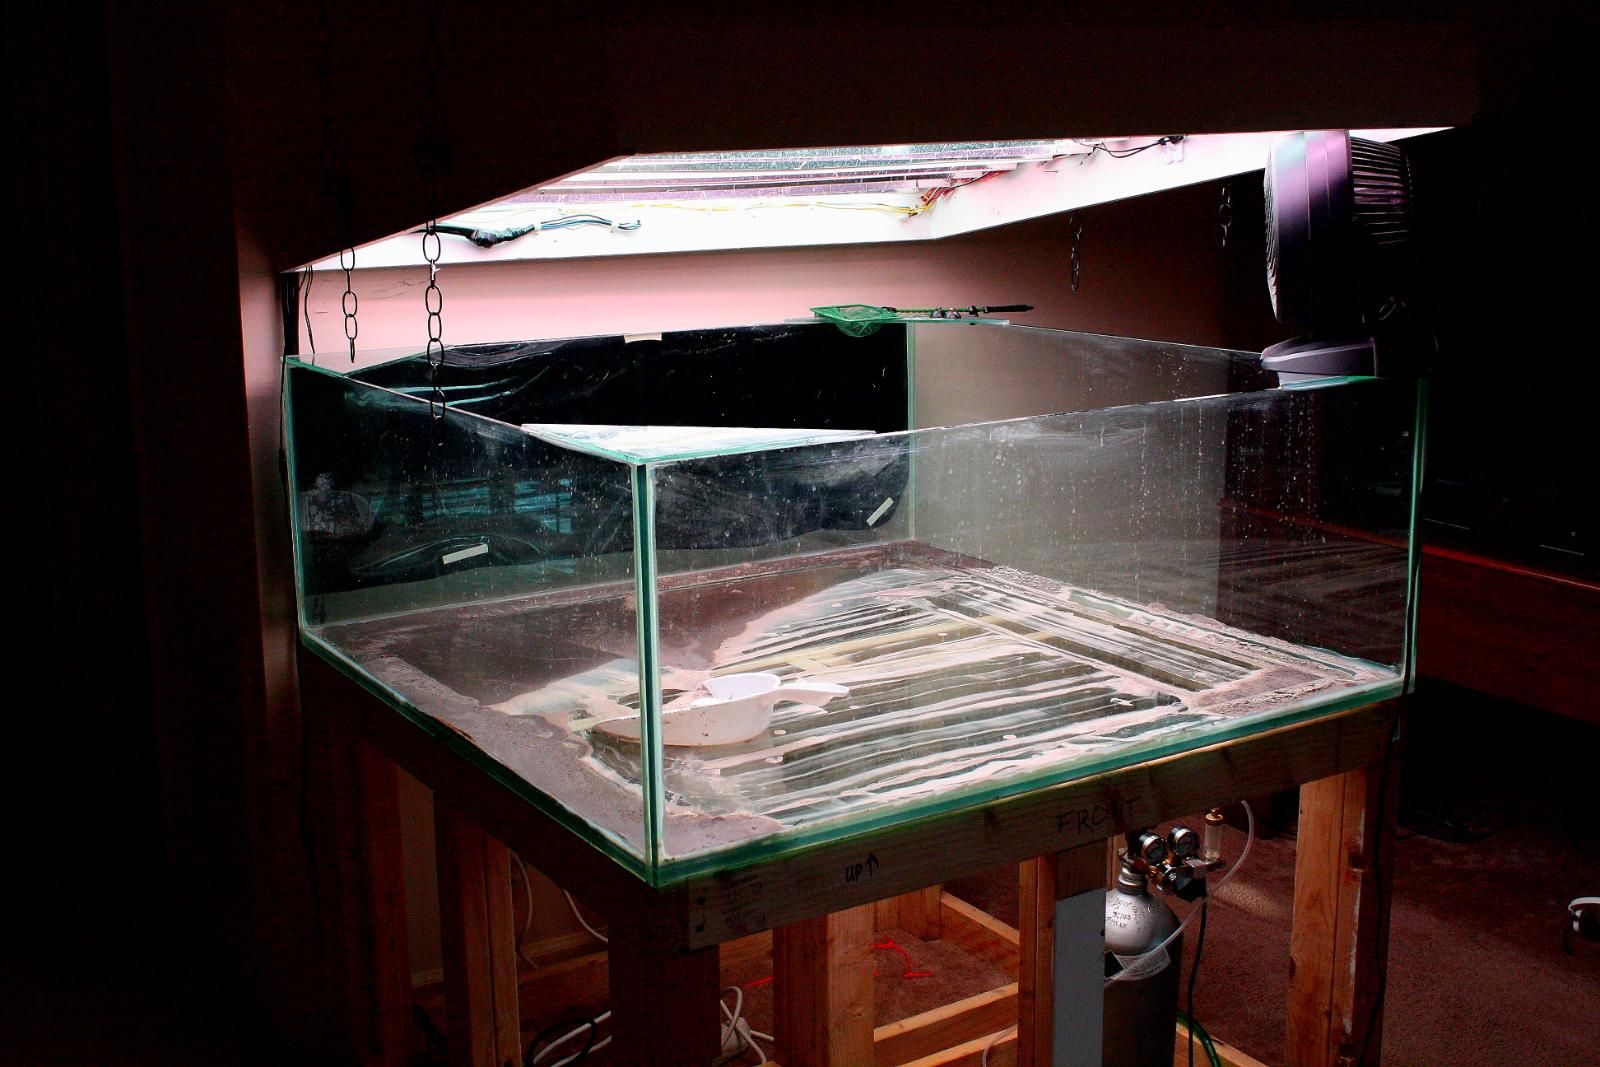
and this:
![Image]()
.....but it had to be done. To re-set and try to go with the same aesthetic would have been uncreative and boorish. Everything was sold or given away. Many thanks to Tlyons01 who spent a "fun" afternoon tearing the tank down with me. It only took about 7 hours.
Prior to that, the outside of the stand/pedestal was removed. It was made of 2x4's: very solid construction, but the outside was made of pressboard. A terrible choice, in retrospect, for obvious reasons. It had been warped and bubbled, and was a total eyesore. So, I stripped it down and threw it out.
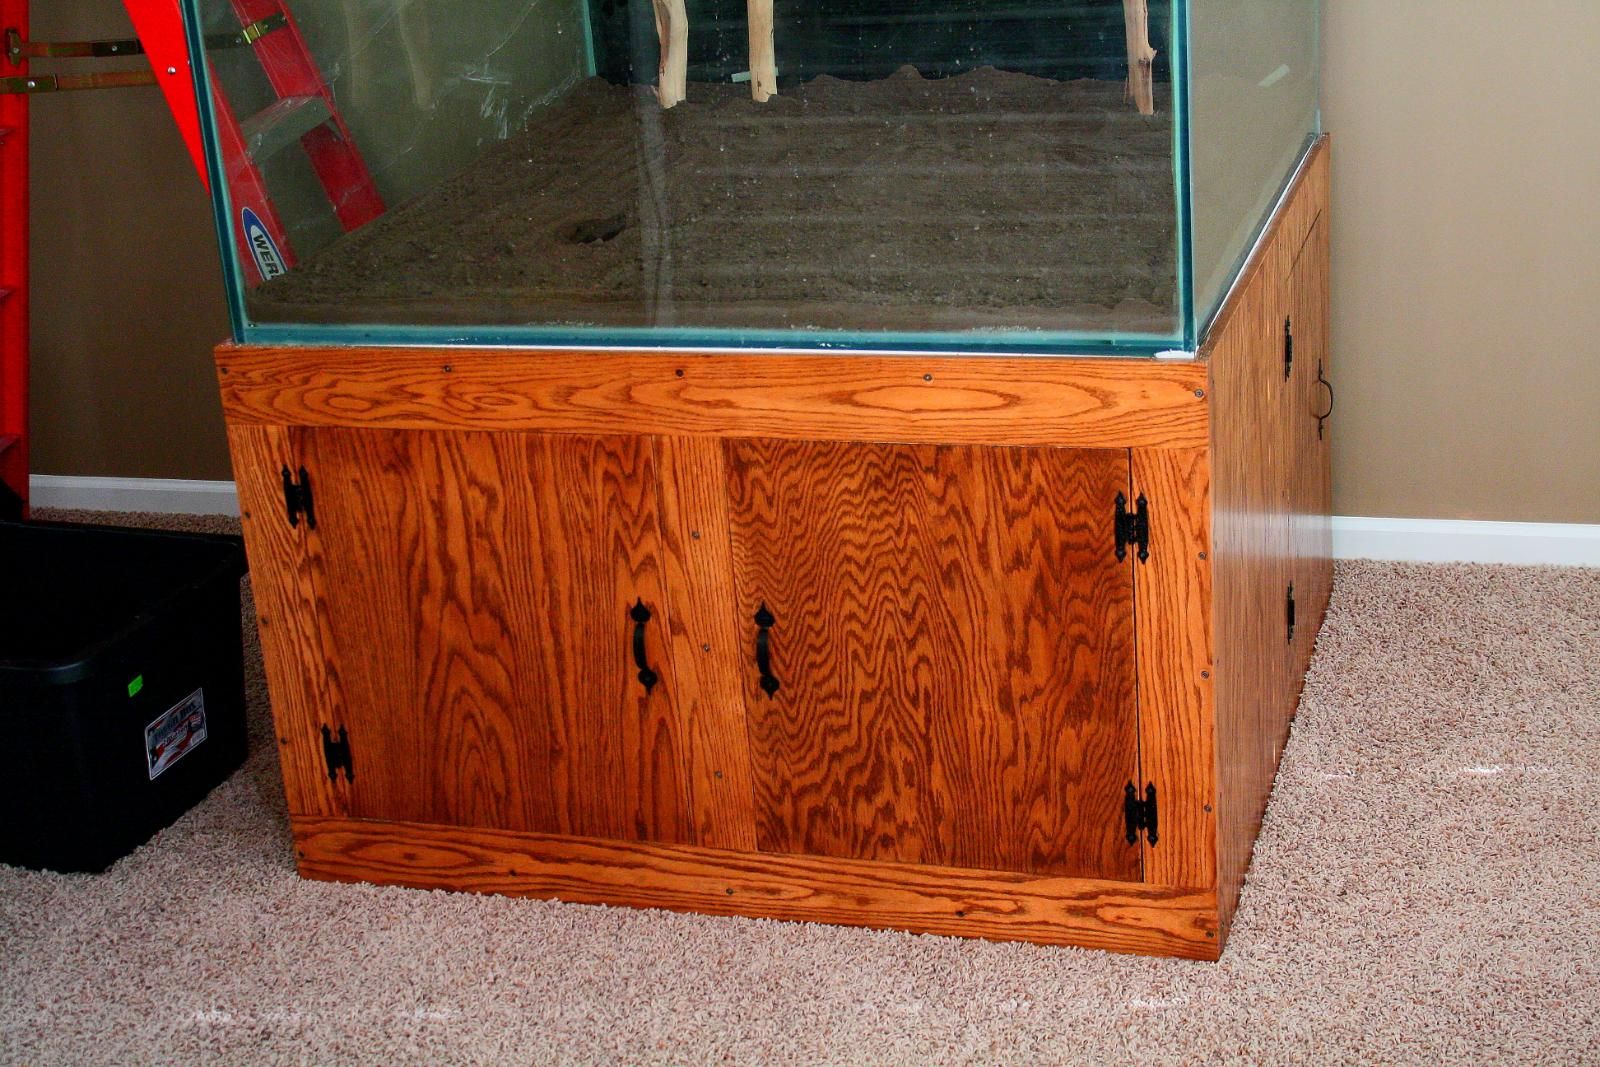
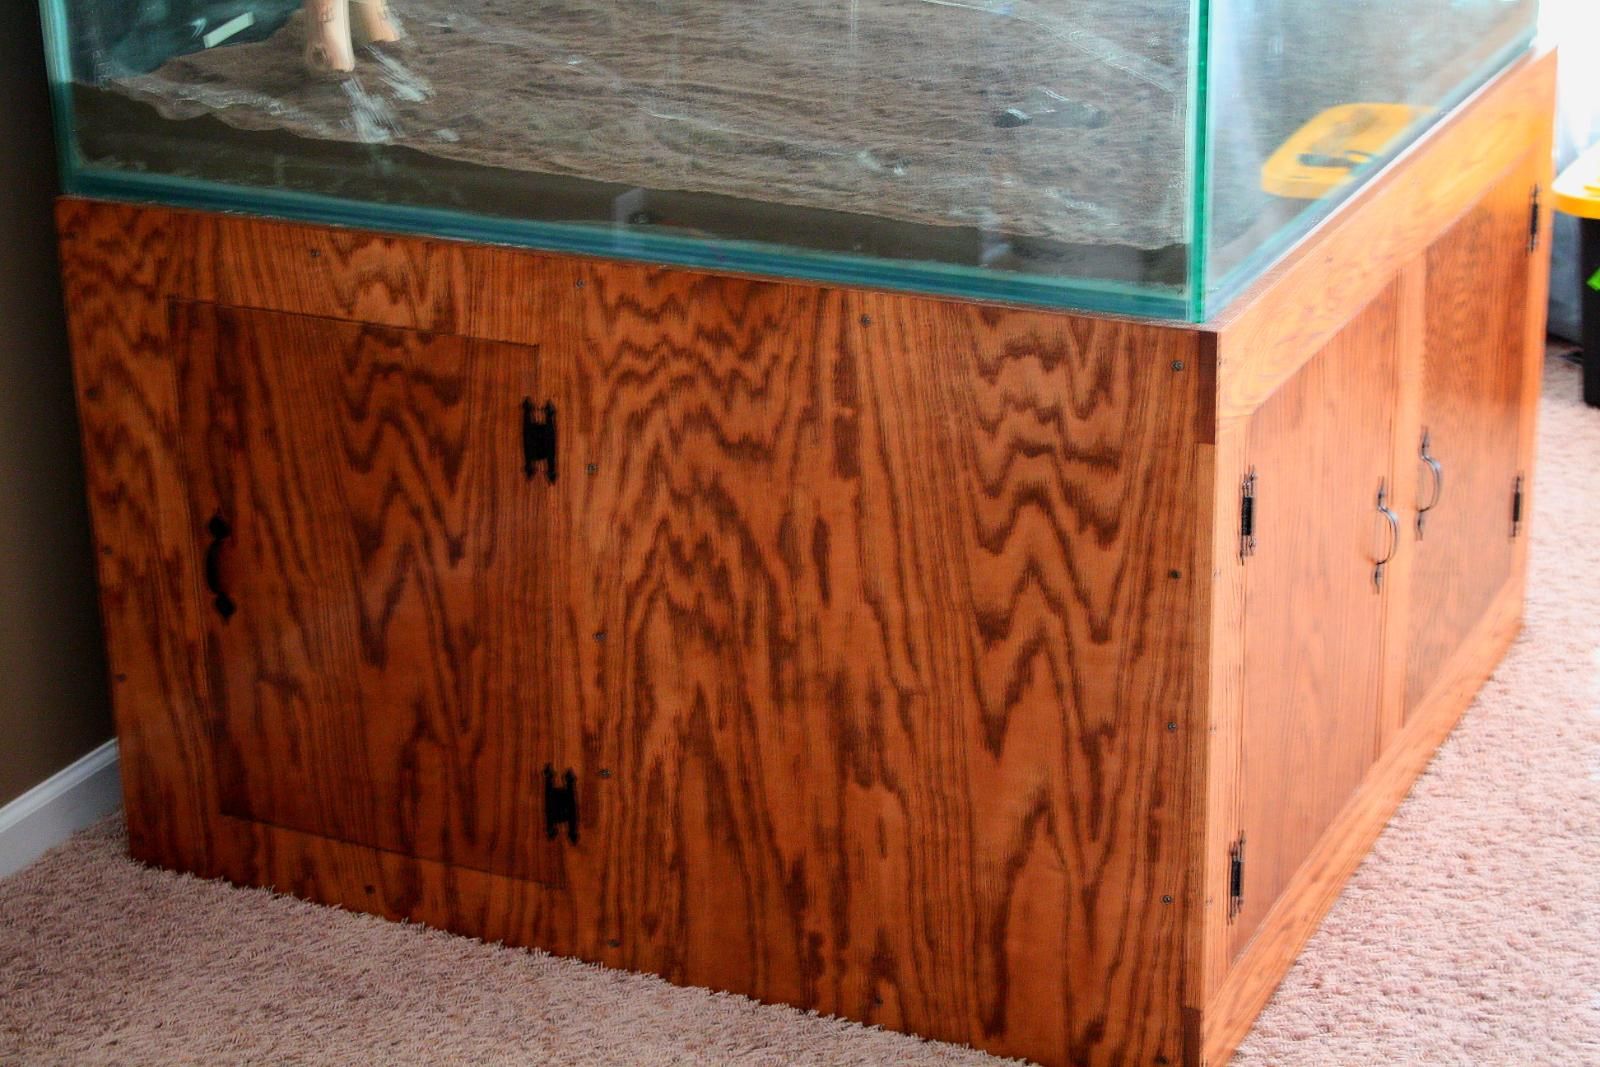
Here are a few pics of the new pedestal:
![Image]()
![Image]()
That is red oak stained with walnut with iron hinges and knobs. We're going for more of a "rustic" old-fashioned look for the sitting room, and I thought that this would look nice. Eventually, the pendant above the tank will be redone either in black, or it will be done to match the pedestal. Probably happen in January. In the new design, I added side doors in order to make accessing the equipment in the back easier to do. It has been triple coated in poly on all sides to ensure water resistance, and almost "water proofing."
The day following the drain and dis-assembly, we moved the tank, lighting, and new pedestal to the new house. This was all done within two hours, which was faster than I had anticipated. The move went flawlessly, and I was ready to re-start the scape. So....
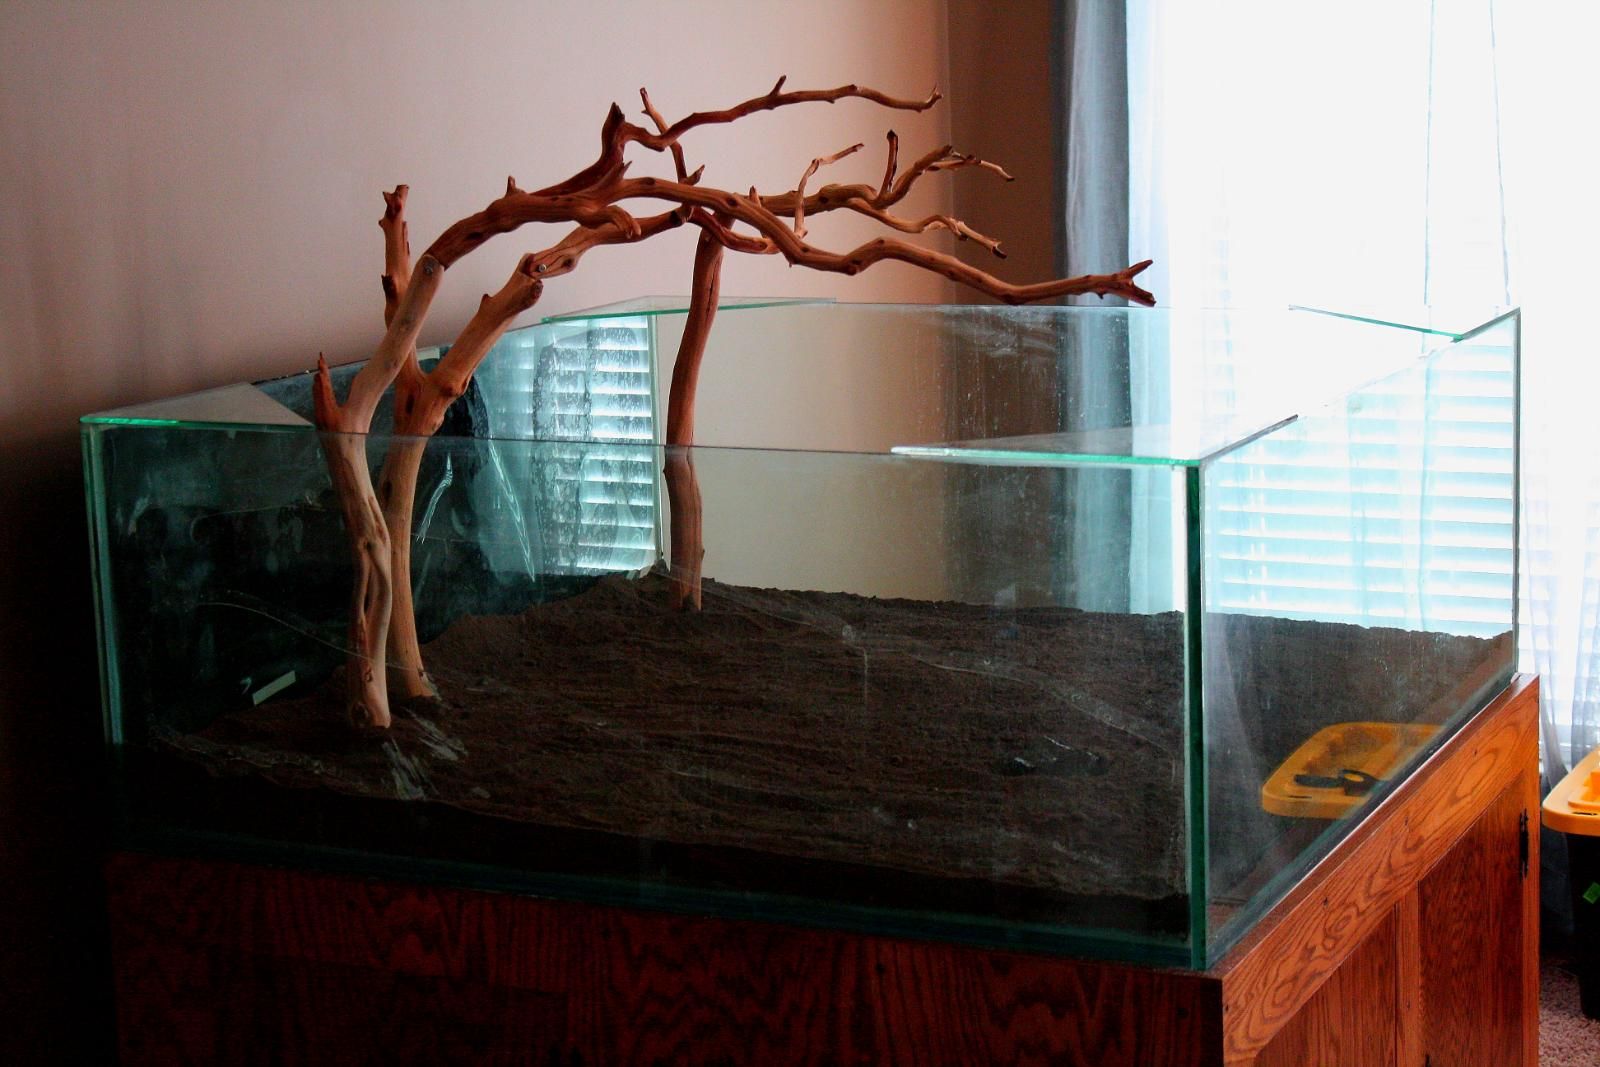
IN went custom made Manzanita branches that came from hydrophyte (from TPT), plain kitty litter (about 30lbs), and that was topped by MTS made by DogFish2.0. The Manzy branches are semi-poseable that will allow me to move the "joints" as needed in order to access equipment with relative ease, or to alter the hardscape as desired. You will notice screws in some of the future pictures; these are the "joints" I refer to....just a simple screw and nut assembly. Hydrophyte did do a marvelous job cutting the ends of the branches into simple fittings through which the screw passes through and is held on the other side by the nut.
DogFish sent six large Flat Rate boxes of MTS to me months ago, and makes about a two inch layer in my tank. Wonderful stuff!:
![Image]()
![Image]()
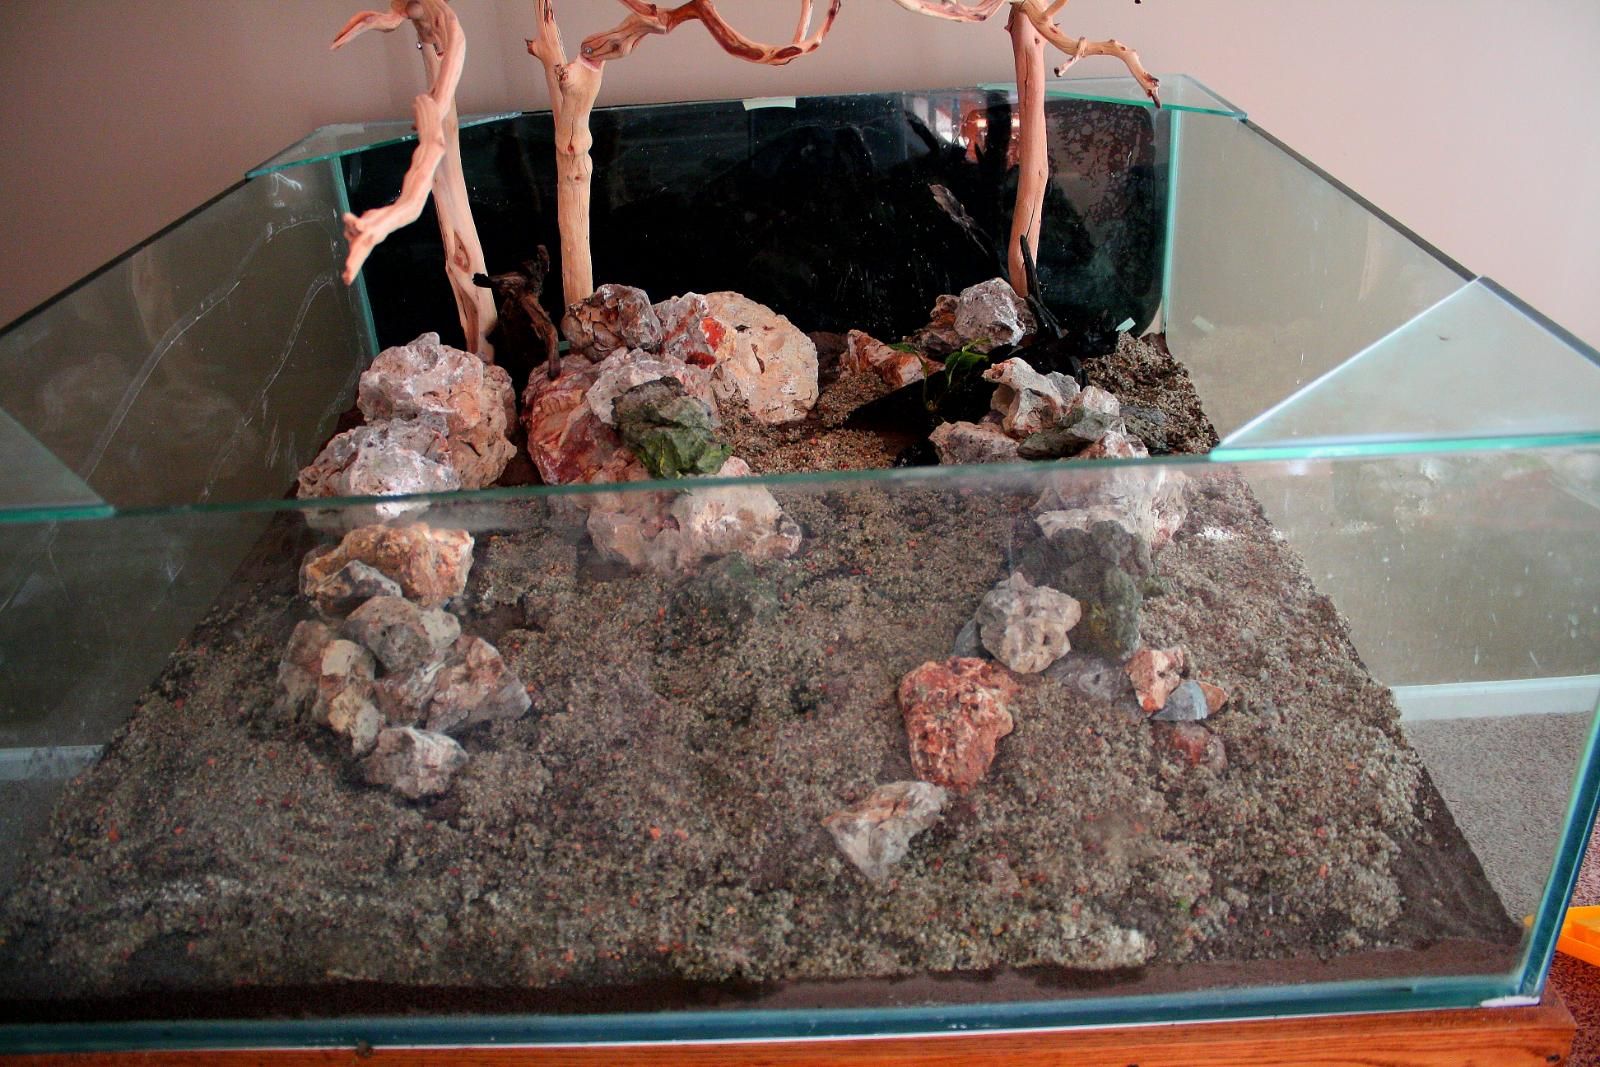
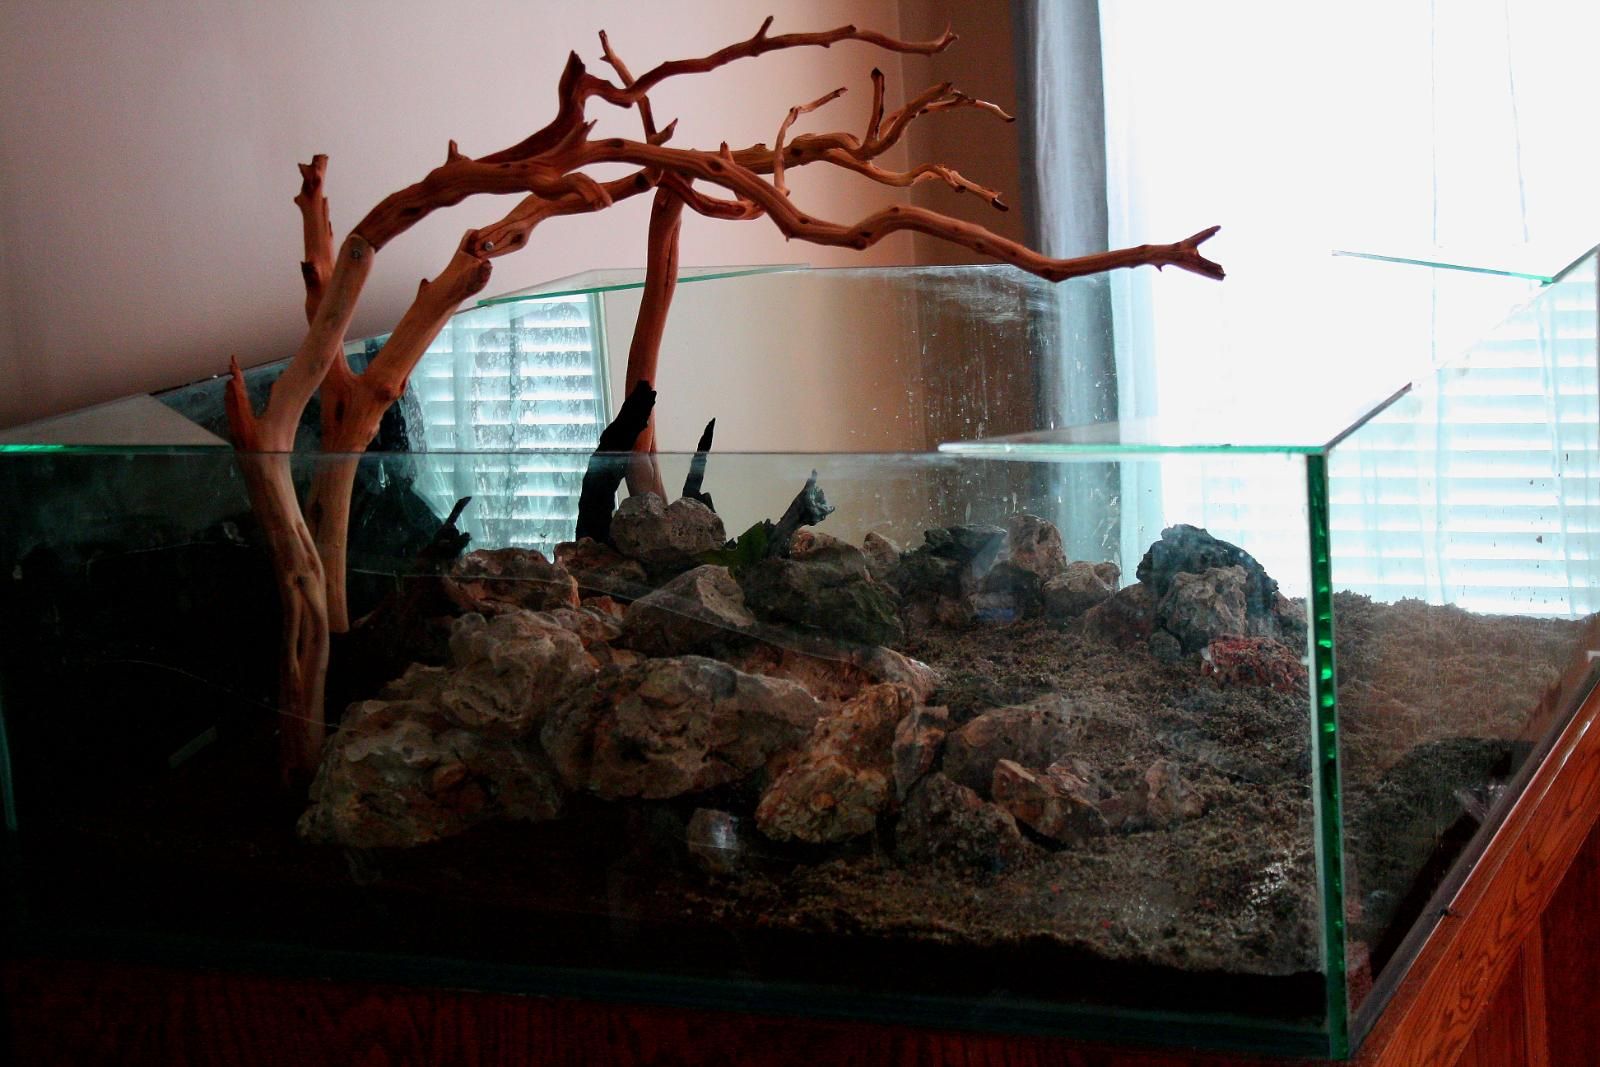
Sprinkled on the potash, pressed it into the MTS, and then topped that with some of my old tank's substrate. Added the Seriyu stone and other stone into the tank, and now this is how it looked:
![Image]()
![Image]()
Three rock "peninsulas" are featured in this set up for bucephelandra, anubia, and java fern species; the substrate will feature mostly crypts.
More pictures tomorrow!!
So, the Journal starts over, and as much as I hated to tear down the tank from this:

and this:
To THIS:
and this:
.....but it had to be done. To re-set and try to go with the same aesthetic would have been uncreative and boorish. Everything was sold or given away. Many thanks to Tlyons01 who spent a "fun" afternoon tearing the tank down with me. It only took about 7 hours.
Prior to that, the outside of the stand/pedestal was removed. It was made of 2x4's: very solid construction, but the outside was made of pressboard. A terrible choice, in retrospect, for obvious reasons. It had been warped and bubbled, and was a total eyesore. So, I stripped it down and threw it out.
Here are a few pics of the new pedestal:
That is red oak stained with walnut with iron hinges and knobs. We're going for more of a "rustic" old-fashioned look for the sitting room, and I thought that this would look nice. Eventually, the pendant above the tank will be redone either in black, or it will be done to match the pedestal. Probably happen in January. In the new design, I added side doors in order to make accessing the equipment in the back easier to do. It has been triple coated in poly on all sides to ensure water resistance, and almost "water proofing."
The day following the drain and dis-assembly, we moved the tank, lighting, and new pedestal to the new house. This was all done within two hours, which was faster than I had anticipated. The move went flawlessly, and I was ready to re-start the scape. So....
IN went custom made Manzanita branches that came from hydrophyte (from TPT), plain kitty litter (about 30lbs), and that was topped by MTS made by DogFish2.0. The Manzy branches are semi-poseable that will allow me to move the "joints" as needed in order to access equipment with relative ease, or to alter the hardscape as desired. You will notice screws in some of the future pictures; these are the "joints" I refer to....just a simple screw and nut assembly. Hydrophyte did do a marvelous job cutting the ends of the branches into simple fittings through which the screw passes through and is held on the other side by the nut.
DogFish sent six large Flat Rate boxes of MTS to me months ago, and makes about a two inch layer in my tank. Wonderful stuff!:

Sprinkled on the potash, pressed it into the MTS, and then topped that with some of my old tank's substrate. Added the Seriyu stone and other stone into the tank, and now this is how it looked:
Three rock "peninsulas" are featured in this set up for bucephelandra, anubia, and java fern species; the substrate will feature mostly crypts.
More pictures tomorrow!!