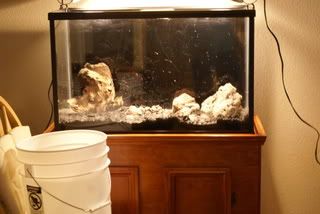
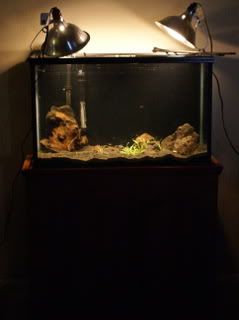
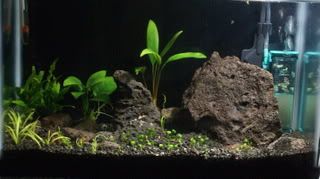
Hi guys, I haven't been here for a while, and the reason is that I couldn't get rid of the algae in my tank and I wasn't too proud of it, so I didn't come to post pictures.
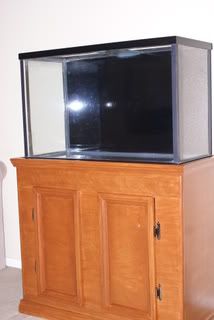
Now, me and my husband decided to build a stand for the tank that we have empty, and tear down the 55g and put this 36g together. But as we didn't have a stand for it, we wanted to make one instead of buying one. The budget - of course - is already way over the price of the new stands but building is fun") And… this would be our first together project ever
And… this would be our first together project ever
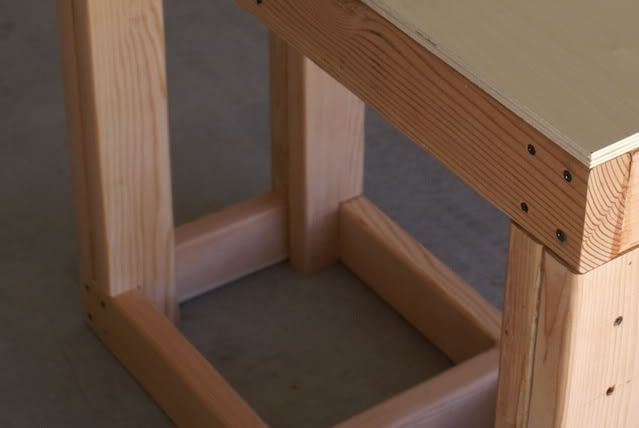
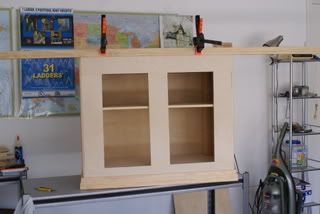
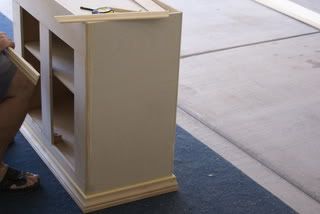
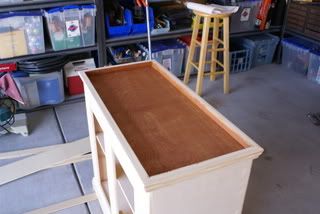
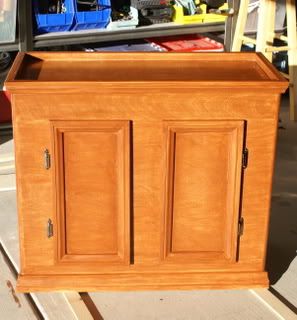
We bought 4 2x4-s first and made a frame, then we covered it with a ½ inch birch plywood, stained it and that is it… so far, as we could not make the doors yet… as we don't have router table or table saw… And that would be a VERY expensive stand if we bought those just for this project.
So…
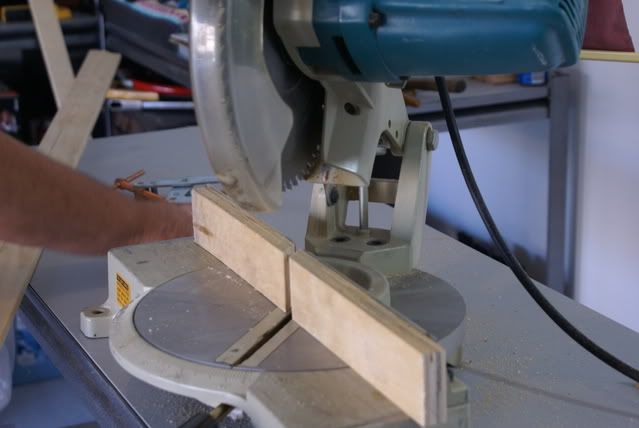
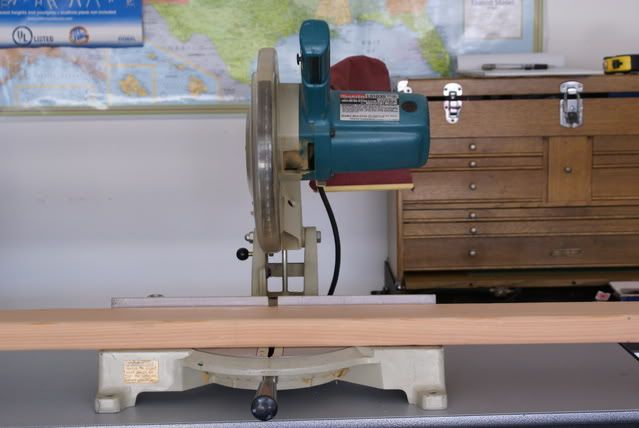
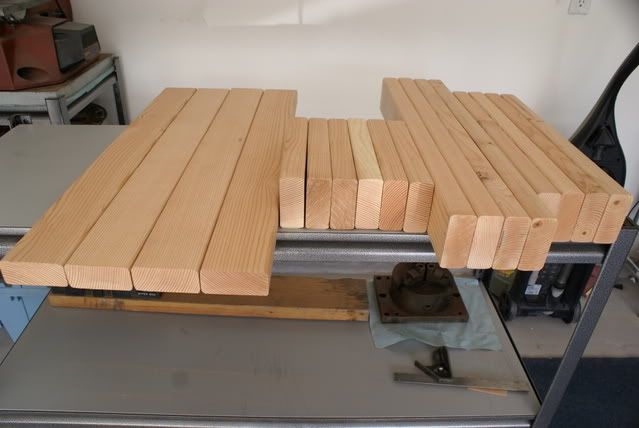
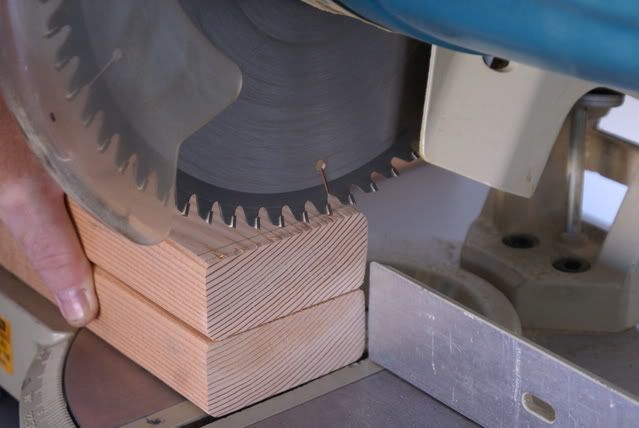
First we cut the 2x4s. the tank dimensions are 30x12x18 (30.5x11.5x~18). So we made an extra ½ inch on both side. We used my husbands miter saw for this.
![Image]()
![Image]()
Then we had 2 2x4s left to the height of the frame, so we calculated out how high the stand should be
So we had all the pieces:
![Image]()
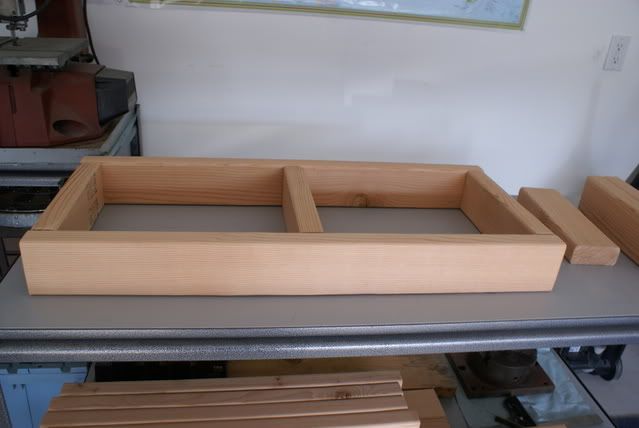
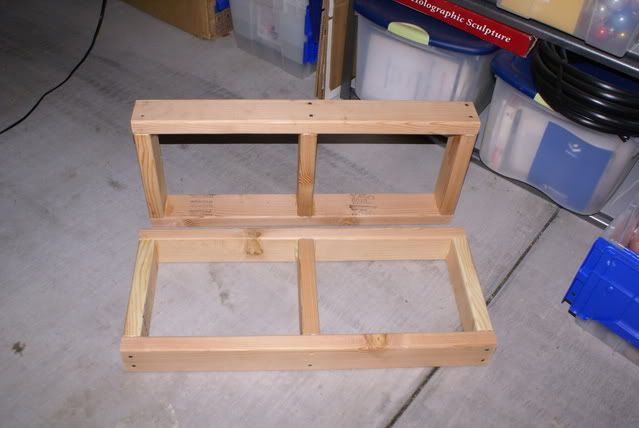
That is the bottom.
![Image]()
![Image]()
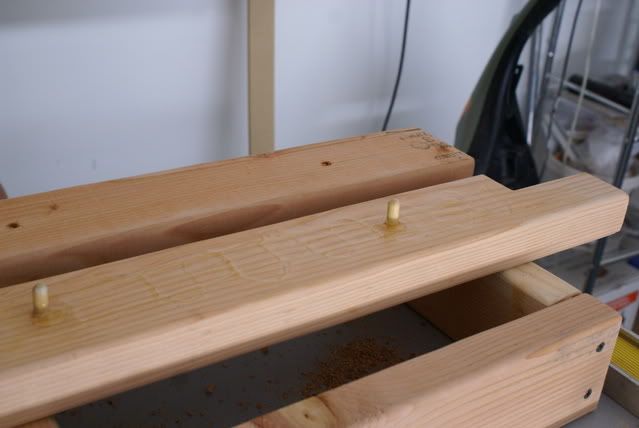
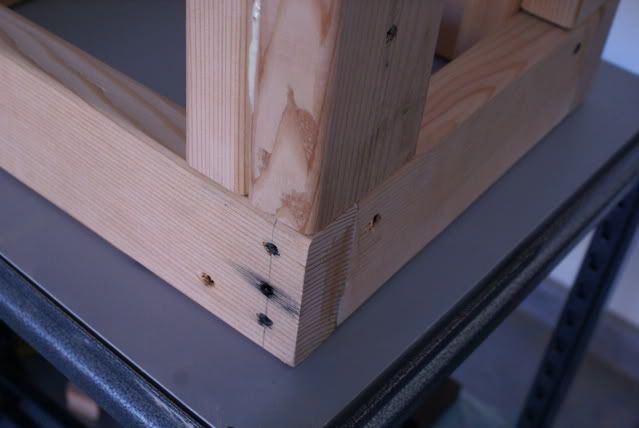
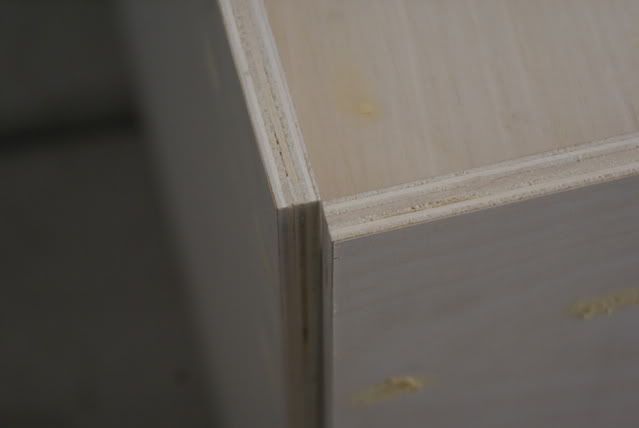
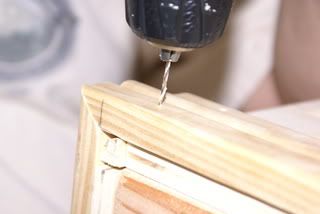
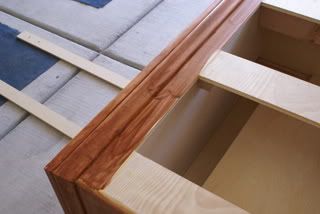
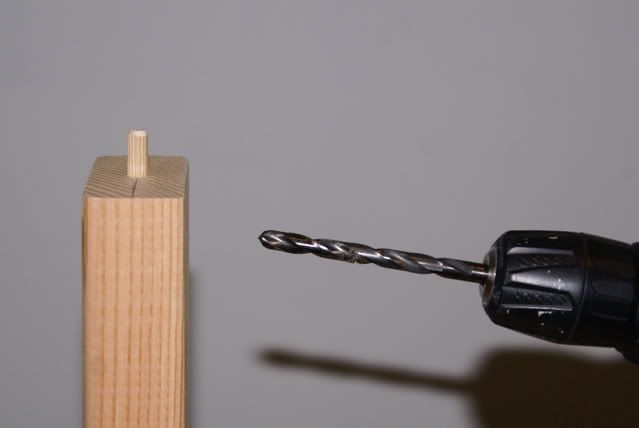
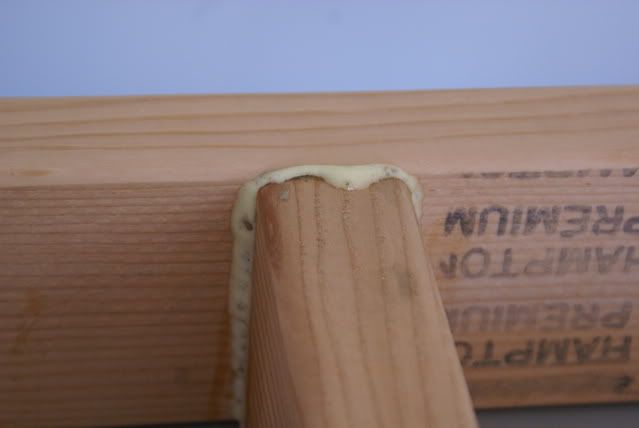
The joint is a 1 ¾ wood dowel plus 2 3inch long drywall screws topped with woodglue.
![Image]()
Although this joint won't hold any weight, I wanted it to be massive.
![Image]()
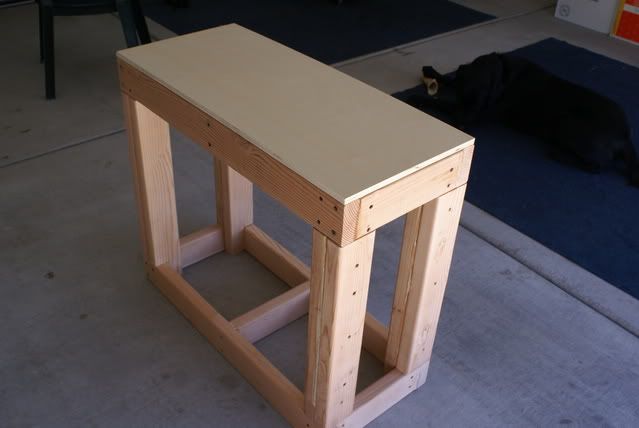
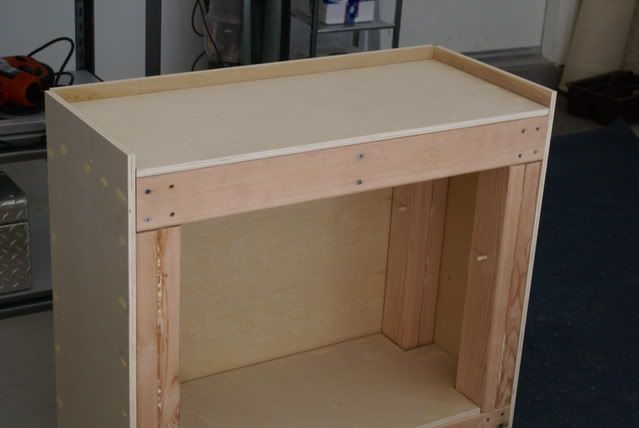
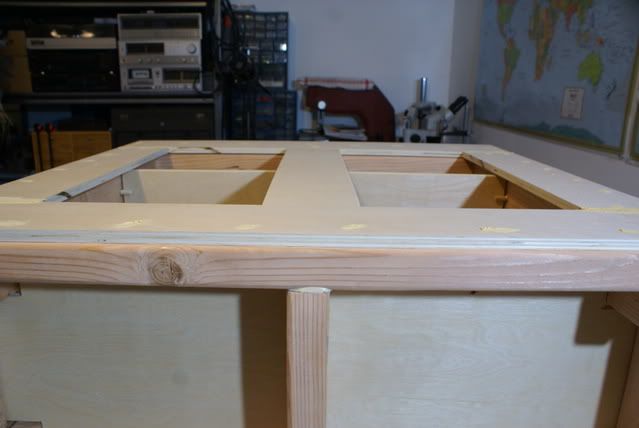
Bottom and top:
![Image]()
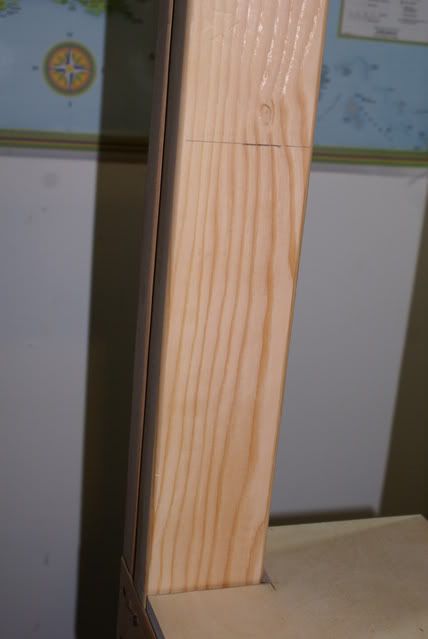
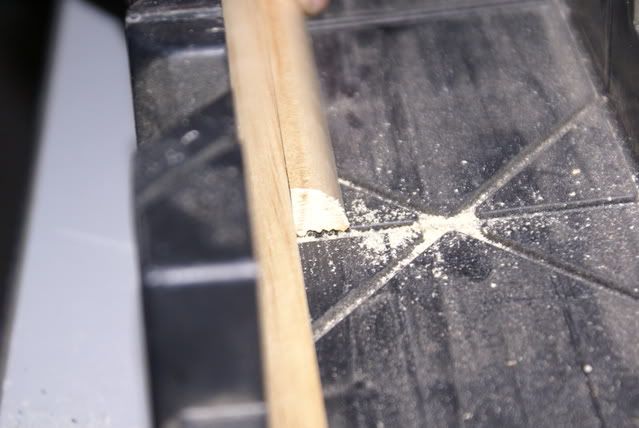
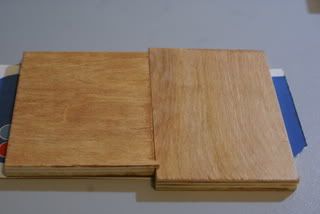
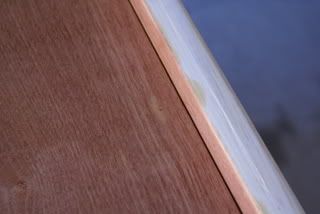
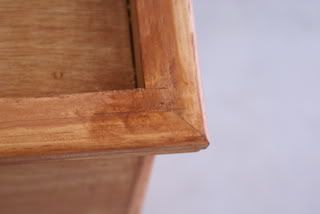
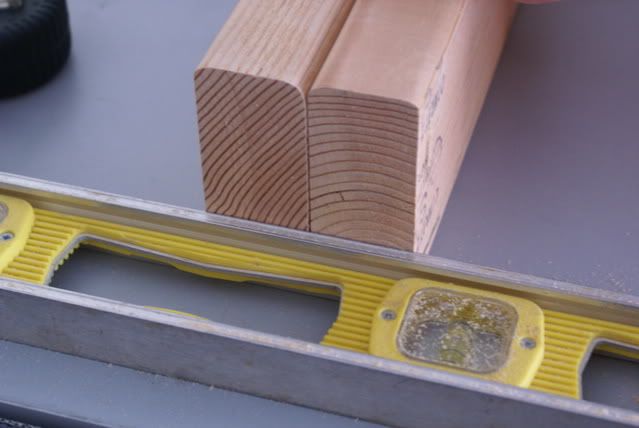
When we wanted to put the legs together, we realized that we made a terrible quality cut on the wood:
![Image]()
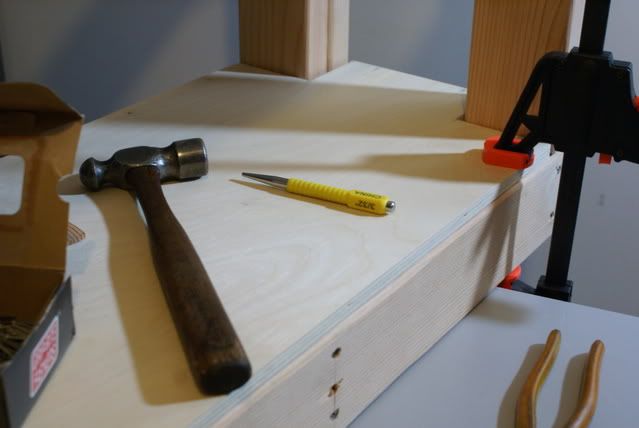
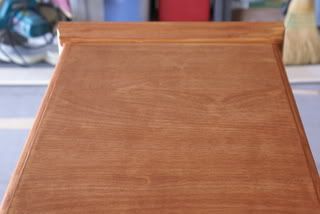
So a little headache and 3 hours later…
![Image]()
![Image]()
![Image]()
So now they were exactly even.
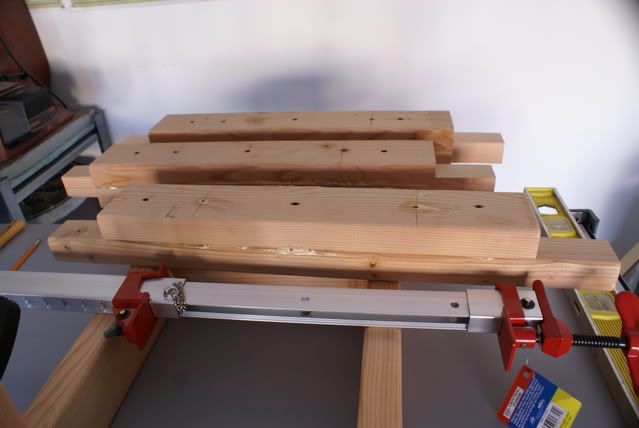
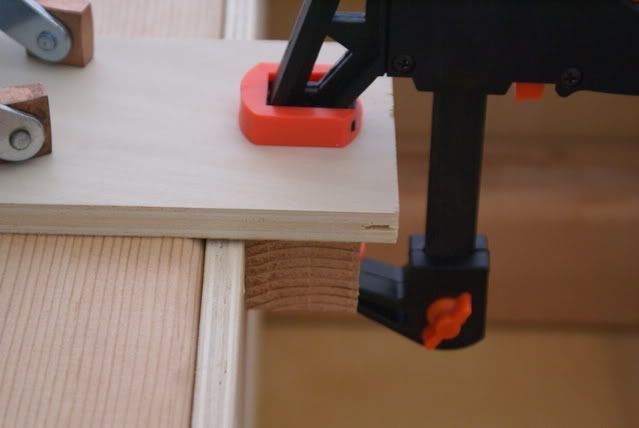
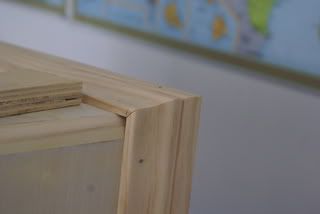
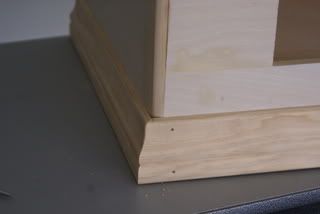
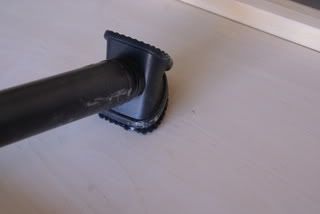
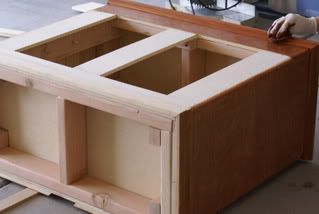
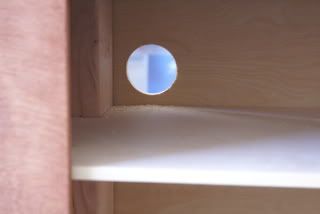
It is hard for me to explain how the legs are built (my first language is Hungarian), I'll try to show it in the pics. But the legs are double 2x4s:
![Image]()
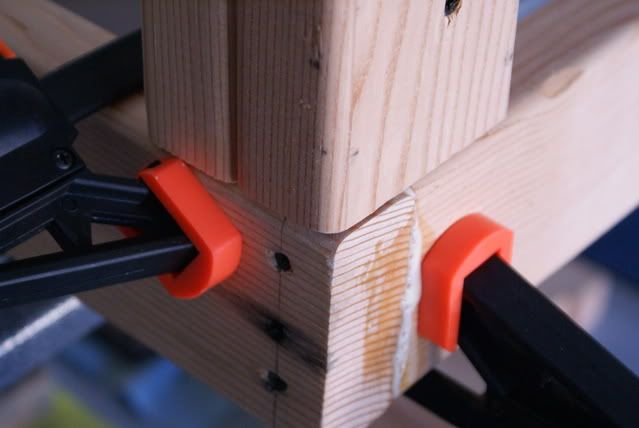
Dowels are holding them together plus glue plus the screws.
![Image]()
![Image]()
![Image]()
![Image]()
![Image]()
![Image]()
Now, me and my husband decided to build a stand for the tank that we have empty, and tear down the 55g and put this 36g together. But as we didn't have a stand for it, we wanted to make one instead of buying one. The budget - of course - is already way over the price of the new stands but building is fun
And… this would be our first together project ever We bought 4 2x4-s first and made a frame, then we covered it with a ½ inch birch plywood, stained it and that is it… so far, as we could not make the doors yet… as we don't have router table or table saw… And that would be a VERY expensive stand if we bought those just for this project.
So…
First we cut the 2x4s. the tank dimensions are 30x12x18 (30.5x11.5x~18). So we made an extra ½ inch on both side. We used my husbands miter saw for this.
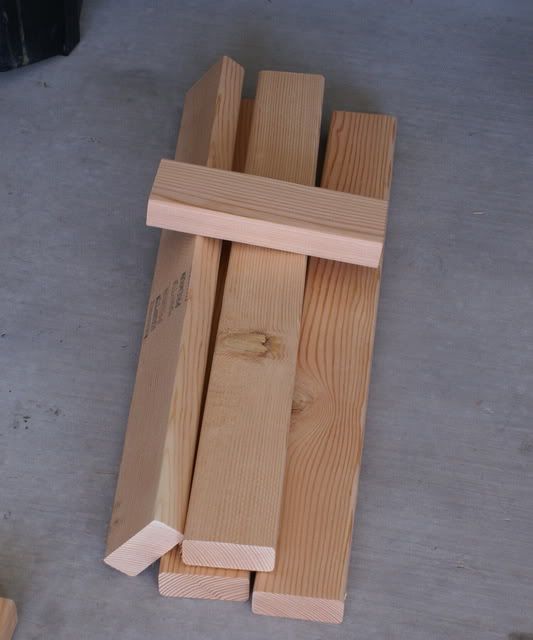
Then we had 2 2x4s left to the height of the frame, so we calculated out how high the stand should be
So we had all the pieces:
That is the bottom.
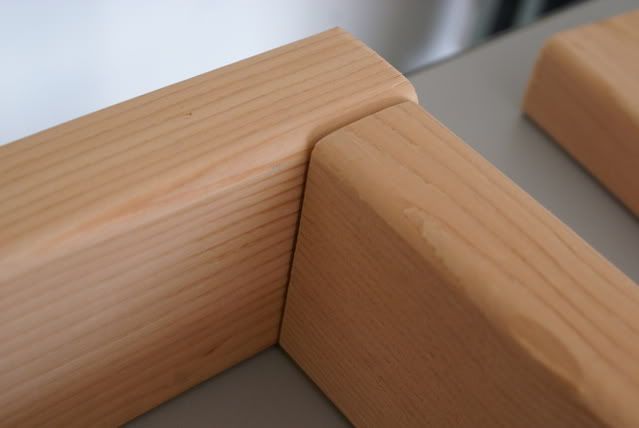
The joint is a 1 ¾ wood dowel plus 2 3inch long drywall screws topped with woodglue.
Although this joint won't hold any weight, I wanted it to be massive.
Bottom and top:
When we wanted to put the legs together, we realized that we made a terrible quality cut on the wood:
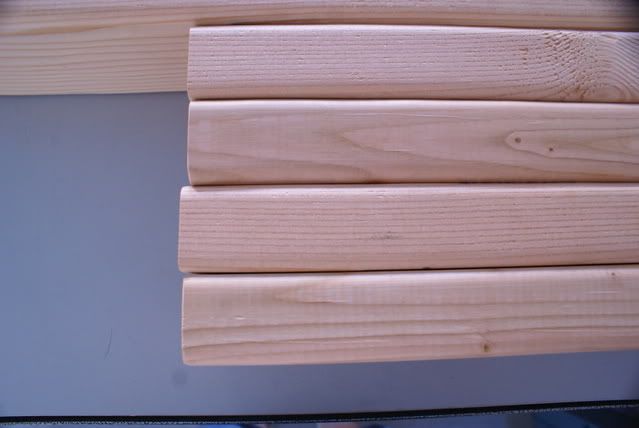
So a little headache and 3 hours later…
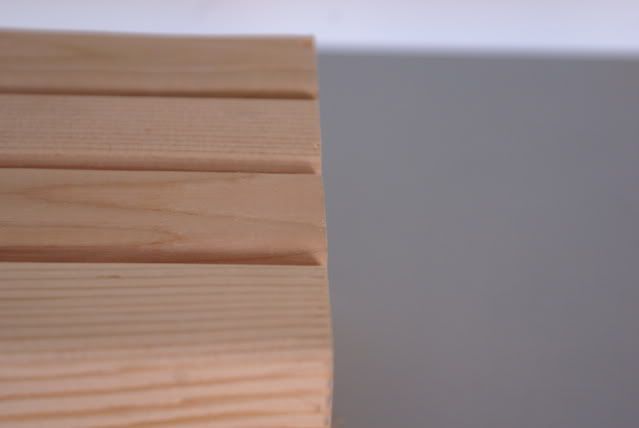
So now they were exactly even.
It is hard for me to explain how the legs are built (my first language is Hungarian), I'll try to show it in the pics. But the legs are double 2x4s:

Dowels are holding them together plus glue plus the screws.