

Hello folks, long time no see! After 16 months in Japan and a month in transition between my old job and new I am finally in my new place and am as excited as ever to be keeping tanks again! The old setup may have been a journey out of my dreams, but this new life-stage truly is the beginning of an era for me. I've finally found an awesome job with a company who plans on keeping me around for a while. No more consulting or funding-reliant research gigs for me! Stability is the name of the game now.
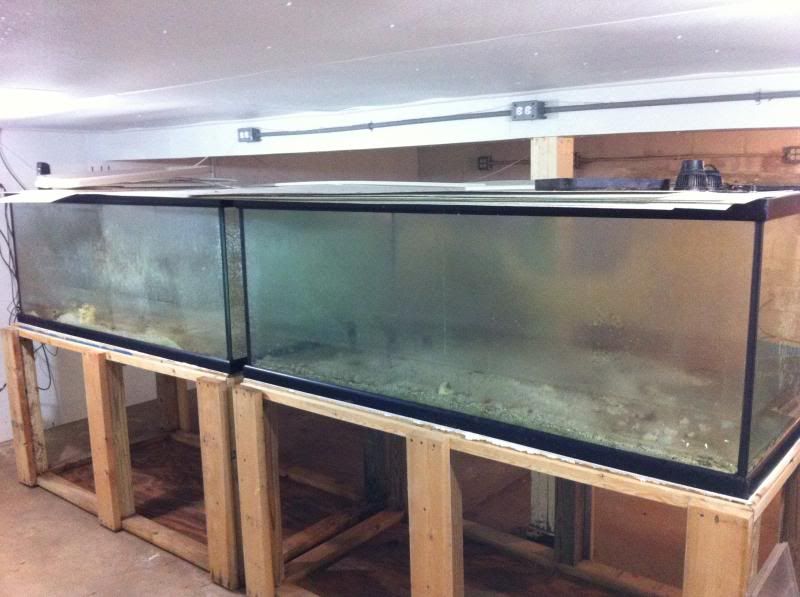
My new place has an unfinished basement and two massive former reef tanks ready to be cleaned and set up anew. Each is 6' long x 3' wide x 2' high (that's 18 square feet of plants!); 6 inches wider than my old 225. Thank God I'll have access from the rear or planting and trimming would be a wet experience. Both tanks are drilled with 2" holes in the rear panel so I'll be getting some nice overflows made for them. One is going to be a full out as high tech as I can make it planted and the other's going to be a reef of some sort.
The current install plan is to use T5 lighting, filter with a sump (hopefully a nice custom one), run a dedicated needle wheel/mesh modded pump for CO2, and all that jazz. Substrate will be Brightwell Aquatics' plant substrate and their whole line of planted supplements. Since they're all liquid I hope to be able to get a set of peristaltic pumps for auto dosing.
Aquascaping will eventually be Dutch style. Fish? I have no idea yet.
Enough chatter, here're the pics.
Oh, FYI. Progress may be slow at first. There are a lot of things I need to get taken care of before I can put water in there.
Both tanks:
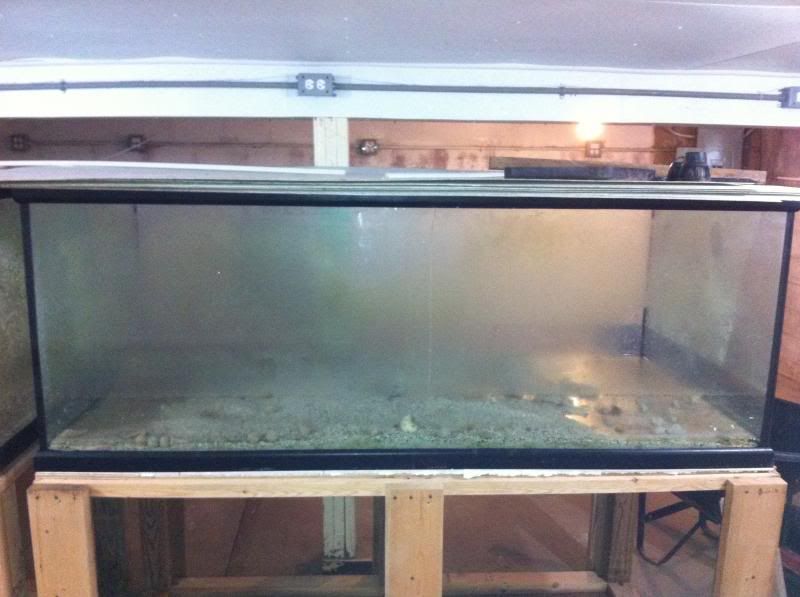
Front view:
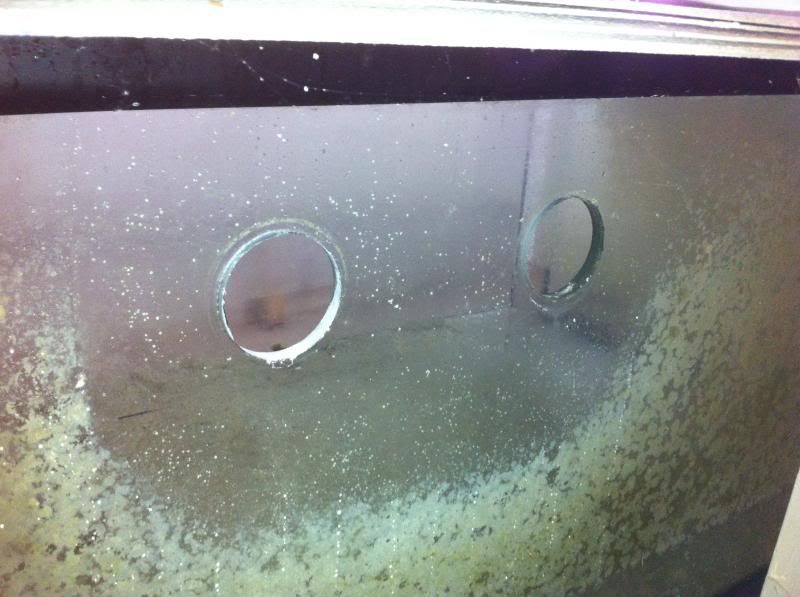
Plumbing holes:
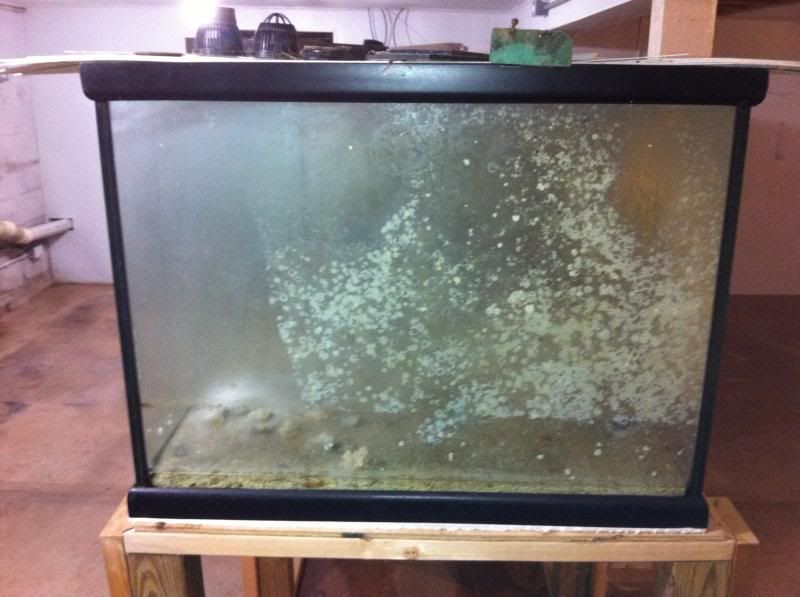
Yup, that's 36 INCHES!
Updates will be a lot more frequent than with my last build. Unlike last time I now have a camera to take regular pictures with...and I live by myself now. What money the student loan folks, bank, and gov't leave me is all mine to do with as I please. FREEDOM!!!
My new place has an unfinished basement and two massive former reef tanks ready to be cleaned and set up anew. Each is 6' long x 3' wide x 2' high (that's 18 square feet of plants!); 6 inches wider than my old 225. Thank God I'll have access from the rear or planting and trimming would be a wet experience. Both tanks are drilled with 2" holes in the rear panel so I'll be getting some nice overflows made for them. One is going to be a full out as high tech as I can make it planted and the other's going to be a reef of some sort.
The current install plan is to use T5 lighting, filter with a sump (hopefully a nice custom one), run a dedicated needle wheel/mesh modded pump for CO2, and all that jazz. Substrate will be Brightwell Aquatics' plant substrate and their whole line of planted supplements. Since they're all liquid I hope to be able to get a set of peristaltic pumps for auto dosing.
Aquascaping will eventually be Dutch style. Fish? I have no idea yet.
Enough chatter, here're the pics.
Oh, FYI. Progress may be slow at first. There are a lot of things I need to get taken care of before I can put water in there.
Both tanks:

Front view:

Plumbing holes:

Yup, that's 36 INCHES!

Updates will be a lot more frequent than with my last build. Unlike last time I now have a camera to take regular pictures with...and I live by myself now. What money the student loan folks, bank, and gov't leave me is all mine to do with as I please. FREEDOM!!!
") I'm hoping to make some dedicated space in the basement for aquariums, quarantine systems, and emersed tanks. I guess that's kind of like a fish room. I'm already considering the requirements for finishing the basement and making that space into a comfortable room to view many aquaria. There are too many possibilities..argh! Stay on target, stay on target! LOL
I'm hoping to make some dedicated space in the basement for aquariums, quarantine systems, and emersed tanks. I guess that's kind of like a fish room. I'm already considering the requirements for finishing the basement and making that space into a comfortable room to view many aquaria. There are too many possibilities..argh! Stay on target, stay on target! LOL


